

Ever noticed how some people’s skin just seems to glow? There might be something they know that others don’t. Learning how to layer skincare could be the missing piece of the puzzle.
The order of products actually matters more than most people think. It’s a bit like stacking building blocks; each one needs to go in the right place.
Apply products in the wrong order, and they might not work as well as they should. Even the best products can sit on the surface and do little if they’re not layered correctly.
Understanding the right sequence makes all the difference. It’s more straightforward than it sounds, with just a few basic rules to remember.
Why Proper Skincare Layering Matters
Skin absorbs products differently based on texture and molecular size. When products are applied in the wrong order, they can interfere with each other, preventing them from working properly, wasting money, and reducing results.
The golden rule for layering skincare is simple: from thinnest to thickest consistency. This works because smaller molecules penetrate the skin faster than larger ones. Follow these key principles:
- Water-based before oil-based: Water cannot penetrate oil barriers
- Solutions, then serums, then creams: This prep-treat-seal approach works every time
- Visual test: If one product looks runnier than another, it goes on first
- SPF always lasts: Sunscreen must sit on top to create a protective shield over all previous layers
Complete Morning Skincare Layering Routine
Morning routines focus on protection and hydration to prep the skin for the day ahead.
Understanding how to layer skincare in the morning sets the tone for healthy skin throughout the day. Each step builds on the previous one for maximum effectiveness.
Step 1: Cleanser
Starting with a clean canvas is essential for everything that follows. Cleansing removes overnight oil buildup, dead skin cells, and any leftover products from the night before. This step ensures the skin can properly absorb the treatments coming next.
- Amount to use: A nickel-sized amount for gel cleansers or a dime-sized amount for cream cleansers works for most face sizes
- Application technique: Massage gently onto damp skin using circular motions for 30-60 seconds, then rinse thoroughly with lukewarm water
- Wait time: Pat skin dry and move to the next step immediately while the skin is still slightly damp
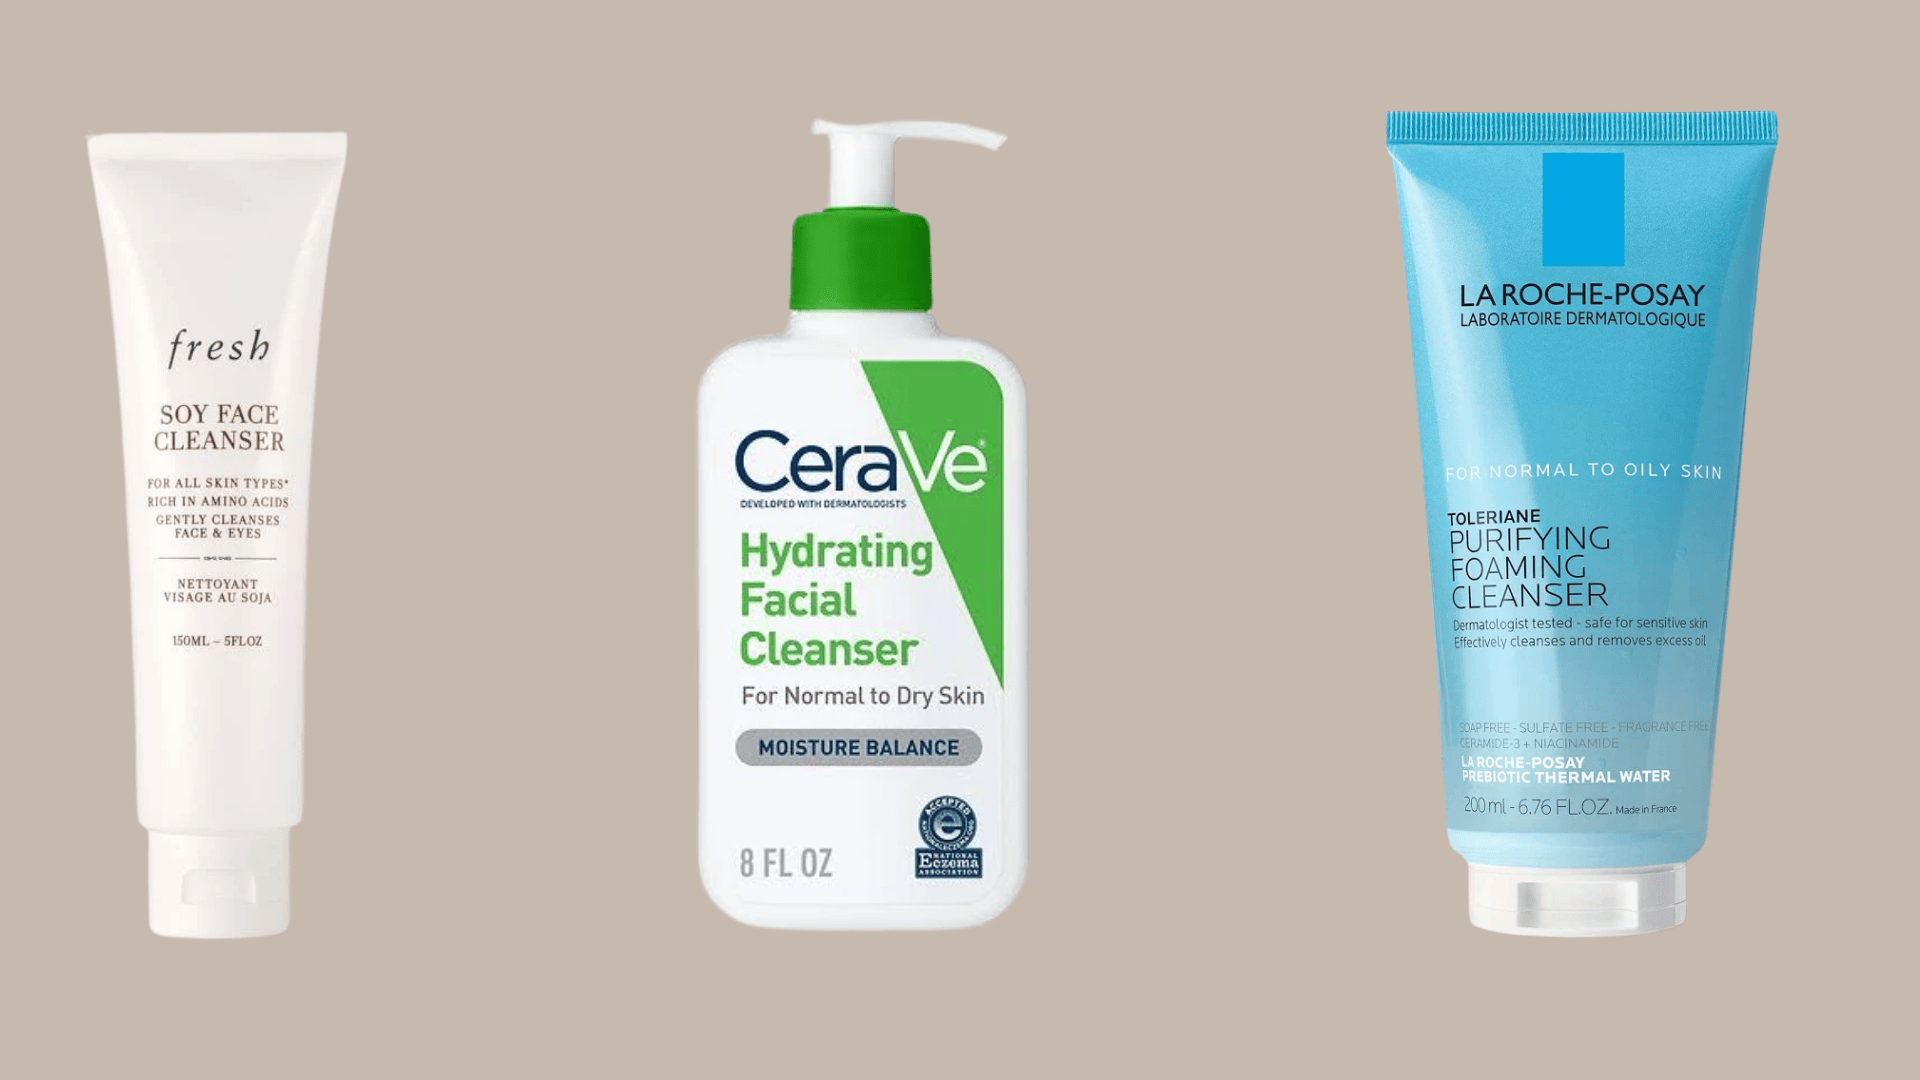
- Recommended products: CeraVe Hydrating Facial Cleanser, La Roche-Posay Toleriane Purifying Foaming Cleanser, Fresh Soy Face Cleanser
Step 2: Toner
Toner restores the skin’s pH balance after cleansing and preps it to absorb serums better. It adds a first layer of hydration while removing any traces of cleanser or impurities the wash might have missed.
- Amount to use: A few drops on fingertips or enough to dampen a cotton pad without dripping
- Application technique: Pat gently into the skin with clean hands or sweep across the face with a cotton pad in outward motions
- Wait time: Allow 30 seconds for the toner to dry completely before applying the next product
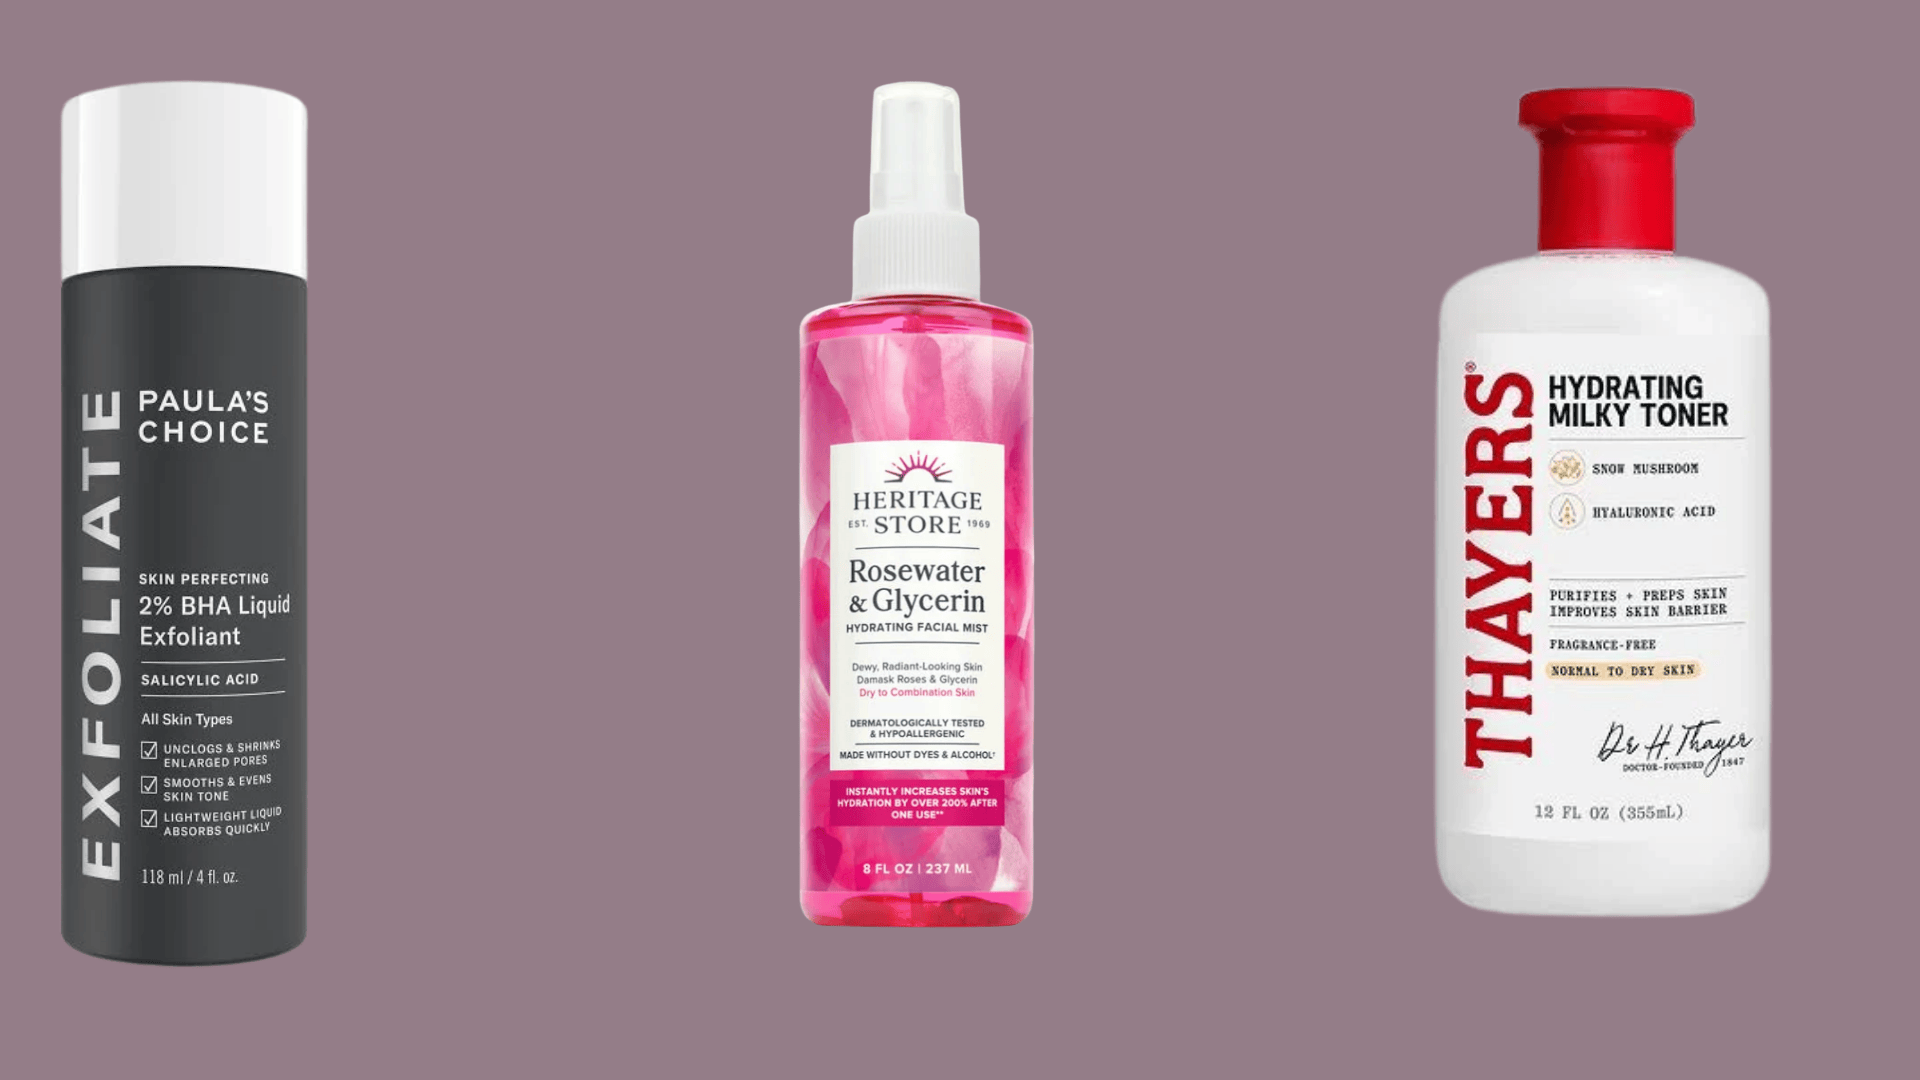
- Recommended products: Paula’s Choice Skin Perfecting 2% BHA, Heritage Store Rosewater & Glycerin, Thayers Milky Hydrating Toner
Step 3: Essence (Optional)
Essence is a lightweight, hydrating step that boosts the skin’s ability to absorb everything that follows. It delivers extra moisture and prepares the skin for targeted treatments. Popular in Korean skincare routines, this step helps maximize the benefits of serums and other products.
- Amount to use: 2-3 drops or enough to lightly cover the face without excess dripping
- Application technique: Pat gently into the skin using fingertips with light pressing motions until fully absorbed
- Wait time: Wait 30-45 seconds for the essence to sink in before moving to treatments
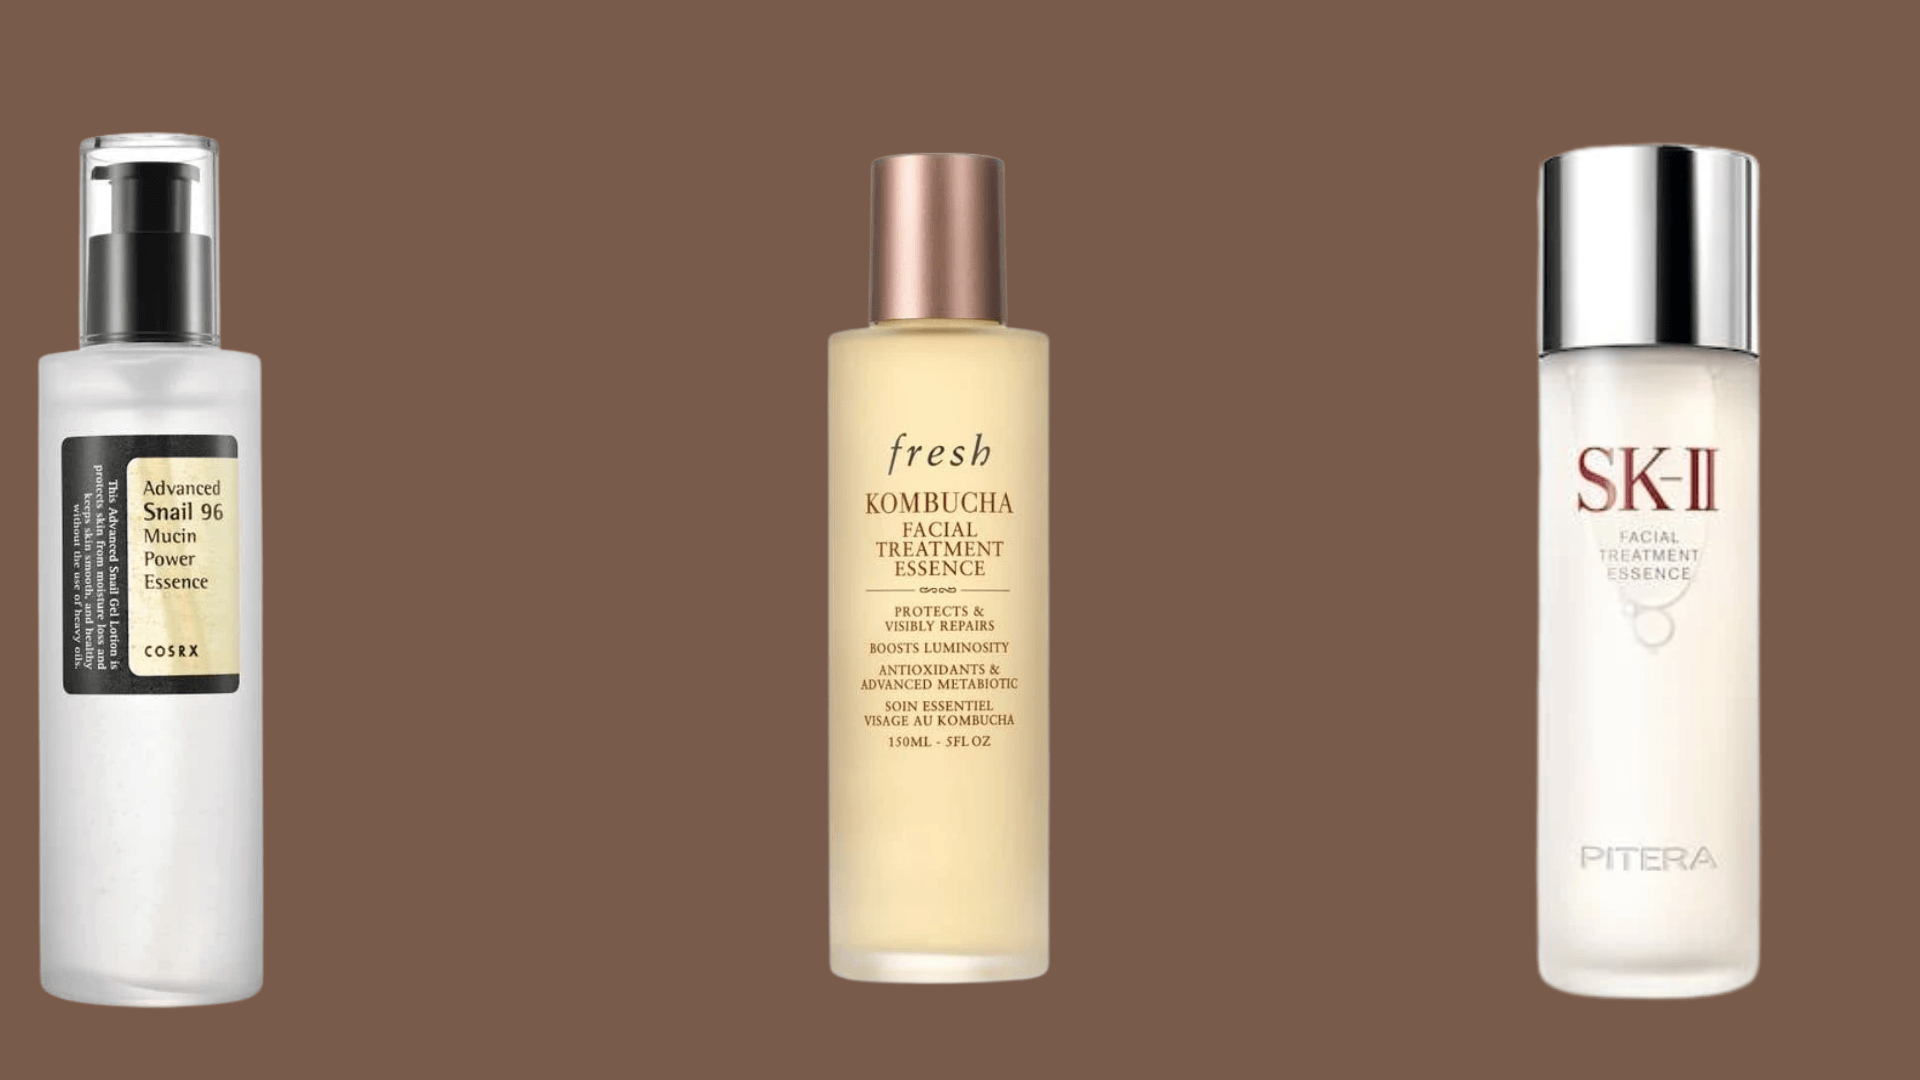
- Recommended products: COSRX Advanced Snail 96 Mucin Power Essence, SK-II Facial Treatment Essence, Fresh Kombucha Antioxidant Essence
Step 4: Serum
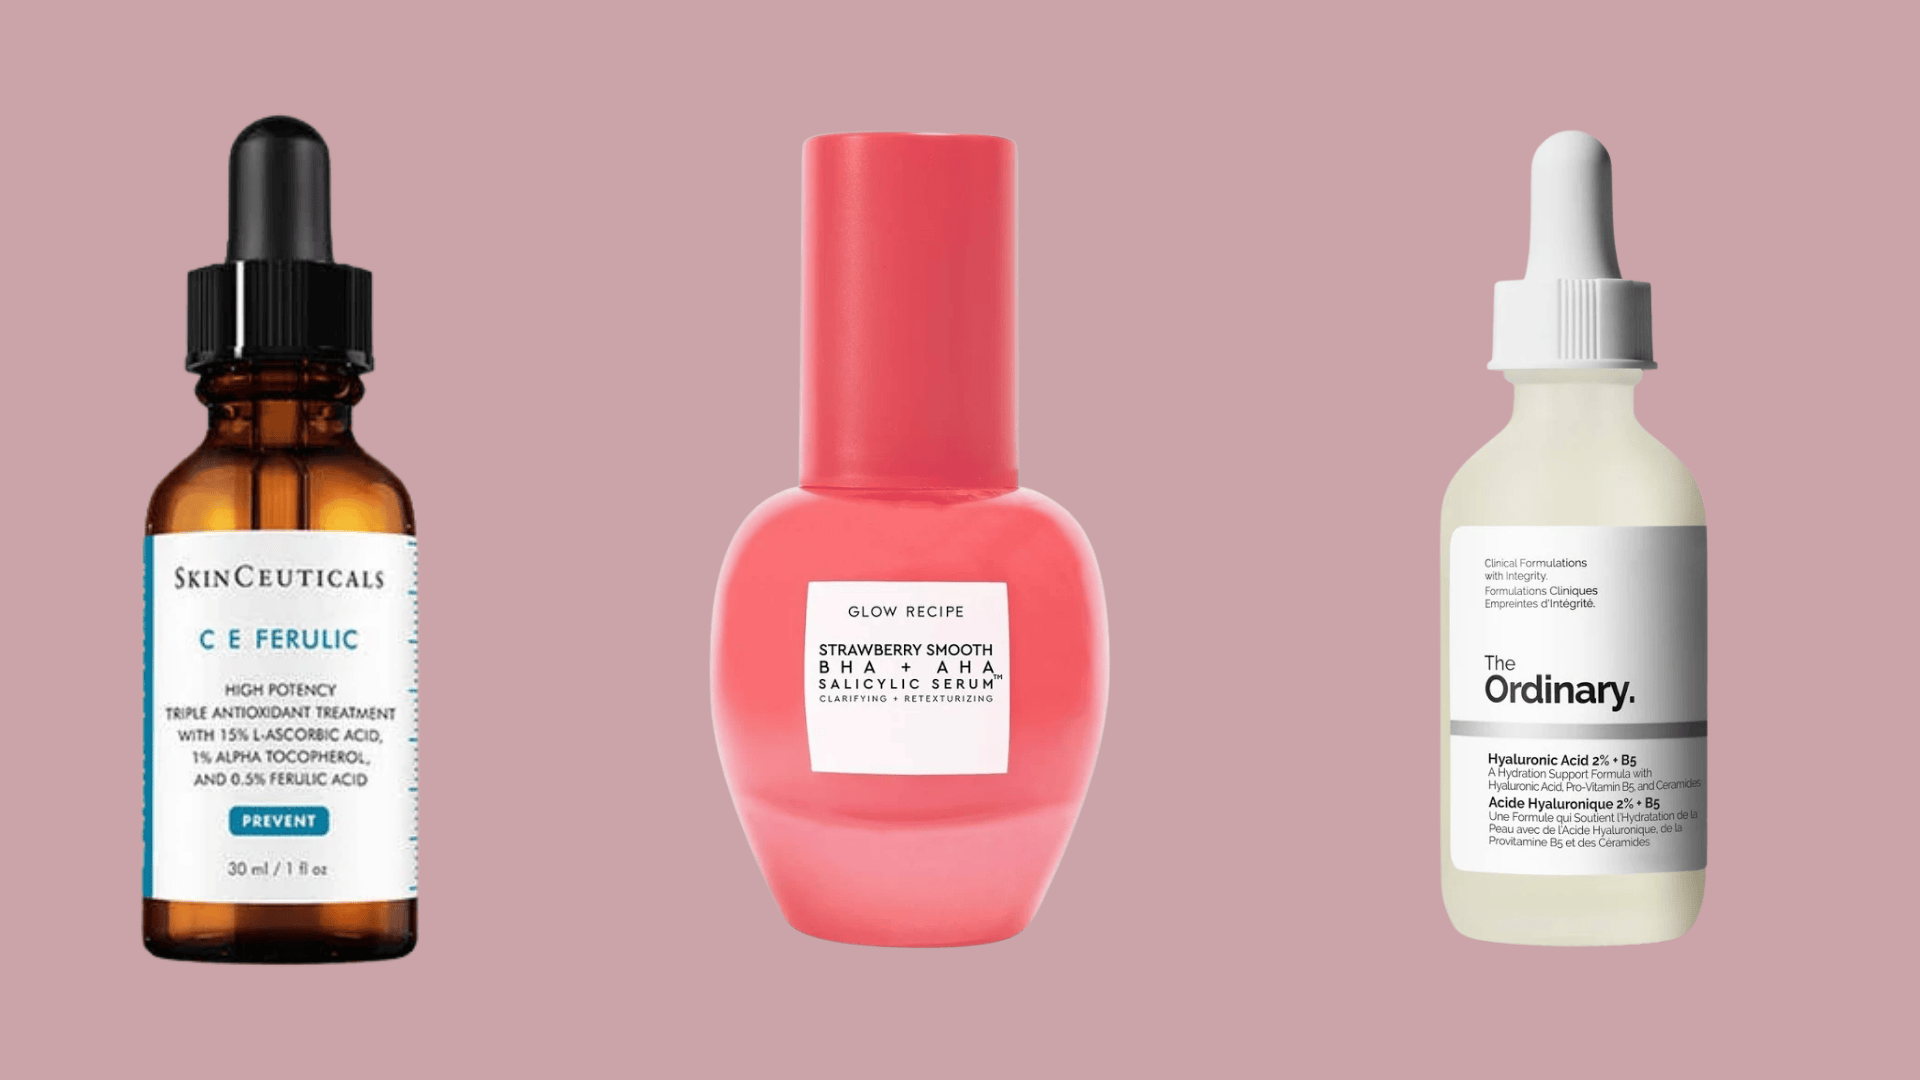
Serums pack concentrated active ingredients that target specific skin concerns like dark spots, fine lines, or dullness. Their lightweight texture allows them to penetrate deeply and deliver powerful benefits.
Understanding serum placement in your routineensures the actives actually reach the skin instead of sitting on top of a heavier layer.
- Amount to use: 2-3 drops or one pump is typically enough to cover the entire face and neck area
- Application technique: Warm the serum between your fingertips and press gently into the skin, starting from the center and moving outward
- Wait time: Wait 60-90 seconds for full absorption before moving to the next step
- Recommended products: SkinCeuticals C E Ferulic, The Ordinary Hyaluronic Acid 2% + B5, Glow Recipe Strawberry Smooth BHA + AHA Serum
Step 5: Spot Treatment (Optional)
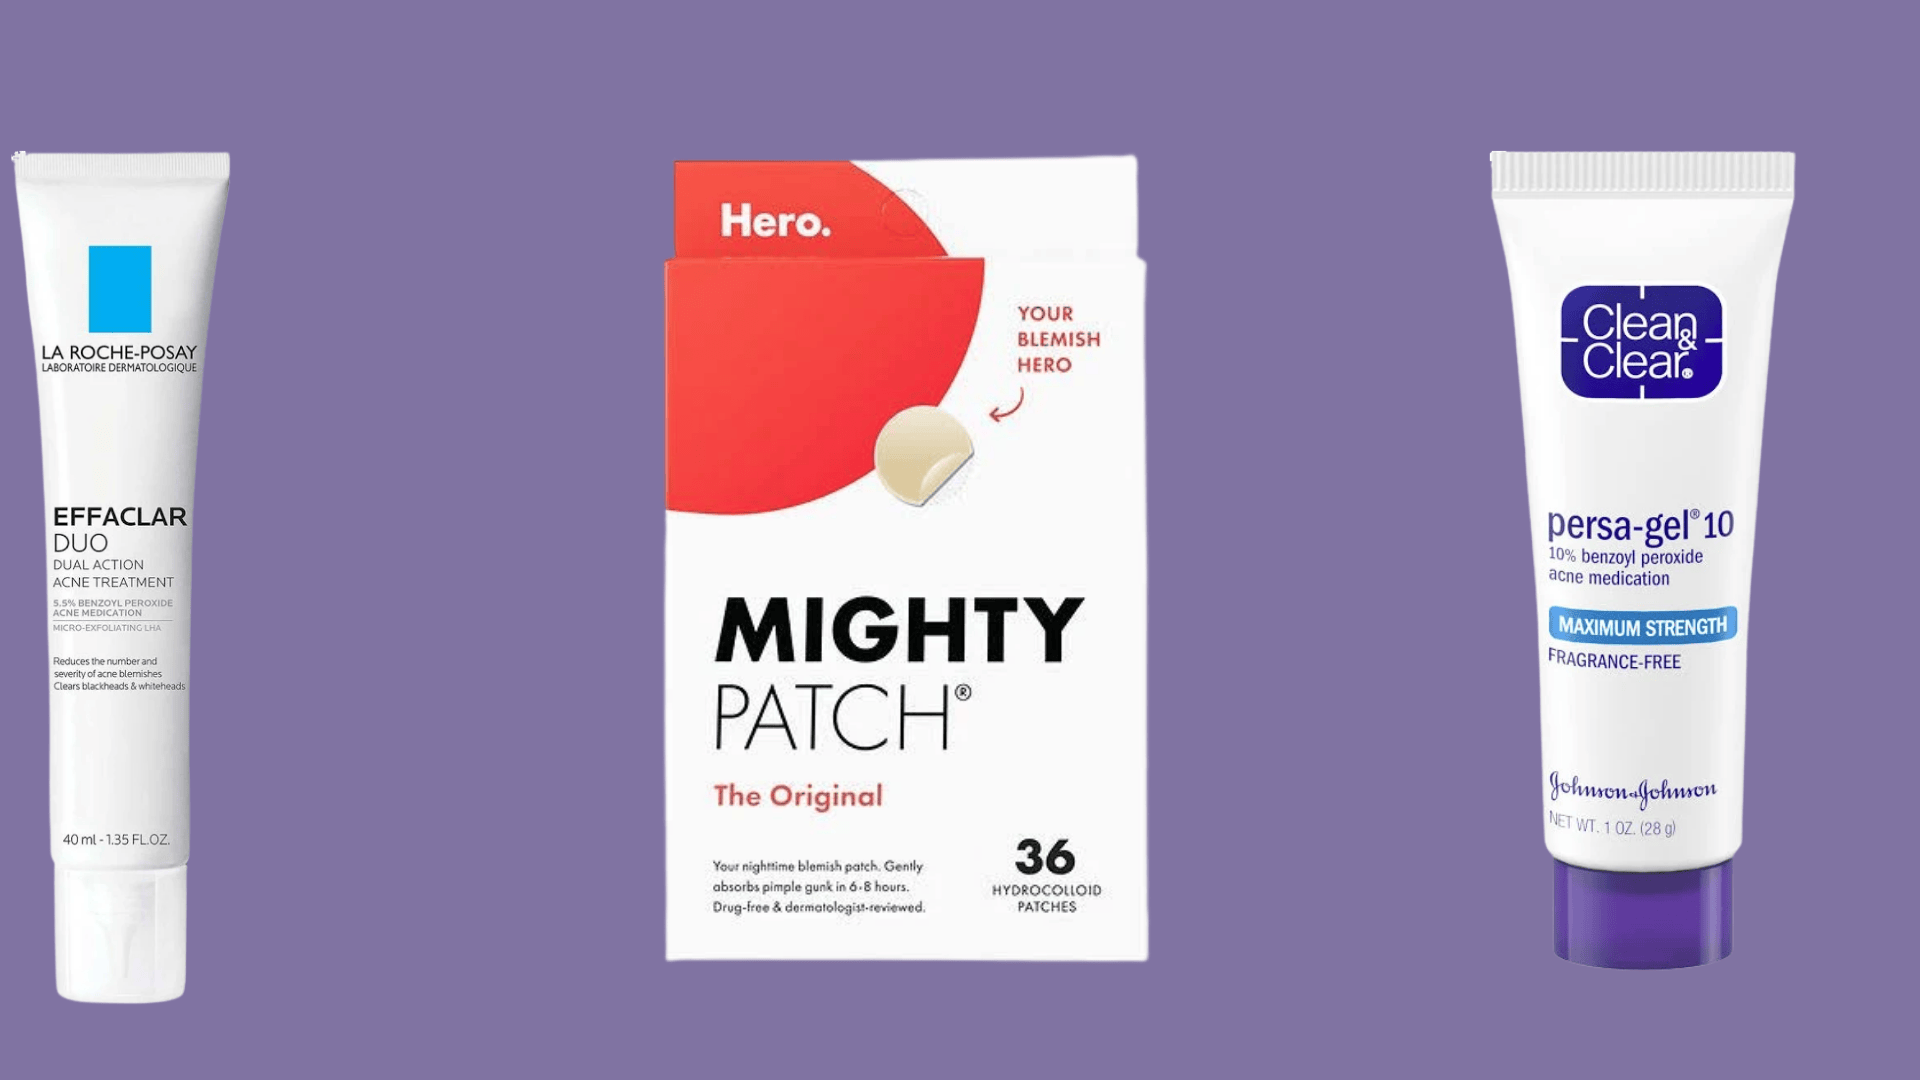
Spot treatments target specific problem areas, such as pimples, dark spots, or patches of hyperpigmentation, with concentrated ingredients. Applying them before moisturizer allows the active ingredients to work directly on the concern.
- Amount to use: A tiny dot or rice-grain-sized amount is enough for each individual spot
- Application technique: Dab directly onto the problem area without rubbing, keeping the product concentrated on the spot
- Wait time: Let it dry for 1-2 minutes to form a film before applying moisturizer over it
- Recommended products: Clean and Clear Persa-Gel 10, La Roche-Posay Effaclar Duo, Hero Cosmetics Mighty Patch
Step 6: Eye Cream (Optional)
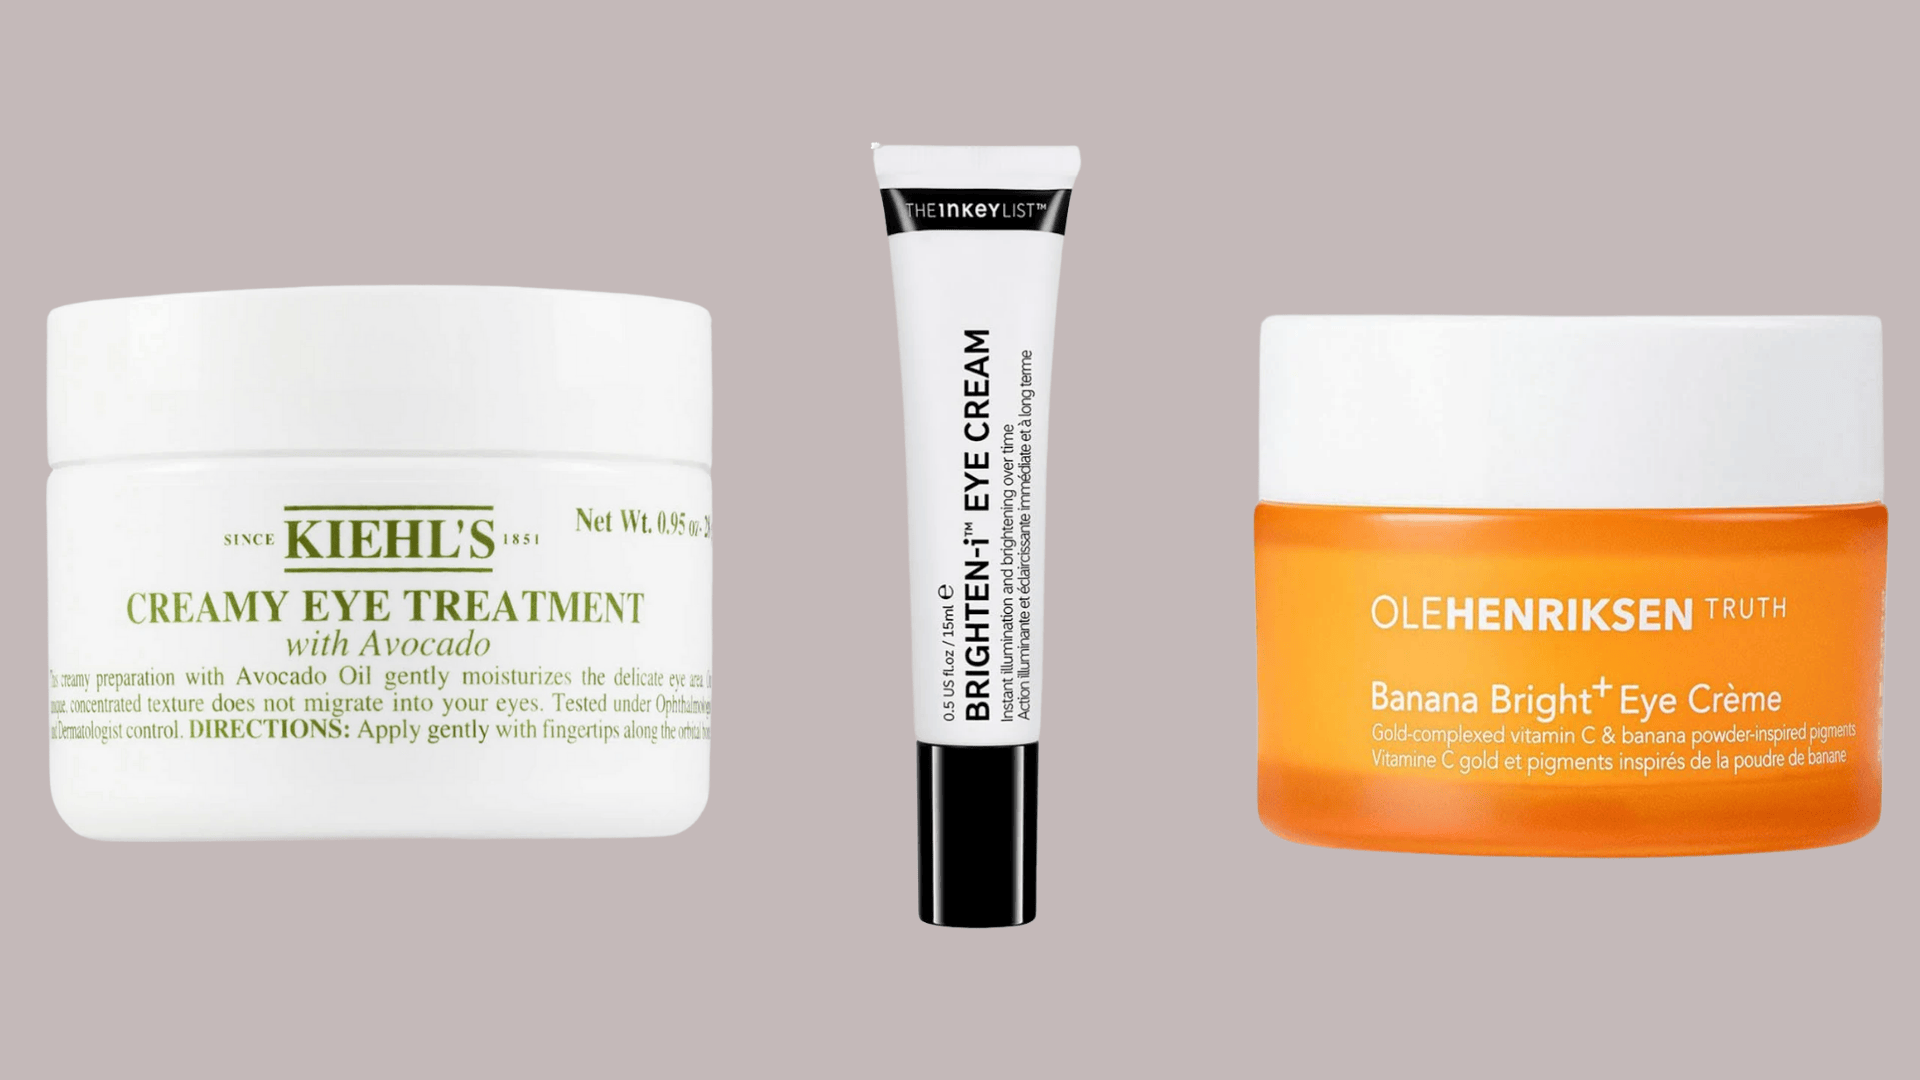
The sensitive eye area needs special attention, as the skin there is thinner and shows signs of aging more quickly. Eye cream addresses concerns like puffiness, dark circles, and fine lines. Using it before face moisturizer ensures the lighter formula absorbs properly without being blocked.
- Amount to use: A small pea-sized amount split between both eyes, or a rice grain-sized amount per eye
- Application technique: Dot gently around the orbital bone using the ring finger, patting from the inner to the outer corner without pulling
- Wait time: Allow 30-60 seconds for the eye cream to absorb before moving to moisturizer
- Recommended products: Olehenriksen Banana Bright+ Eye Crème, Kiehl’s Creamy Eye Treatment with Avocado, The INKEY List Caffeine Eye Cream
Step 7: Moisturizer
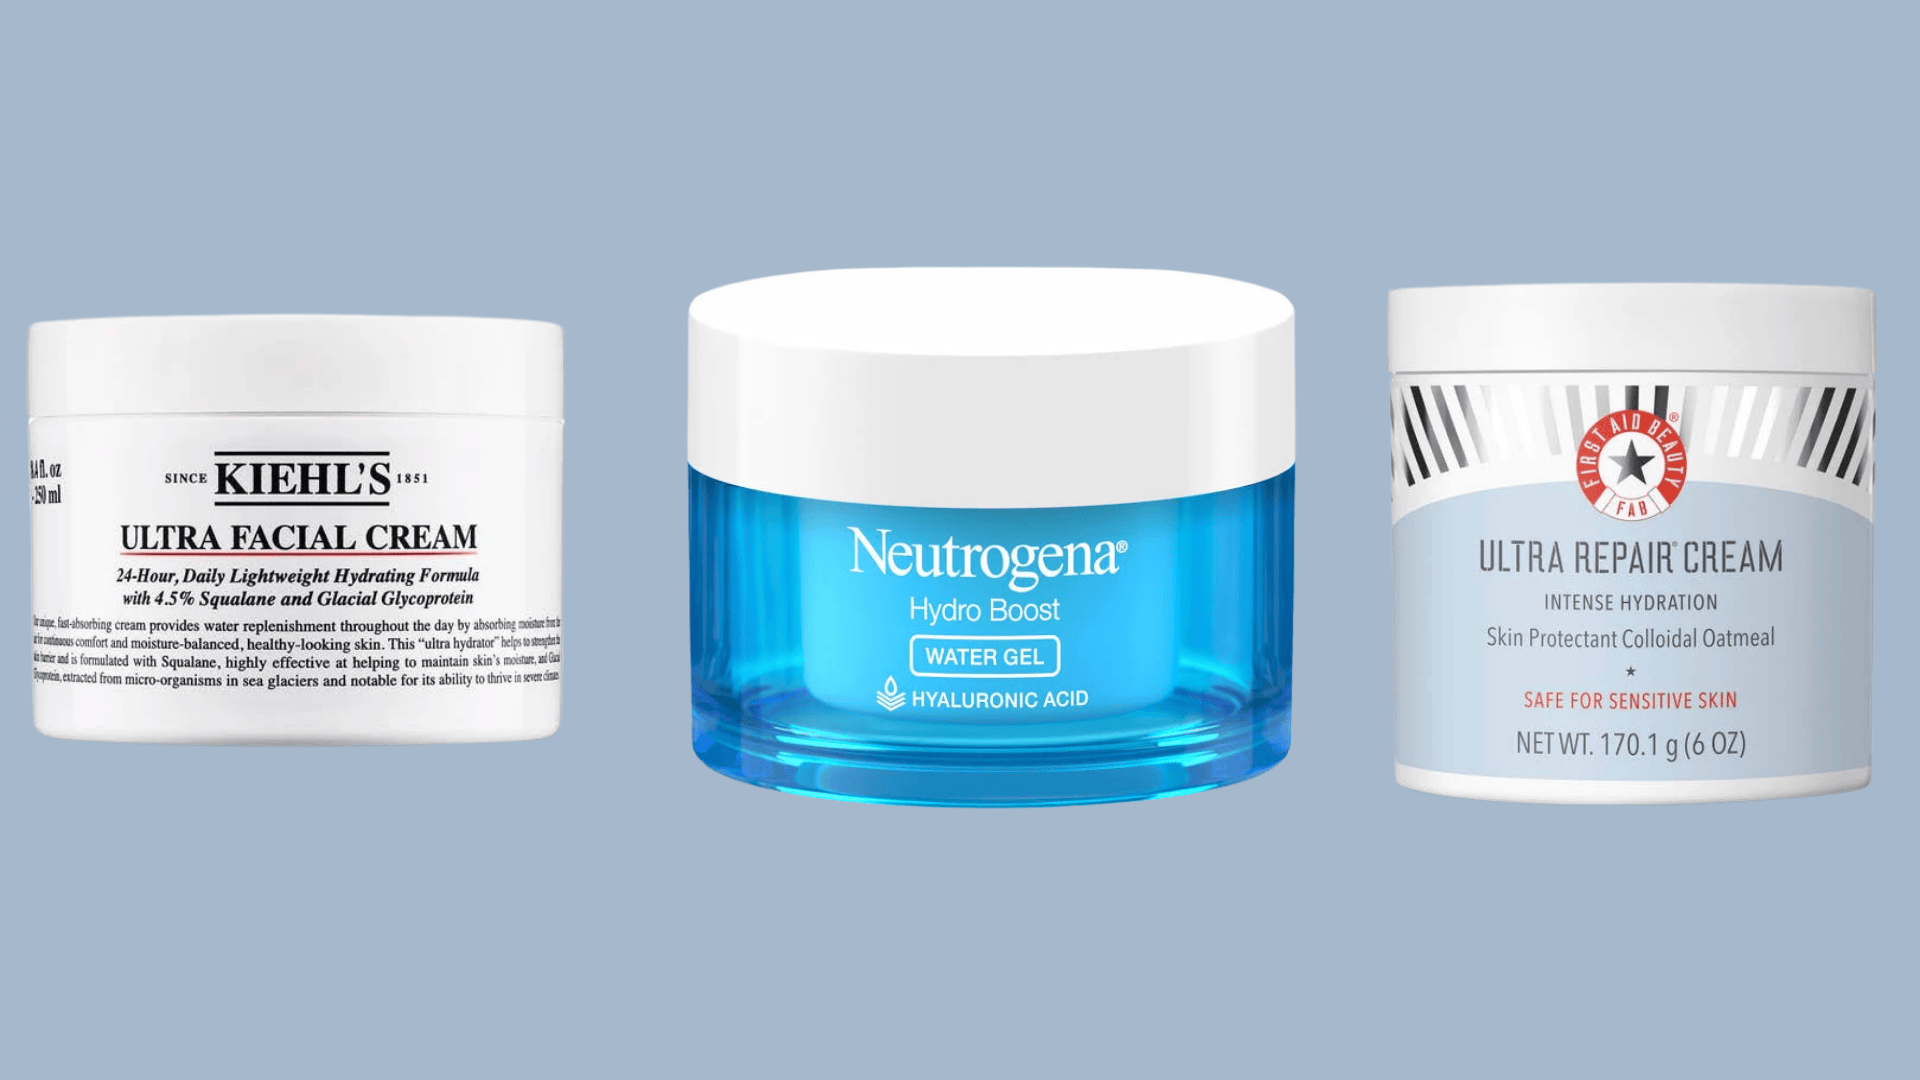
Moisturizer locks in all the previous layers and creates a protective barrier that prevents water loss throughout the day. It keeps the skin soft, smooth, and comfortable while supporting the skin’s natural moisture barrier.
- Amount to use: A pea-sized amount for oily skin or a small nickel-sized amount for dry skin types
- Application technique: Dot the moisturizer on the forehead, cheeks, nose, and chin, then blend upward and outward in gentle strokes
- Wait time: Let the moisturizer settle for 1-2 minutes before applying sunscreen to avoid pilling
- Recommended products: Neutrogena Hydro Boost Water Gel, Kiehl’s Ultra Facial Cream, First Aid Beauty Ultra Repair Cream
Step 8: Sunscreen
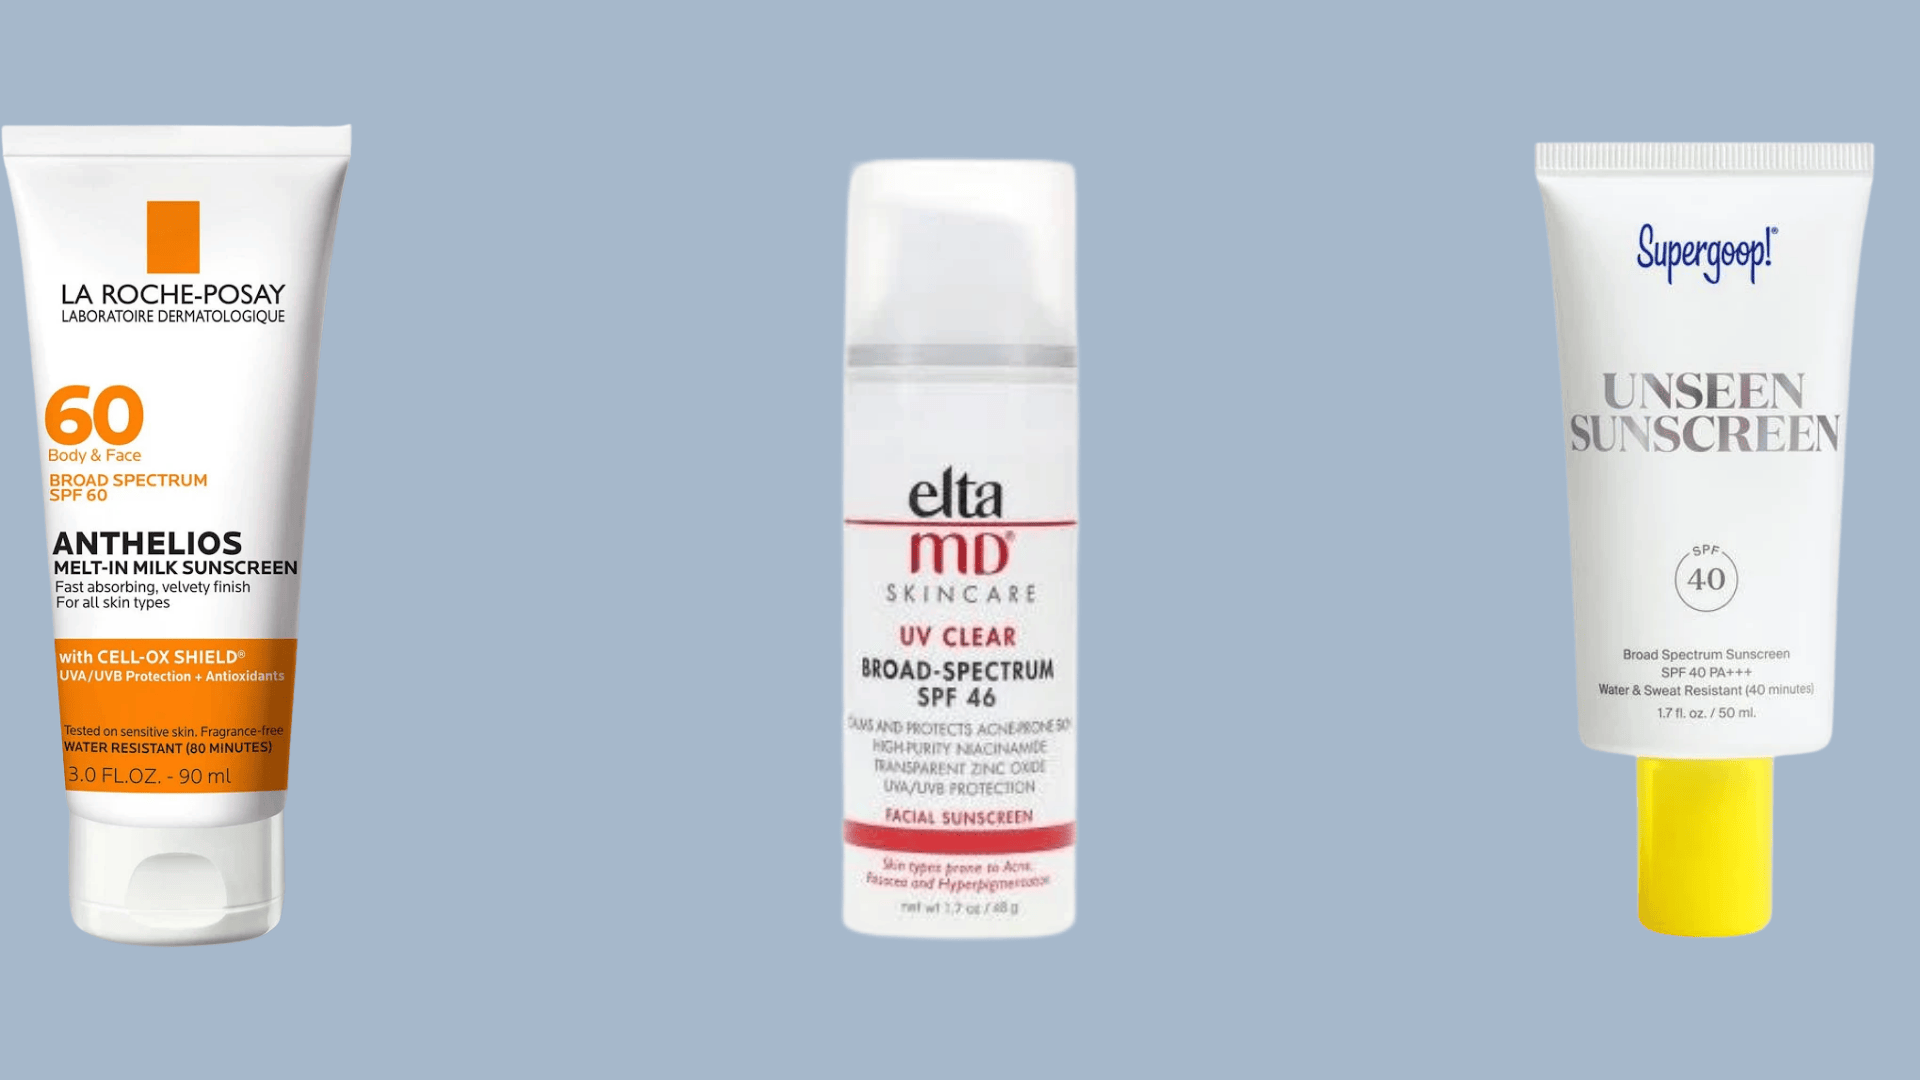
Sunscreen is the most important step in any morning routine as it protects against premature aging, dark spots, and skin damage. This final layer acts as a shield for the skin all day long. If makeup is part of the routine, the order of primer and sunscreen matters just as much as the order of everything underneath.
- Amount to use: A full two finger-lengths of product or about half a teaspoon for adequate face and neck coverage
- Application technique: Apply in dots across the face and blend evenly without rubbing too hard, making sure to cover the hairline and neck
- Wait time: Allow 15 minutes before makeup application or sun exposure for the sunscreen to form a proper protective film
- Recommended products: EltaMD UV Clear Broad-Spectrum SPF 46, Supergoop! Unseen Sunscreen SPF 40, La Roche-Posay Anthelios Melt-in Milk SPF 60
Following these steps in order creates a complete morning routine that protects, nourishes, and prepares the skin for whatever the day brings. The key is giving each product its moment to work before adding the next one.
Evening Skincare Layering Routine
Nighttime is when the skin does its repair work, making the evening routine crucial for regeneration and recovery.
Most steps mirror the morning routine: toner, essence, serum, spot treatment, eye cream, and moisturizer follow the same order.
However, a few key differences set the evening routine apart for deeper cleansing and overnight repair.
Step 1: Oil Cleanse
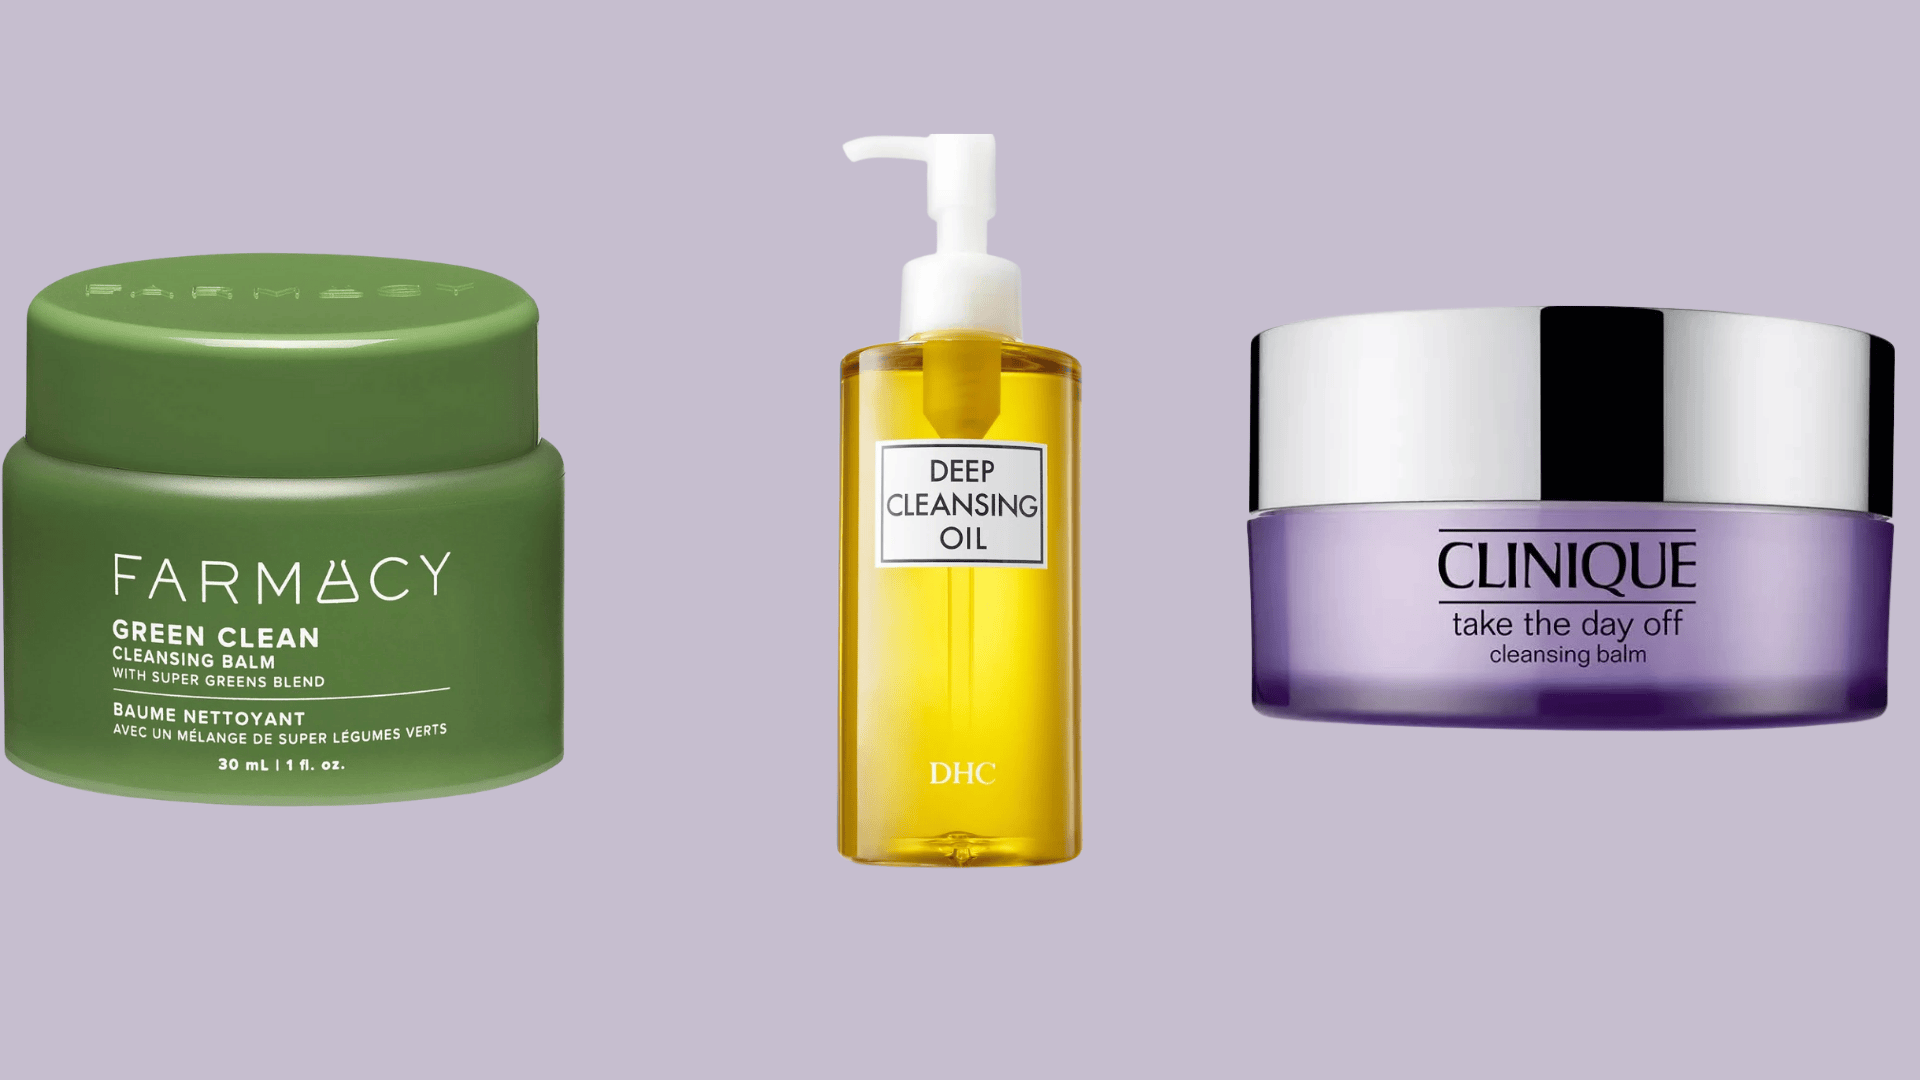
Double cleansing is the cornerstone of nighttime skincare, removing all traces of makeup, sunscreen, and daily buildup. The oil-based cleanse breaks down stubborn products, while the second, water-based cleanse, removes any remaining impurities.
- Amount to use: One to two pumps of oil cleanser first, followed by a nickel-sized amount of water-based cleanser
- Application technique: Massage oil cleanser on dry skin for 30-60 seconds, emulsify with water and rinse, then apply water-based cleanser to damp skin in circular motions for 30 seconds and rinse
- Wait time: Pat dry gently and move immediately to the next step while the skin is slightly damp
- Recommended products: Farmacy Green Clean Makeup Meltaway Balm, DHC Deep Cleansing Oil, Clinique Take The Day Off Cleansing Balm
Step 2: Night Moisturizer
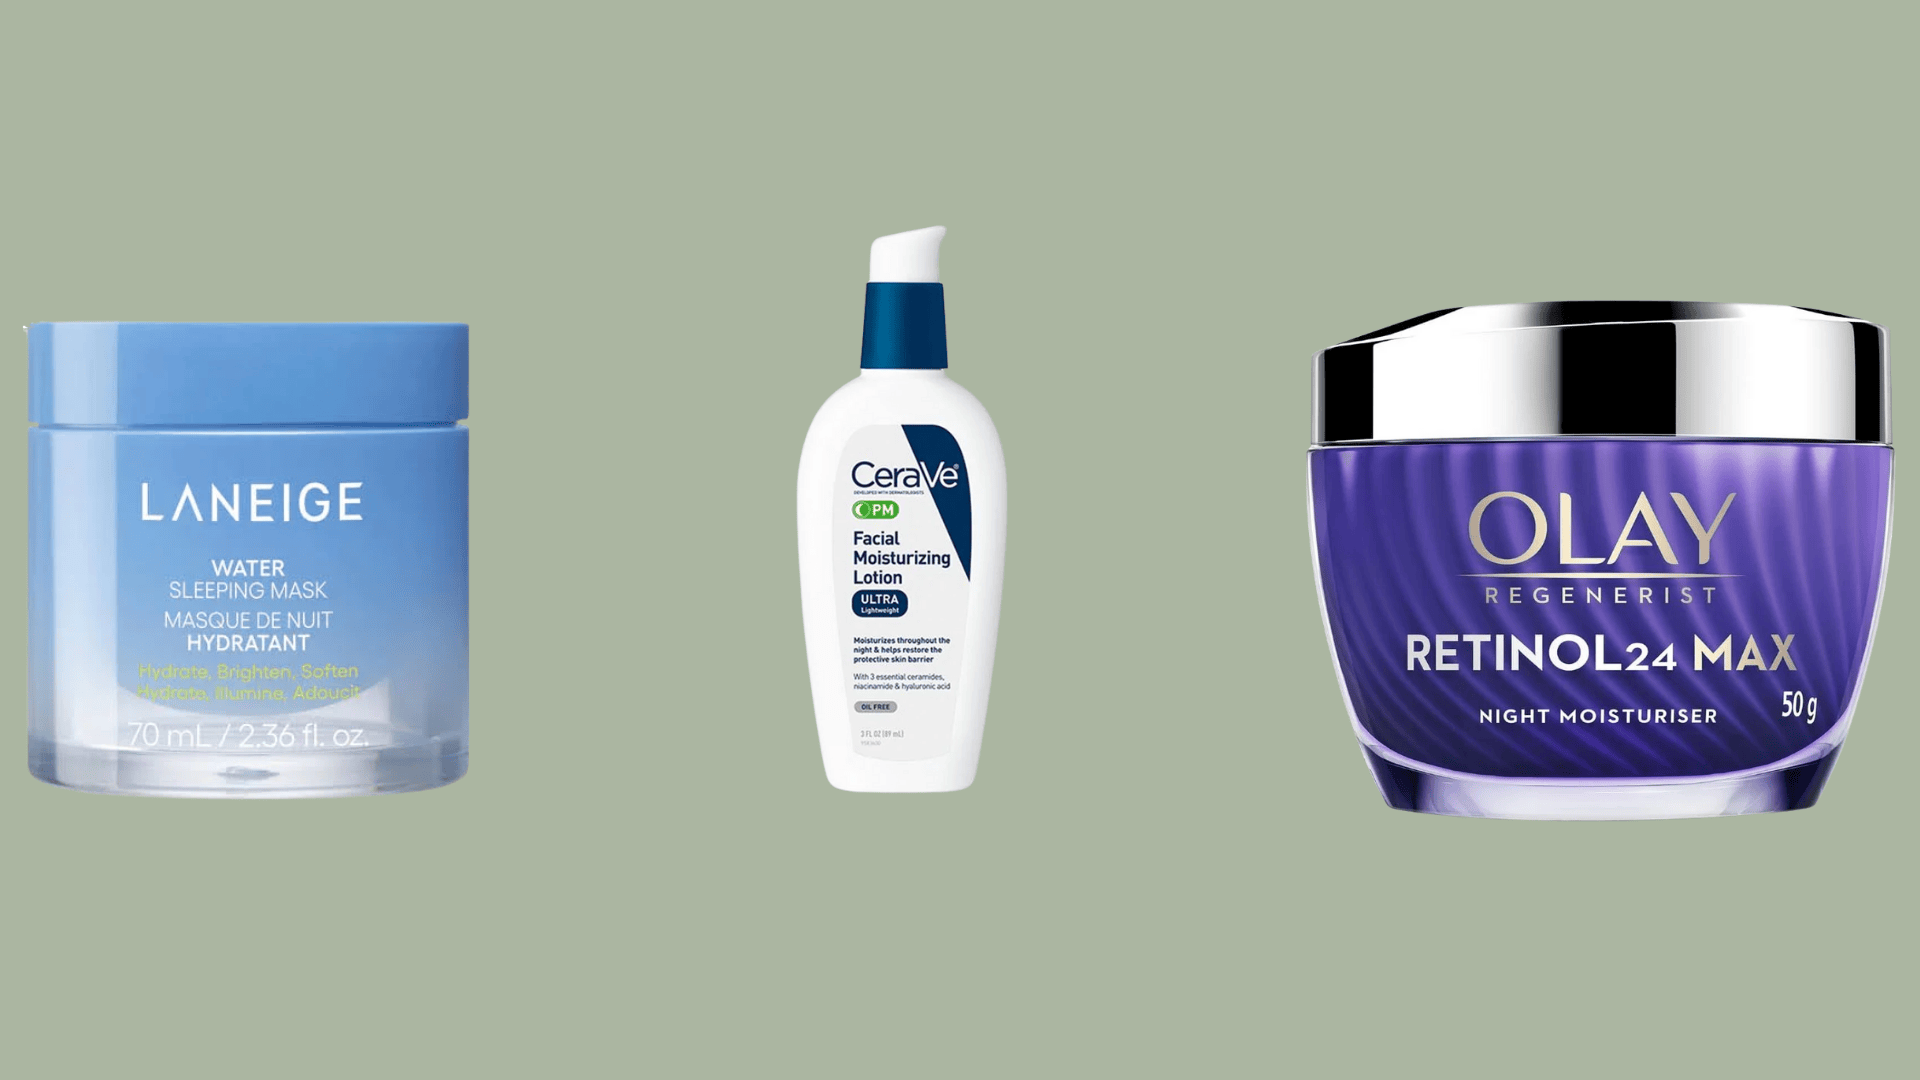
Evening moisturizer is typically richer than daytime versions since there’s no need to worry about makeup or greasiness. Night creams often contain ingredients like ceramides, peptides, or heavier oils that support the skin’s barrier repair process during sleep.
- Amount to use: A nickel-sized amount for most skin types, slightly more for very dry skin
- Application technique: Dot on key areas and blend upward and outward using gentle, firm strokes
- Wait time: Let it absorb for 1-2 minutes before applying face oils if using them
- Recommended products: CeraVe PM Facial Moisturizing Lotion, Laneige Water Sleeping Mask, Olay Regenerist Retinol24 Night Moisturizer
Step 3: Face Oil (Optional)
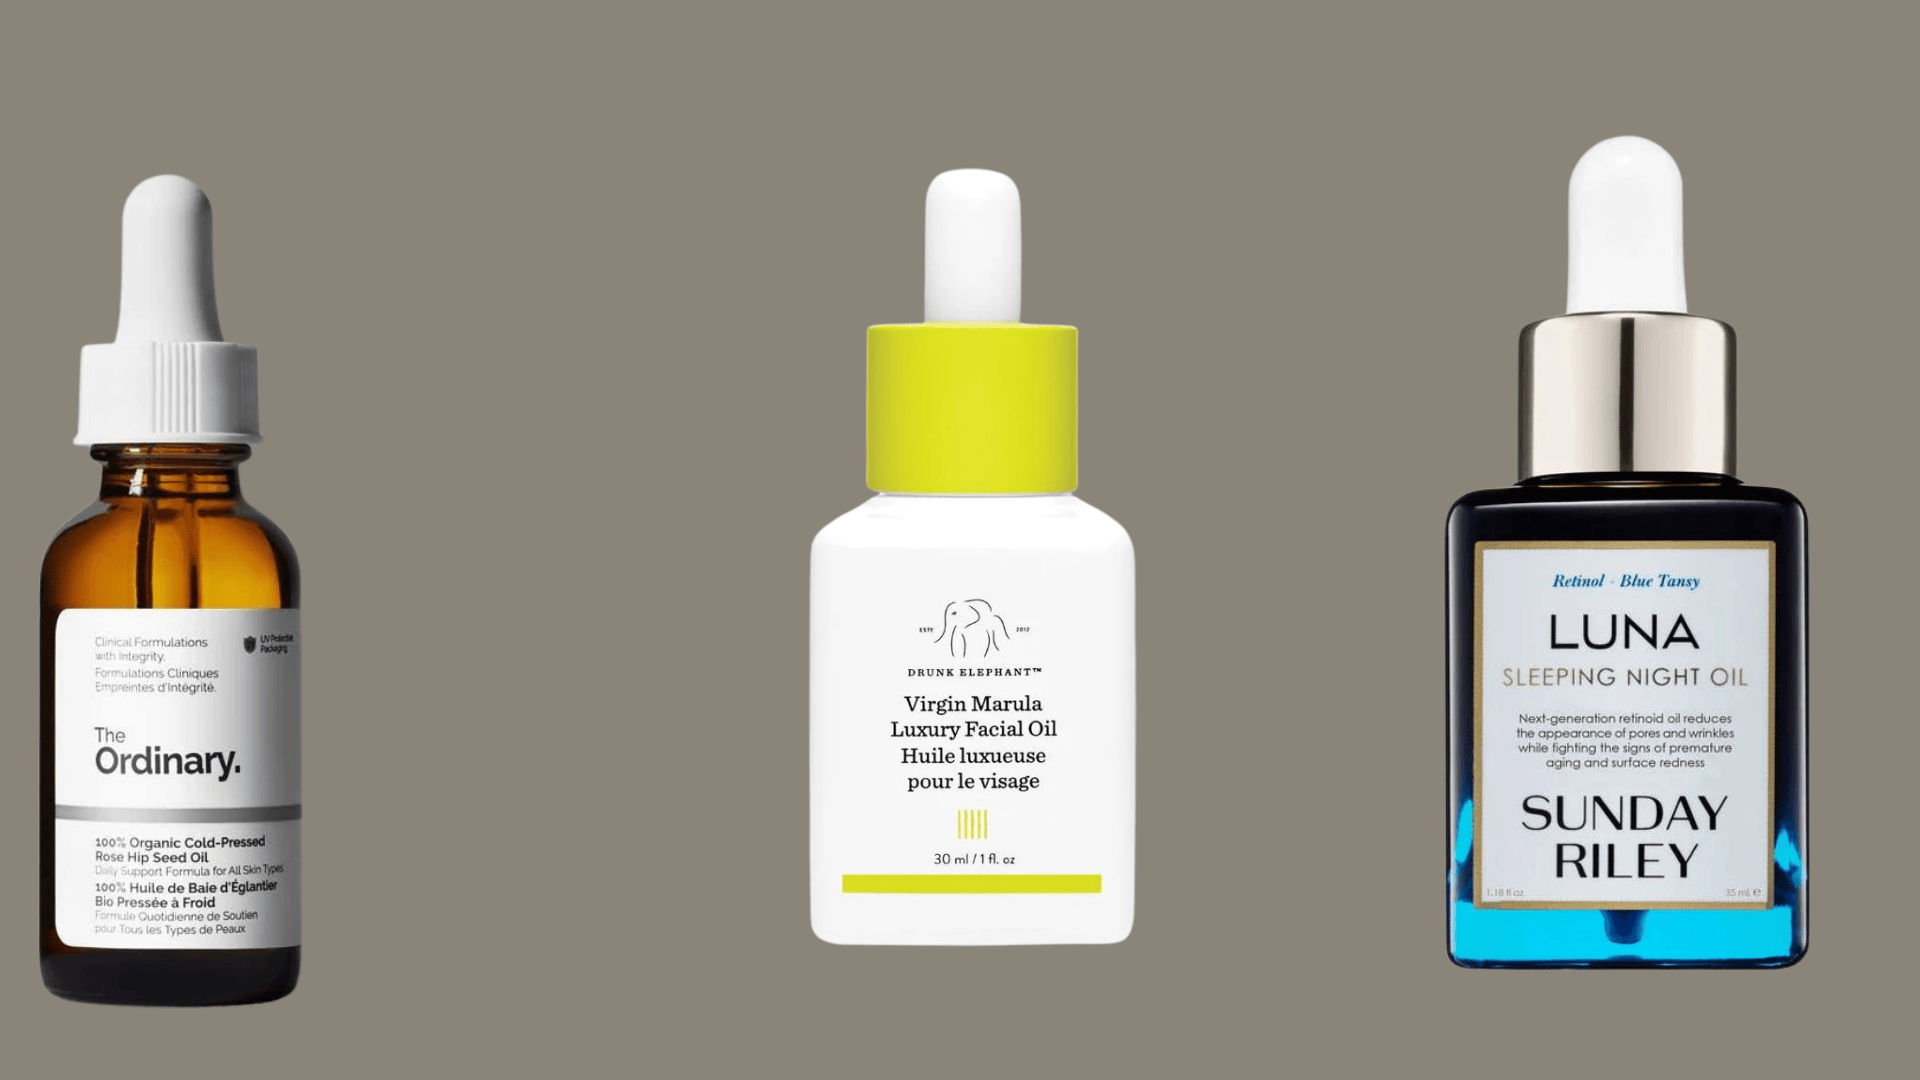
Face oils provide an extra layer of nourishment and lock in all the products underneath. They create a protective seal that prevents moisture loss during sleep. This step is especially beneficial for dry or mature skin types and replaces the sunscreen step from the morning routine.
- Amount to use: 2-4 drops, depending on skin dryness and the oil’s weight
- Application technique: Warm between palms and press gently into the skin, avoiding rubbing motions that can disturb previous layers
- Wait time: No wait time needed, as this is the final step of the routine
- Recommended products: The Ordinary Cold-Pressed Rose Hip Seed Oil, Sunday Riley Luna Sleeping Night Oil, Drunk Elephant Virgin Marula Luxury Facial Oil
Nighttime routines allow for more layers and richer formulas since there’s no rush and no sun exposure to consider. Following this sequence ensures each product works at its full potential while the body sleeps.
How to Layer Specific Skincare Ingredients
Certain active ingredients require special attention when layering to avoid irritation or reduced effectiveness. Knowing how to layer skincare with actives prevents common mistakes and helps achieve better results.
| Ingredient | Best Time to Use | Layering Tips | Avoid Mixing With |
|---|---|---|---|
| Vitamin C | Morning | Apply after toner, before moisturizer. Wait 60 seconds for full absorption | Retinol, AHAs, BHAs, niacinamide (with higher concentrations) |
| Retinol | Evening | Use after toner, allow 2-3 minutes to absorb before moisturizer | Vitamin C, AHAs, BHAs, benzoyl peroxide |
| Niacinamide | Morning/Evening | Mixes well with most ingredients, apply after toner | Avoid pure vitamin C (L-ascorbic acid) |
| Hyaluronic Acid | Morning/Evening | Apply to damp skin after toner for better absorption | Safe with all ingredients |
| AHAs/BHAs | Evening | Use after cleansing, before serums. Start 2-3 times weekly | Retinol, vitamin C, other acids |
Tips for Beginners: Simplified Layering
Starting a skincare routine can feel overwhelming with so many products and rules. New users should focus on building a basic routine first before adding extra steps. These simple tips make layering skincare easier for anyone just starting out.
- Start with the basics only: Begin with cleanser, moisturizer, and sunscreen before adding serums or treatments to avoid overwhelming the skin
- Introduce one product at a time: Wait two weeks between adding new products to identify what works and what causes reactions
- Less is more initially: Three to four products are enough for beginners until the skin adjusts to a routine
- Patch test new products first: Apply a small amount on the inner arm or behind the ear for 24 hours before using on the face
- Give products time to work: Most skincare takes 4-6 weeks to show visible results, so consistency matters more than switching products quickly
How to Customize Layering for Your Skin Type
Different skin types have unique needs that affect how effectively layering works. Adjusting product textures and focusing on specific concerns helps each skin type get the best results from a routine.
| Skin Type | Best Product Textures | Focus On | Avoid |
|---|---|---|---|
| Oily | Gel cleansers, water-based serums, and lightweight moisturizers | Oil control, pore care | Heavy creams, too many layers |
| Dry | Cream cleansers, thick serums, rich moisturizers, face oils | Deep hydration, barrier repair | Harsh cleansers, skipping oils |
| Combination | Gel cleansers, balancing toners, moderate moisturizers | Targeted treatment per zone | Same products in all areas |
| Sensitive | Fragrance-free formulas, gentle cleansers, simple serums | Soothing, minimal irritation | Actives, fragrances, excess products |
Common Skincare Layering Mistakes to Avoid
Even when following the right order, small mistakes can prevent products from working properly. Understanding what not to do when learning how to layer skincare helps avoid wasted effort and disappointing results.
- Applying products to completely dry skin: Most serums and treatments absorb better on slightly damp skin, especially hydrating ingredients like hyaluronic acid
- Not waiting between steps: Rushing through a routine prevents proper absorption, causing products to pill or mix together and lose effectiveness
- Using too much product: More doesn’t mean better results; excess product just sits on the surface and wastes money without penetrating deeper
- Mixing incompatible active ingredients: Combining retinol with vitamin C or acids causes irritation and reduces the effectiveness of both products
- Skipping sunscreen after activities: Ingredients like retinol and acids increase sun sensitivity, making sunscreen absolutely essential every morning without exception
The Bottom Line
Proper product sequencing turns skincare from guesswork to science. How to layer skincare becomes second nature once the basic principles stick: thinnest to thickest, water before oil, and actives with care.
The difference shows up in healthier, clearer skin that actually reflects the effort put in. Starting simple prevents overwhelm while building lasting habits.
Consistency beats perfection every time when it comes to seeing real changes. Each person’s skin responds differently, so adjustments along the way are completely normal. The foundation is set; now clean skin, treat concerns, lock in benefits, and protect daily.
Ready to start seeing real results? Begin with just three products tonight.
Frequently Asked Questions
How Long Should You Wait Between Skincare Layers?
You usually only need to wait 30 seconds to 1 minute between skincare layers. This gives each product enough time to absorb properly.
Do You Apply Serum Before or After Moisturizer?
Serum should be applied before moisturizer because it contains active ingredients that need to reach the skin first. Moisturizer helps seal everything in.
Should Sunscreen Be the Last Step in Skincare?
Yes, sunscreen should always be the last step in your morning skincare routine. It creates a protective barrier against UV damage.