Blowout hairstyles are one of the most popular looks for soft, full, and shiny hair. If you like smooth, straight hair or big, bouncy curls, a blowout helps your hair look fresh and full of life.
The best part is that you can do it yourself at home with a few tools and a bit of practice.
If you have ever left a salon loving your hair and wished you could get the same result at home, you are at the right place.
Here, you will learn how to do blowout hairstyles step-by-step, what tools you need, and easy ways to make your style last longer.
What is a Blowout Hairstyle?
A blowout hairstyle is a way to dry and style your hair with a blow dryer and a round brush.
It helps smooth your hair, add shine, and create body. Unlike air drying or straightening, a blowout gives your hair both smoothness and bounce.
There are different kinds of blowout hairstyles. Some people like straight and shiny styles, while others prefer big, soft curls like in the 1990s.
You can choose what best fits your hair and mood. The main goal of a blowout is to get soft, frizz-free hair that moves nicely.
When you do it right, your hair looks neat and clean, just like after a salon visit, but from the comfort of your own home.
Tools You’ll Need for a Blowout Hairstyle
Before you start, make sure you have all the right tools. Having the correct tools makes a big difference in how your blowout turns out.
| Tool | Use |
| Blow dryer with a nozzle | The nozzle helps direct the air and smooth the hair. |
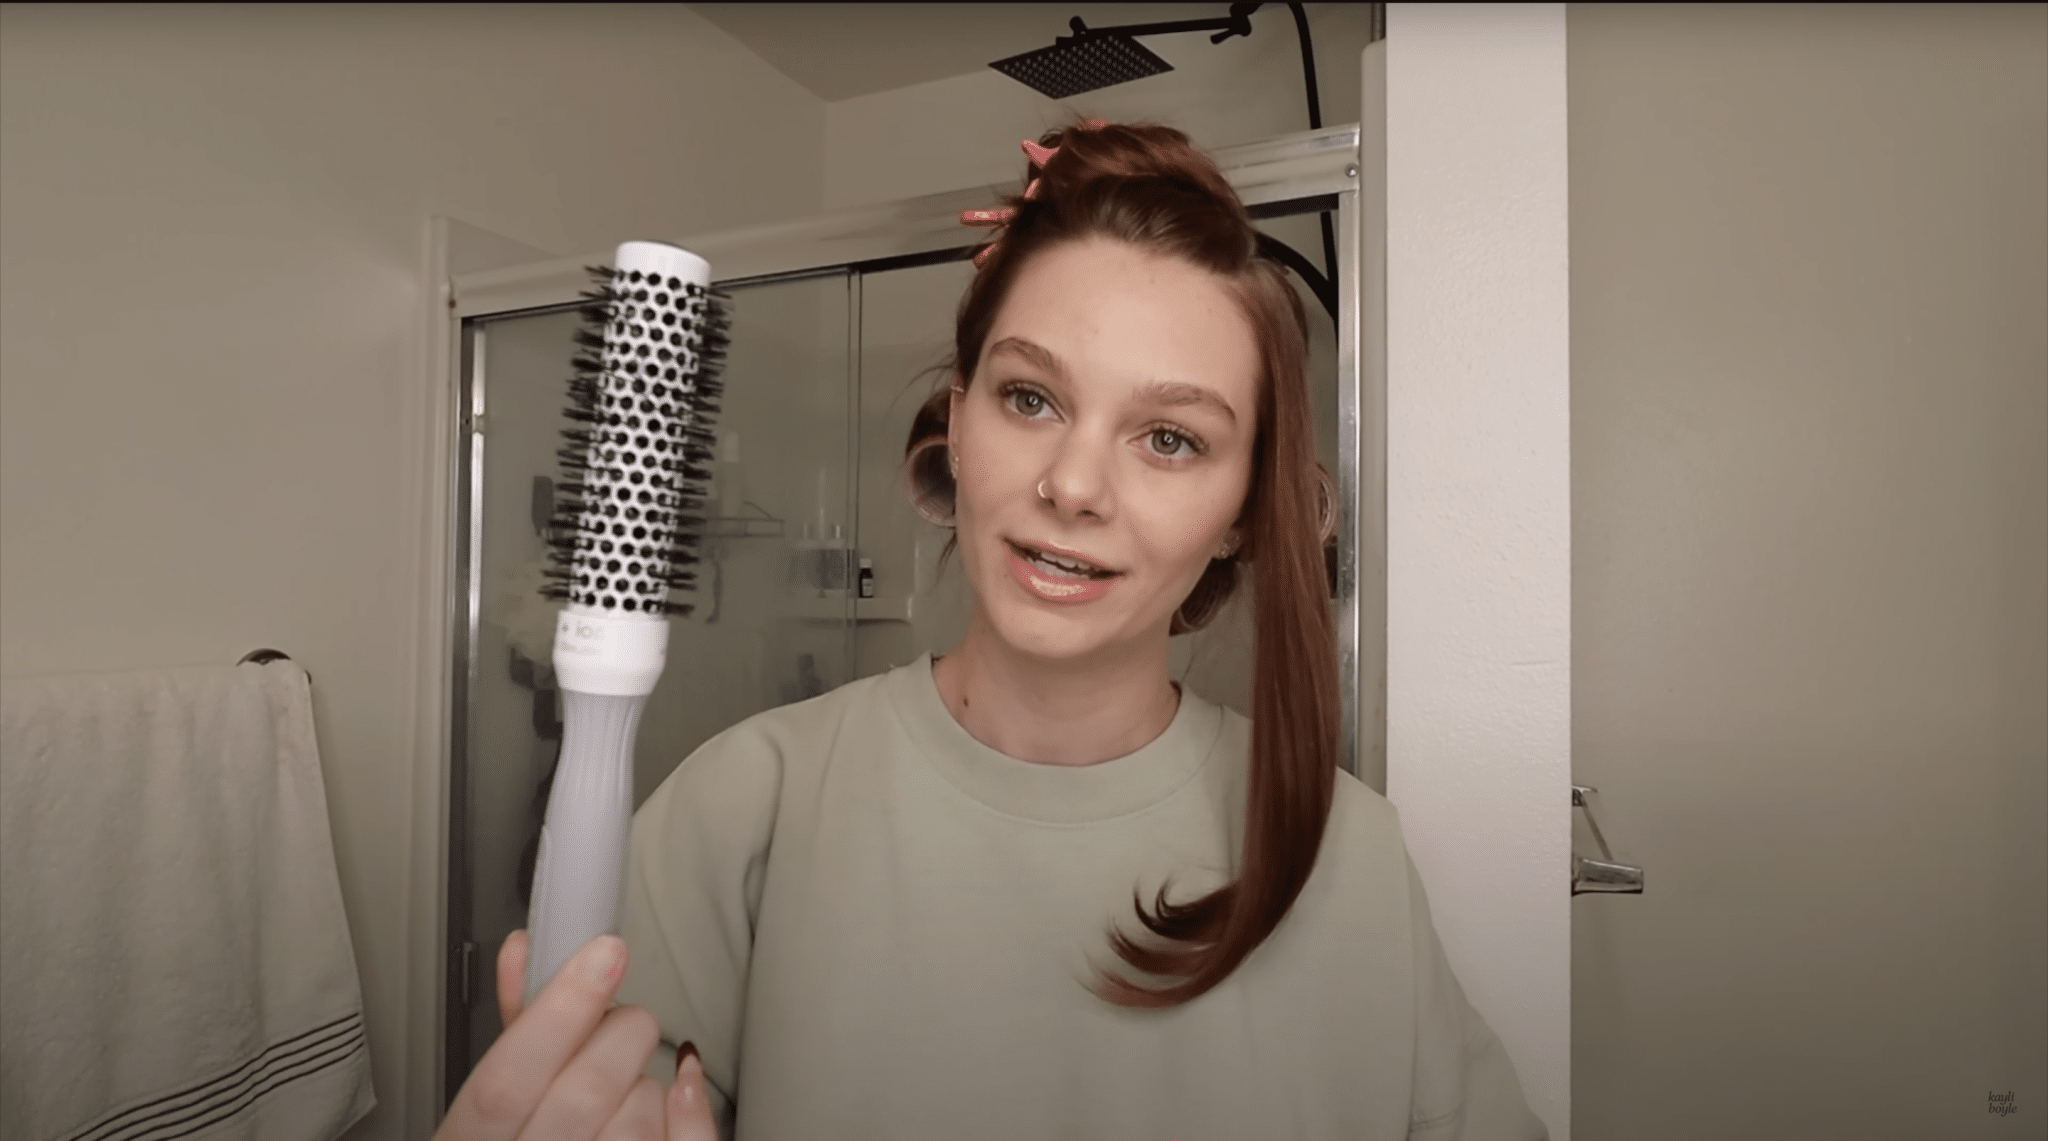
| Round brush | Big is good for volume, and a smaller one for shorter hair or bangs. |
| Velcro rollers | Keep curls in place and make your blowout last longer. |
| Heat protectant spray | Keeps your hair safe from heat damage. |
| Leave-in conditioner or smoothing spray | Adds shine and softness. |
| Hair clips | Helps divide your hair into parts for easier drying. |
| Hair oil or serum | Adds shine and keeps your hair from getting frizzy |
| Optional | A silk or satin cap for bedtime to protect your blowout |
With the right tools and a little practice, you’ll have salon-quality hair at home. Remember to use heat protectant every time, and your blowout can last for days. Now go enjoy that gorgeous, bouncy hair.
Step-by-Step Guide to Doing Blowout Hairstyles
Below is a simple way to achieve a 1990s-style blowout at home that gives you soft, full hair. You don’t need to be a hairstylist to get great results.
With a little time, the right tools, and practice, you can make your hair look like it was done in a salon.
Step 1: Get Ready
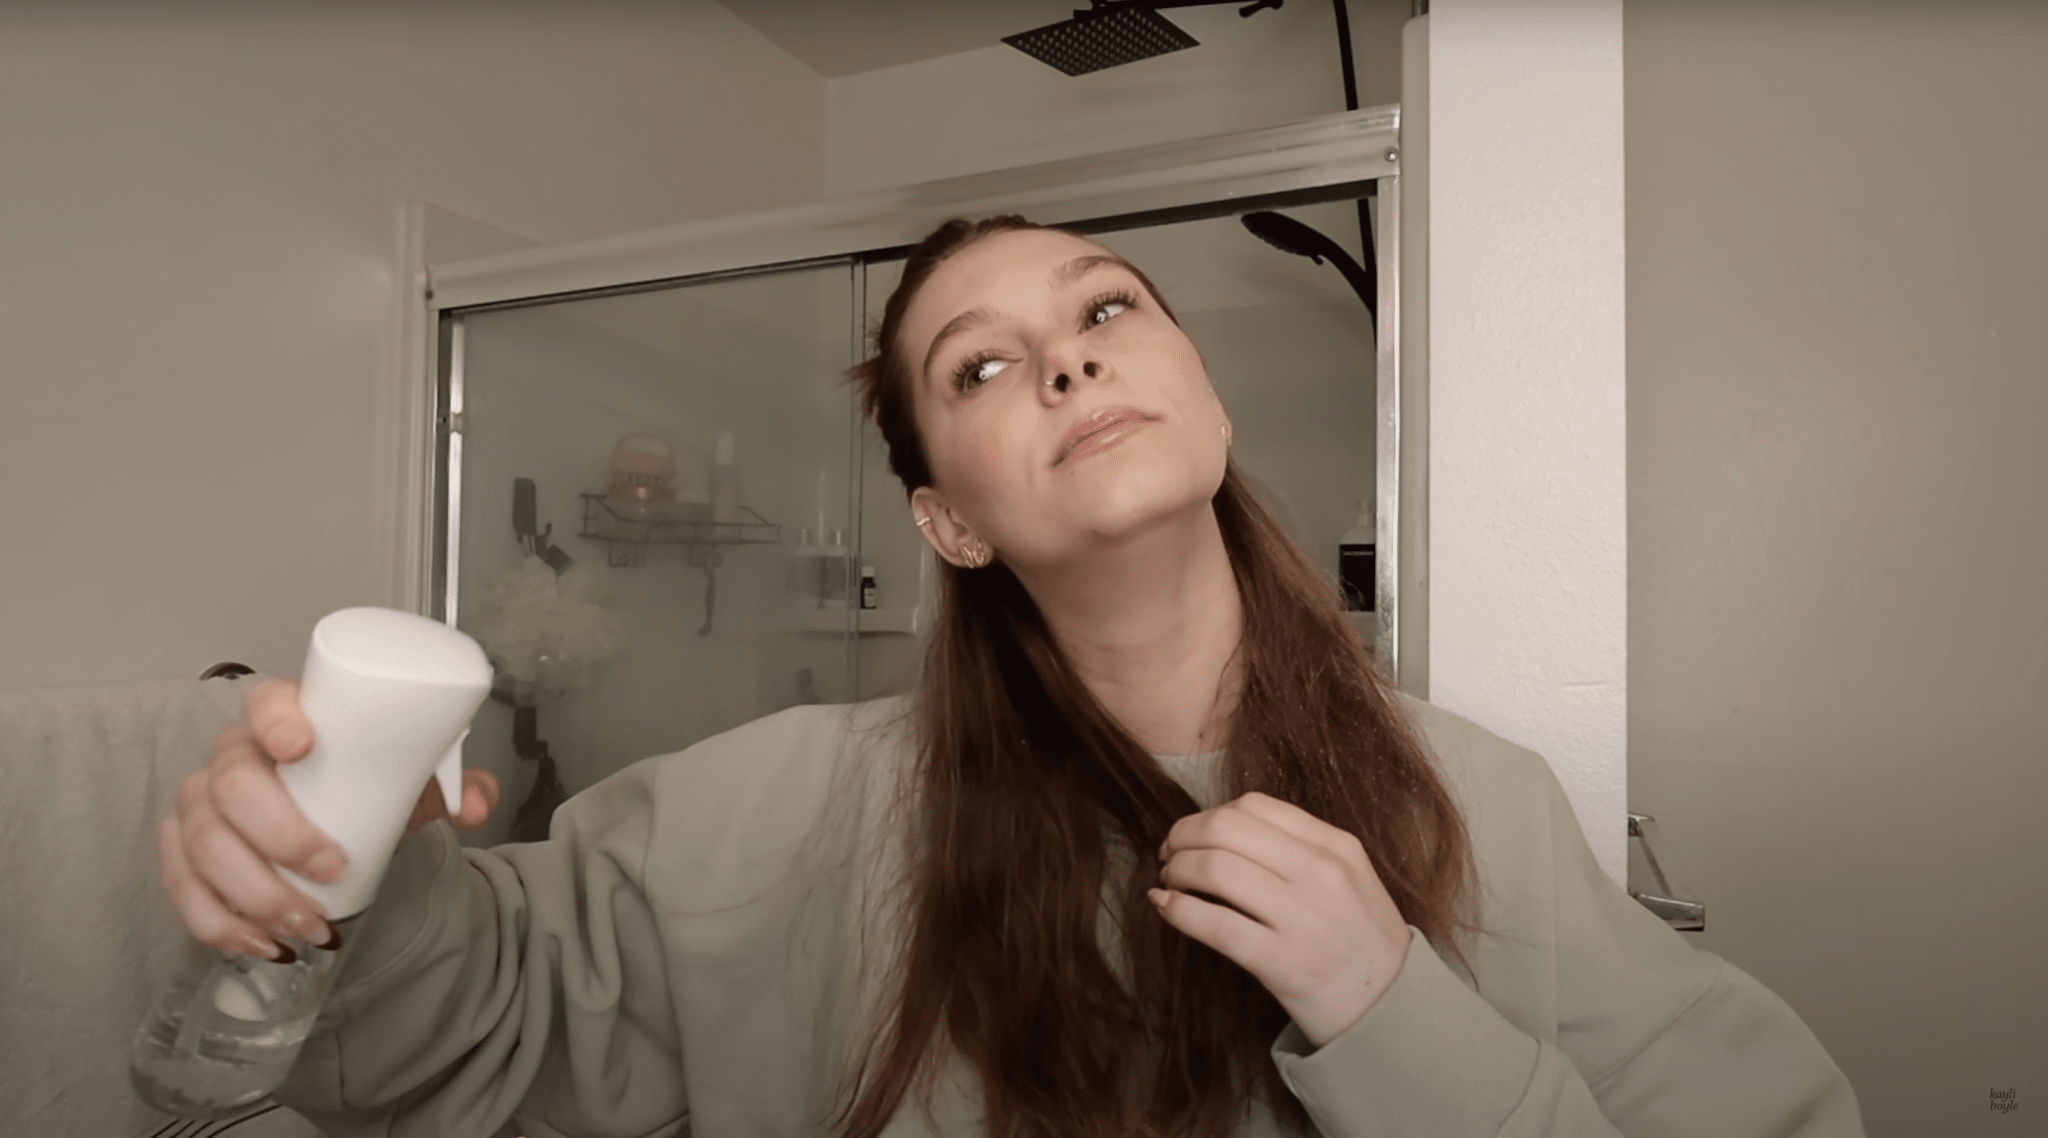
Wash your hair, then let it dry for about an hour until it is a little damp. Spray Color Wow Dream Coat all over your hair in sections to make it smooth and shiny.
Then use Maria Nila heat protectant to protect it from the dryer. Brush your hair so the products spread evenly.
Step 2: Make Sections
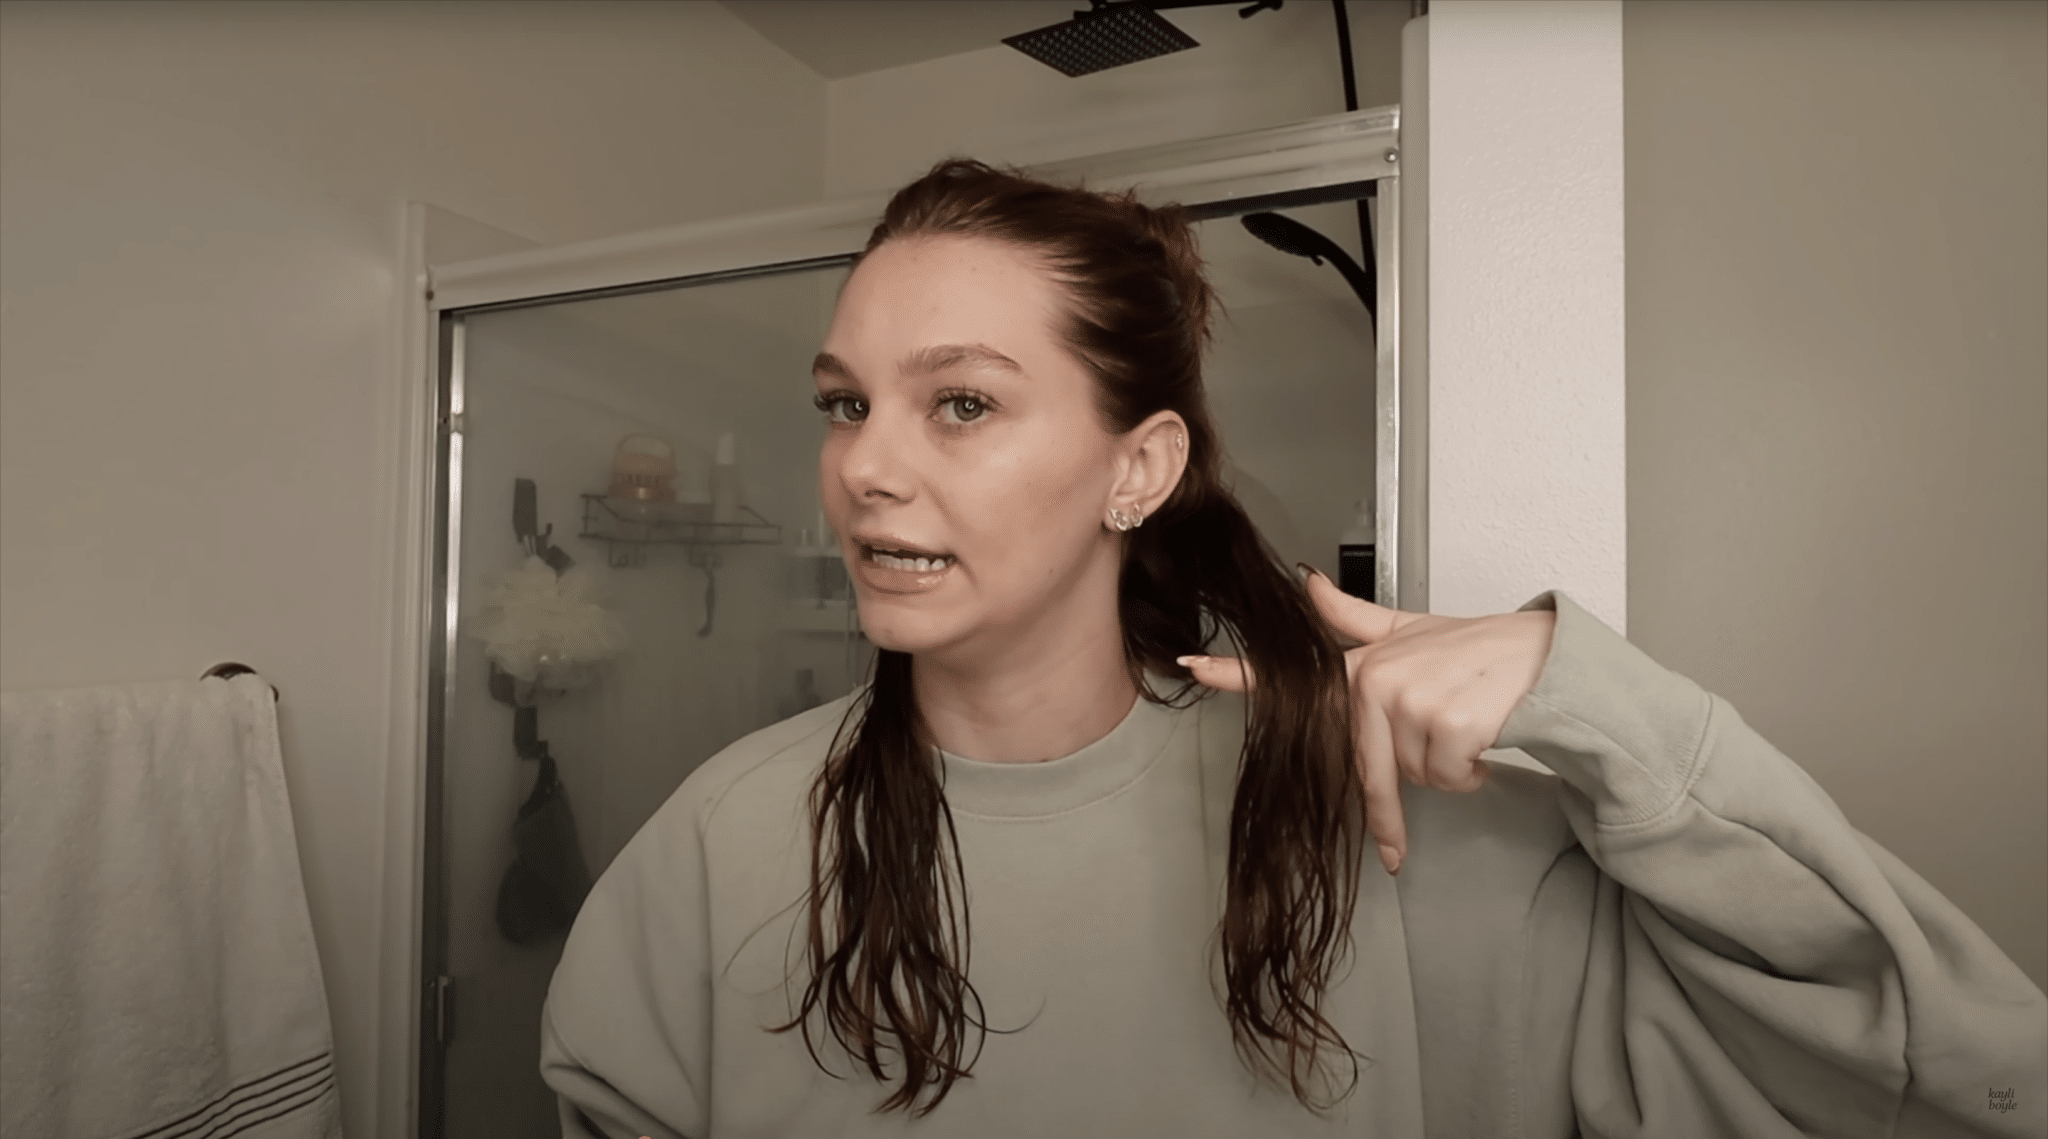
Split your hair into layers. Make one at the bottom from ear to ear, one in the middle from temple to temple, and one on top down the center of your head.
Use clips to keep them apart. This makes drying easier and faster.
Step 3: Dry Your Hair
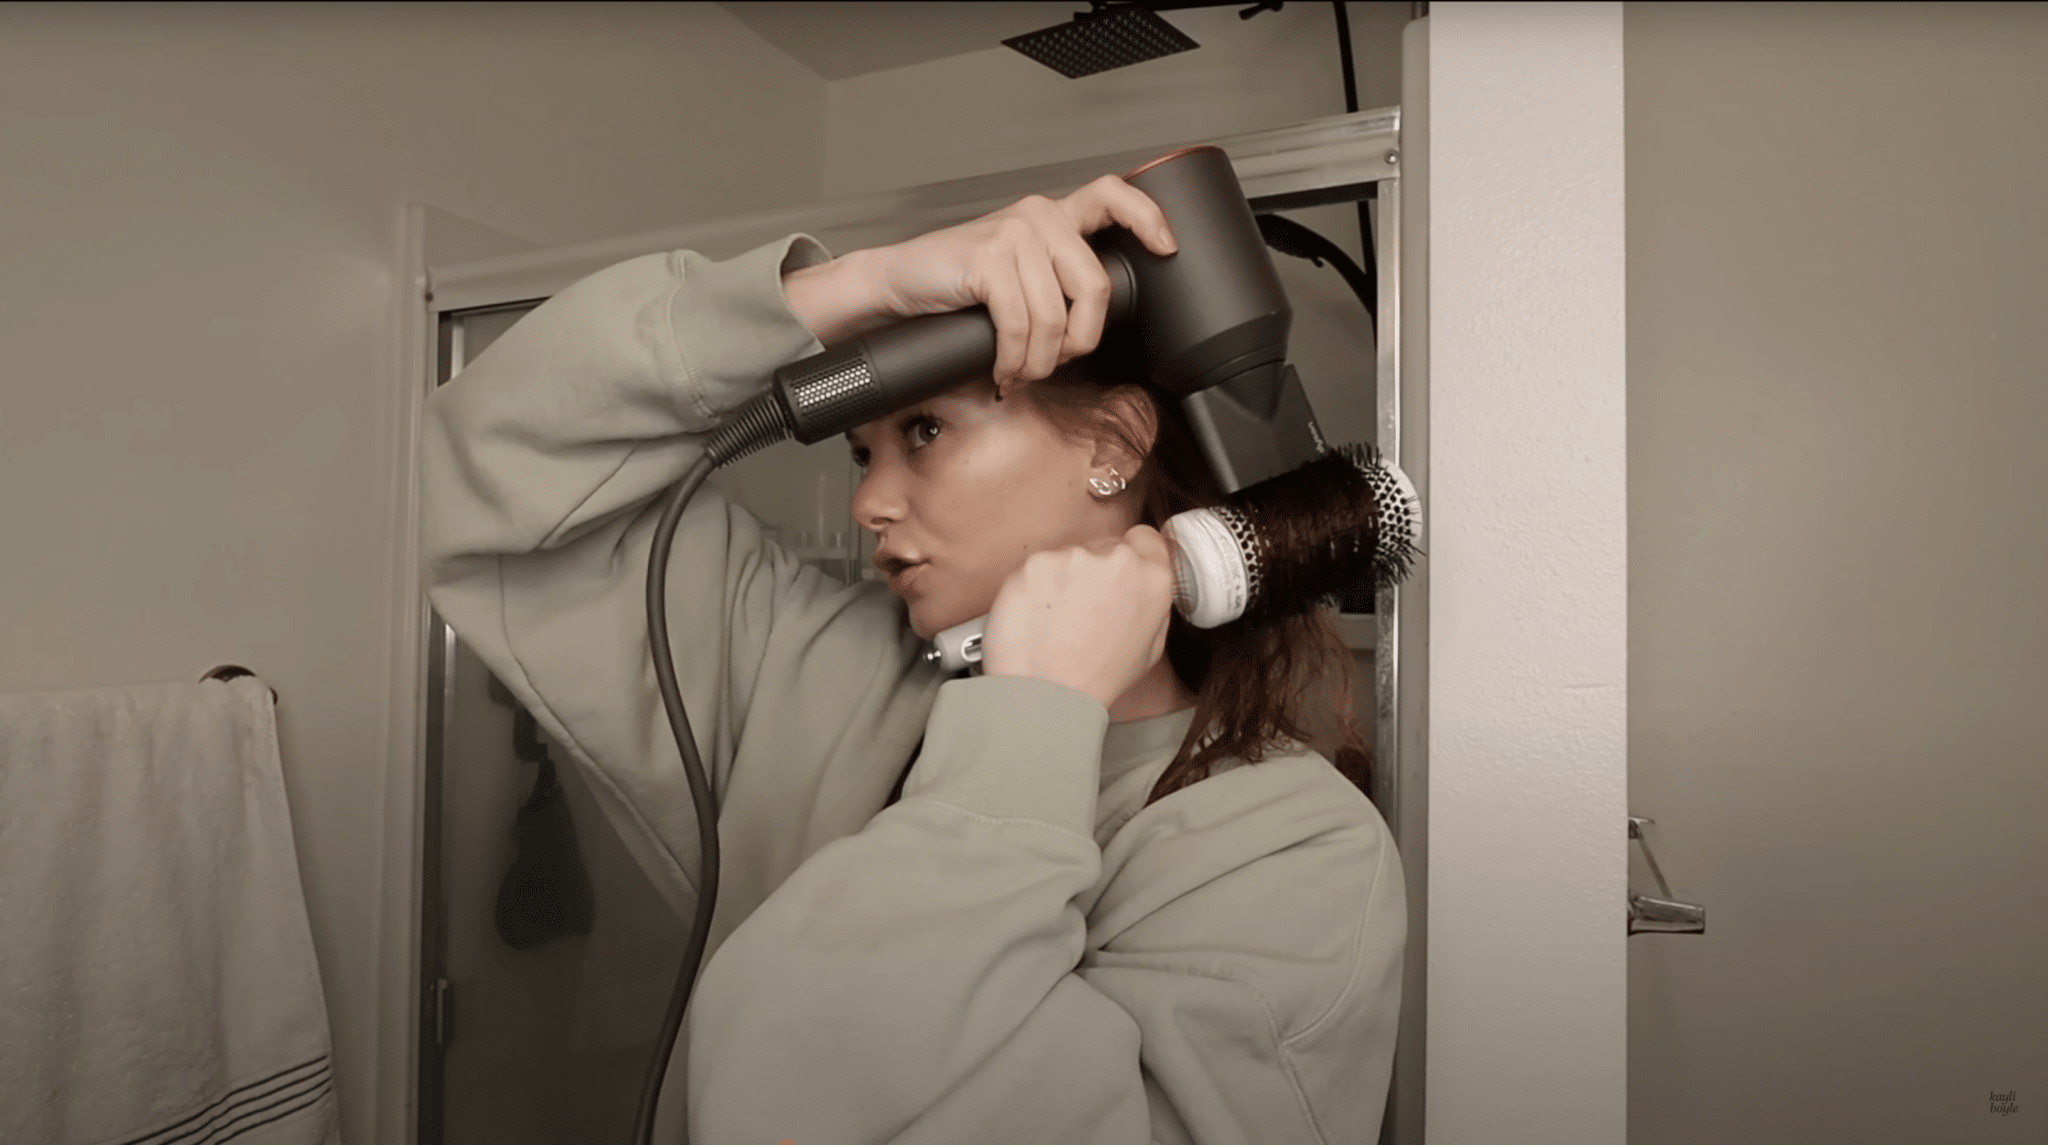
Always keep the dryer nozzle pointing down on the hair. Place the round brush under a small section, lift it up, and roll while following with the dryer.
Keep going until it is fully dry with a soft curl at the ends. If your hair gets stuck in the brush, gently lift it out with the pointed end of a comb.
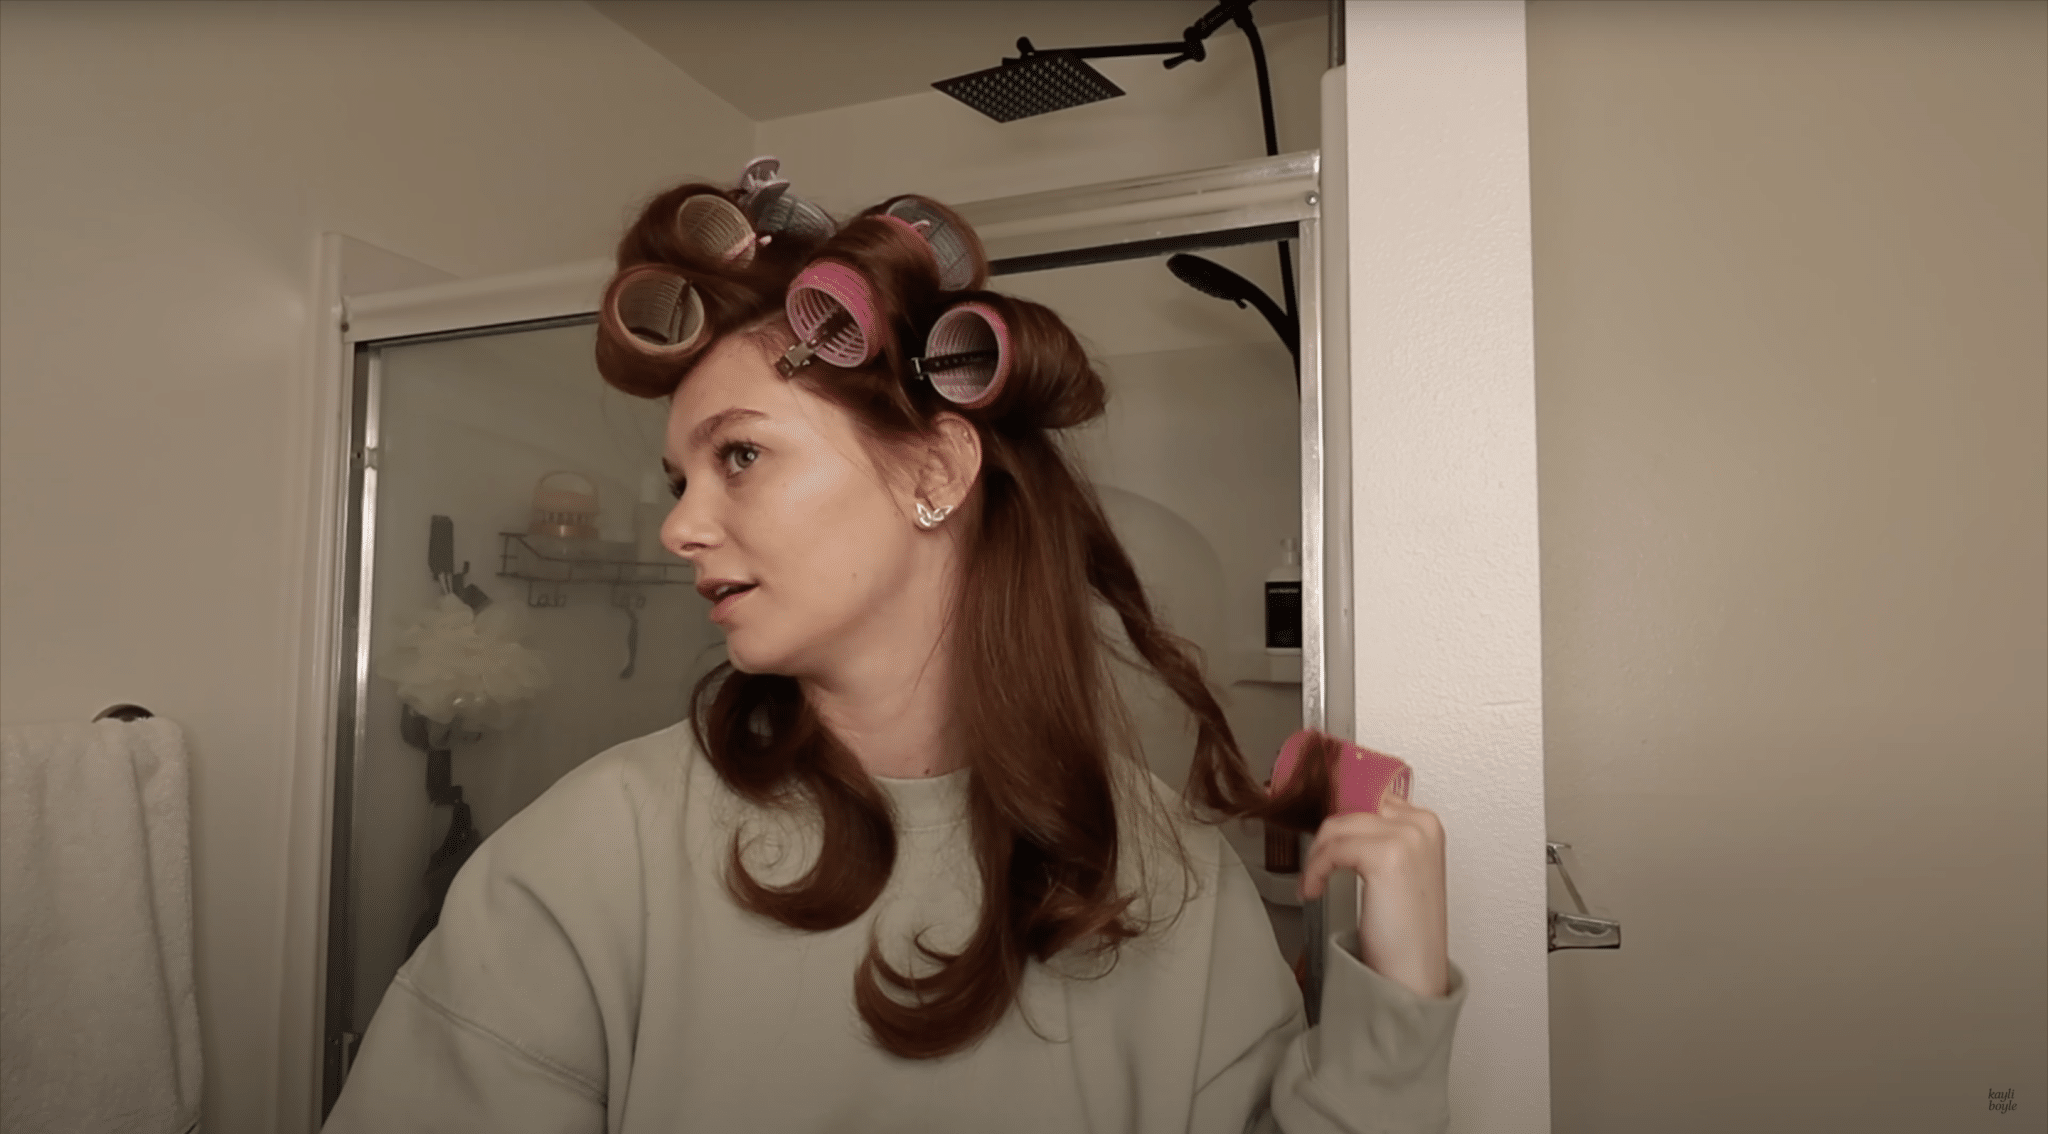
Step 4: Add Rollers

When each piece is warm, roll it up with Velcro rollers. Use big rollers for the top and smaller ones for the lower parts.
Clip them and let them cool for about an hour. Cooling helps the curls stay in place.
Step 5: Lift the Roots
For extra height, use a small round brush near the roots. Blow-dry the roots upward, then clip the section while it cools. This helps your hair stay full at the top.
Step 6: Take Rollers Out
Once the hair is cool, gently remove the clips and rollers. Twist and pull them out softly to avoid frizz.
Shake your roots with your fingers to loosen the curls. Do not brush too much. Use a wide-tooth comb if needed.
Step 7: Finish and Care
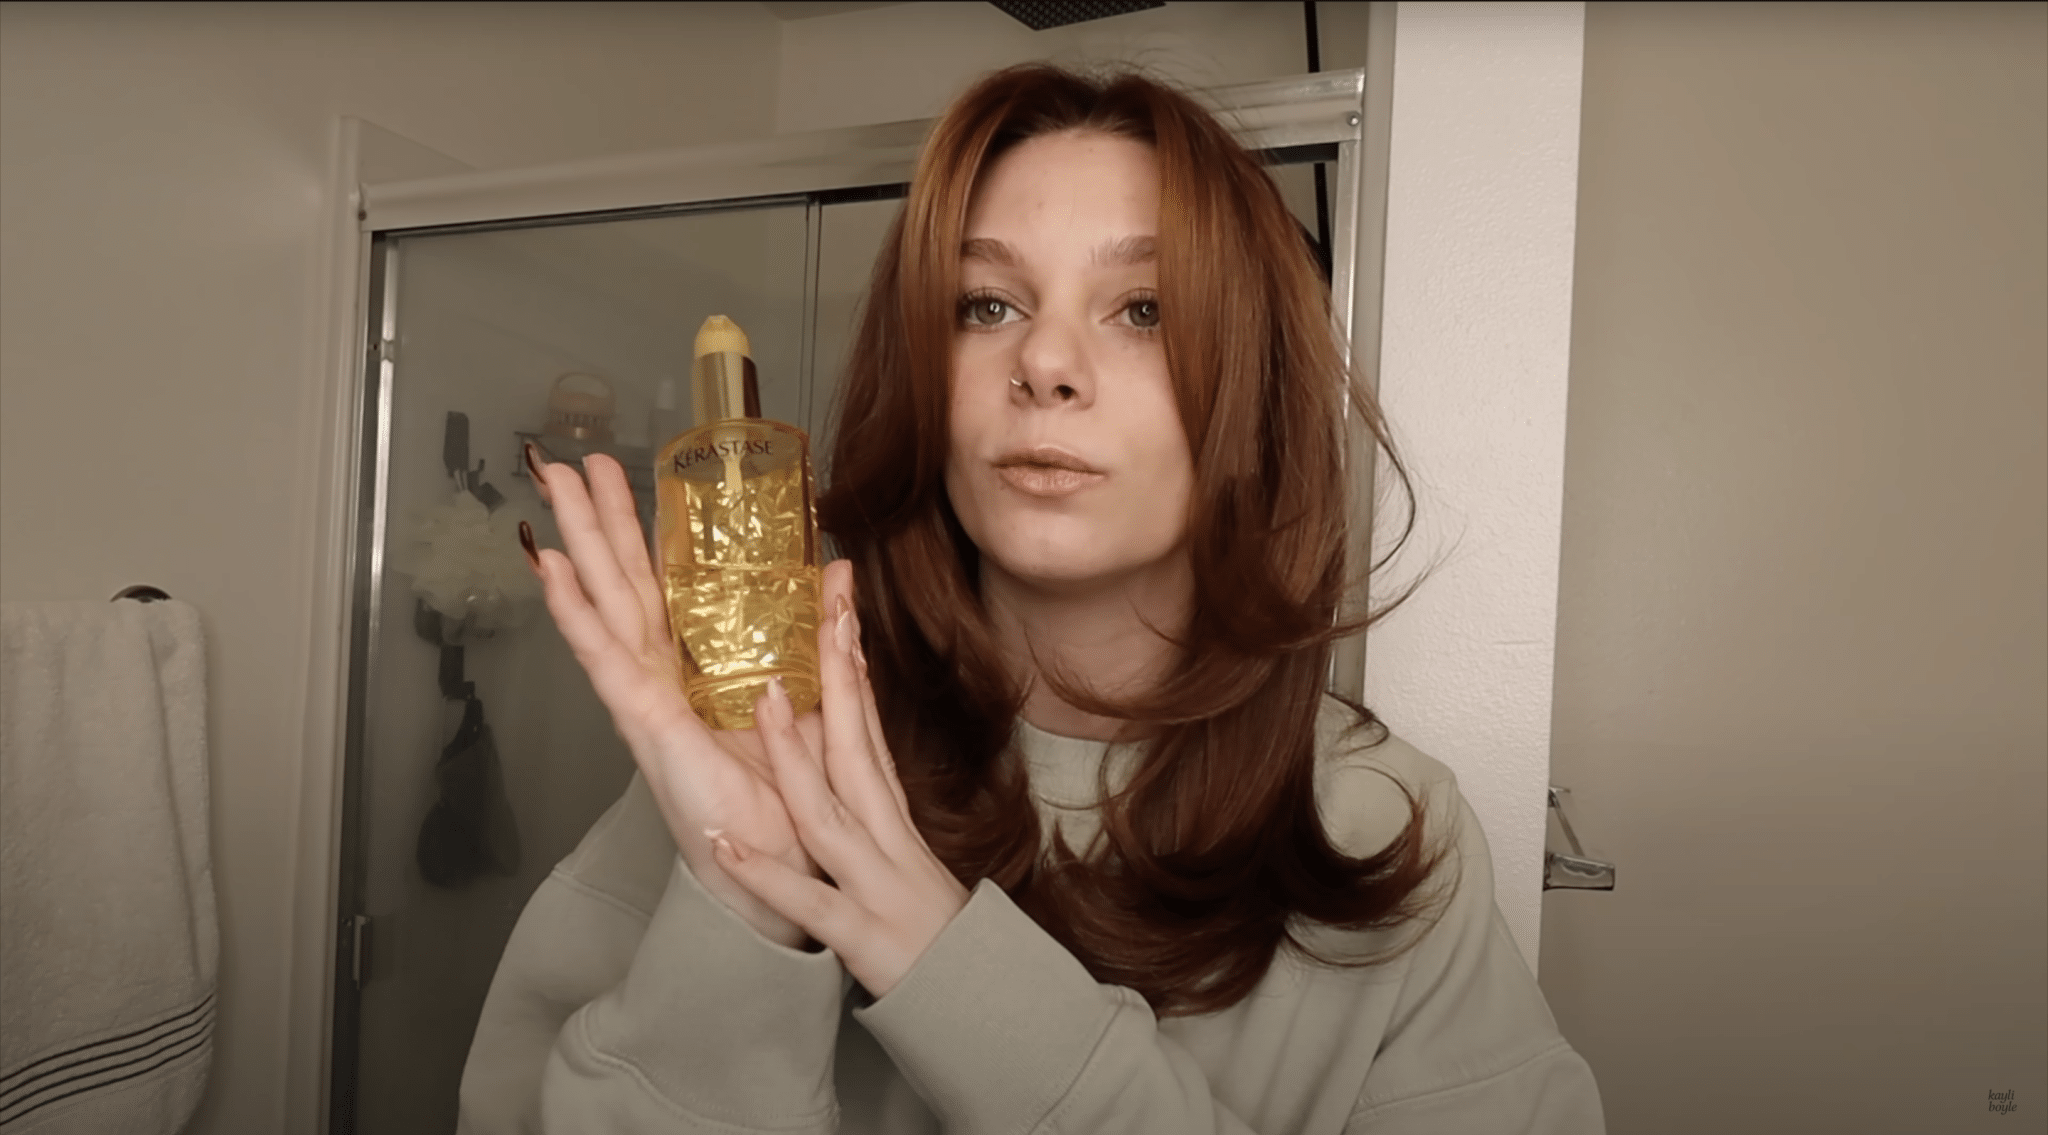
Rub a few drops of Kisto hair oil through the middle and ends for shine. Avoid heavy sprays unless your hair falls flat easily.
To keep it smooth overnight, put your hair in a loose bun or wear a silk or satin cap. Add a little oil to the ends before bed.
Now you have smooth, shiny, and bouncy hair that lasts for days. Be gentle when styling, always protect it from heat, and keep it moisturized so it stays soft and healthy.
Video Tutorial
Thanks to Kayli Boyle for this insightful video, referenced while creating this guide. Watch this video for helpful tips and further guidance.
Different Types of Blowout Hairstyles
There are many ways to style a blowout depending on your hair type, length, and the look you want. Below are twelve popular blowout hairstyles you can try at home.
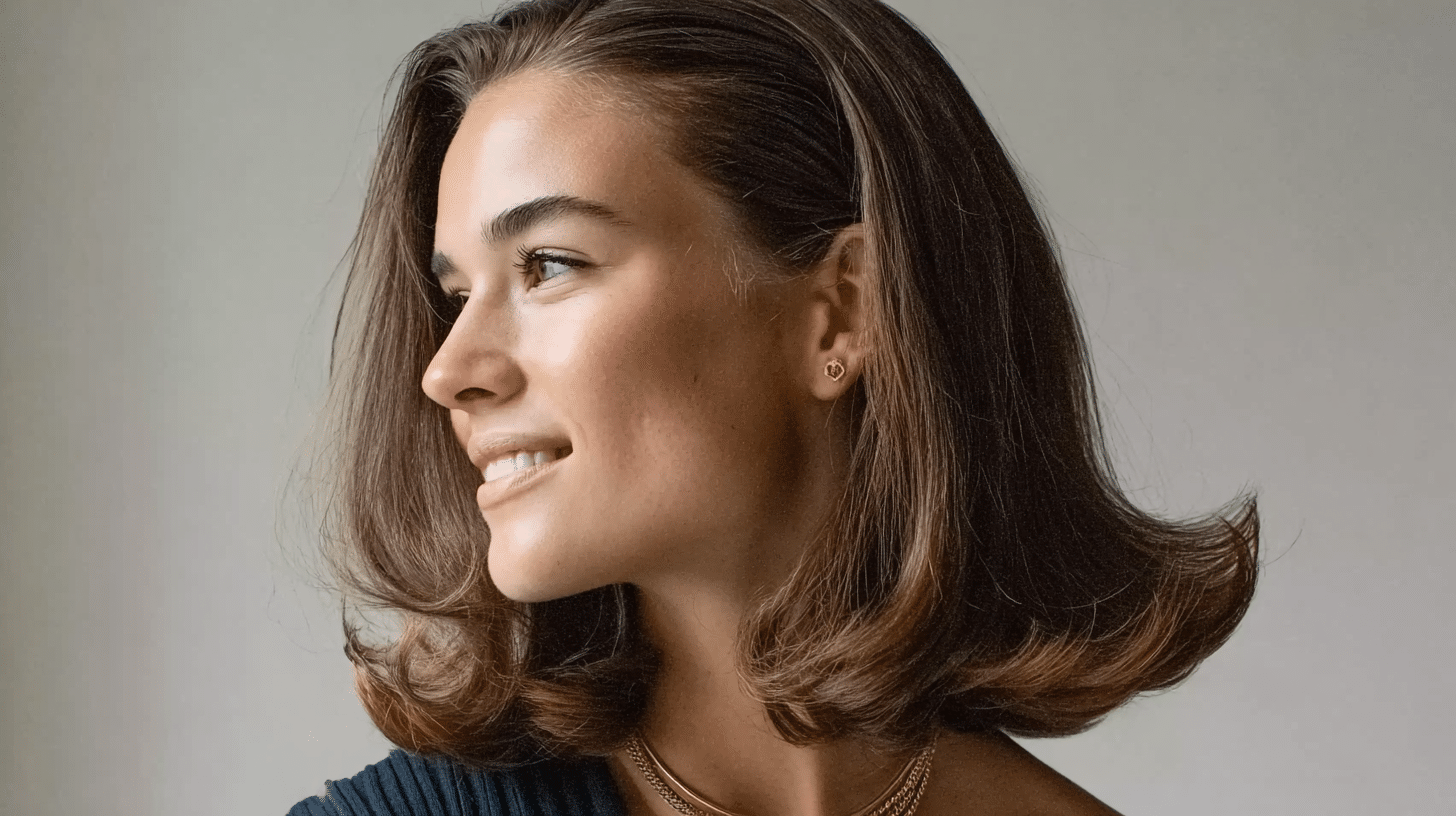
1. Classic Blowout
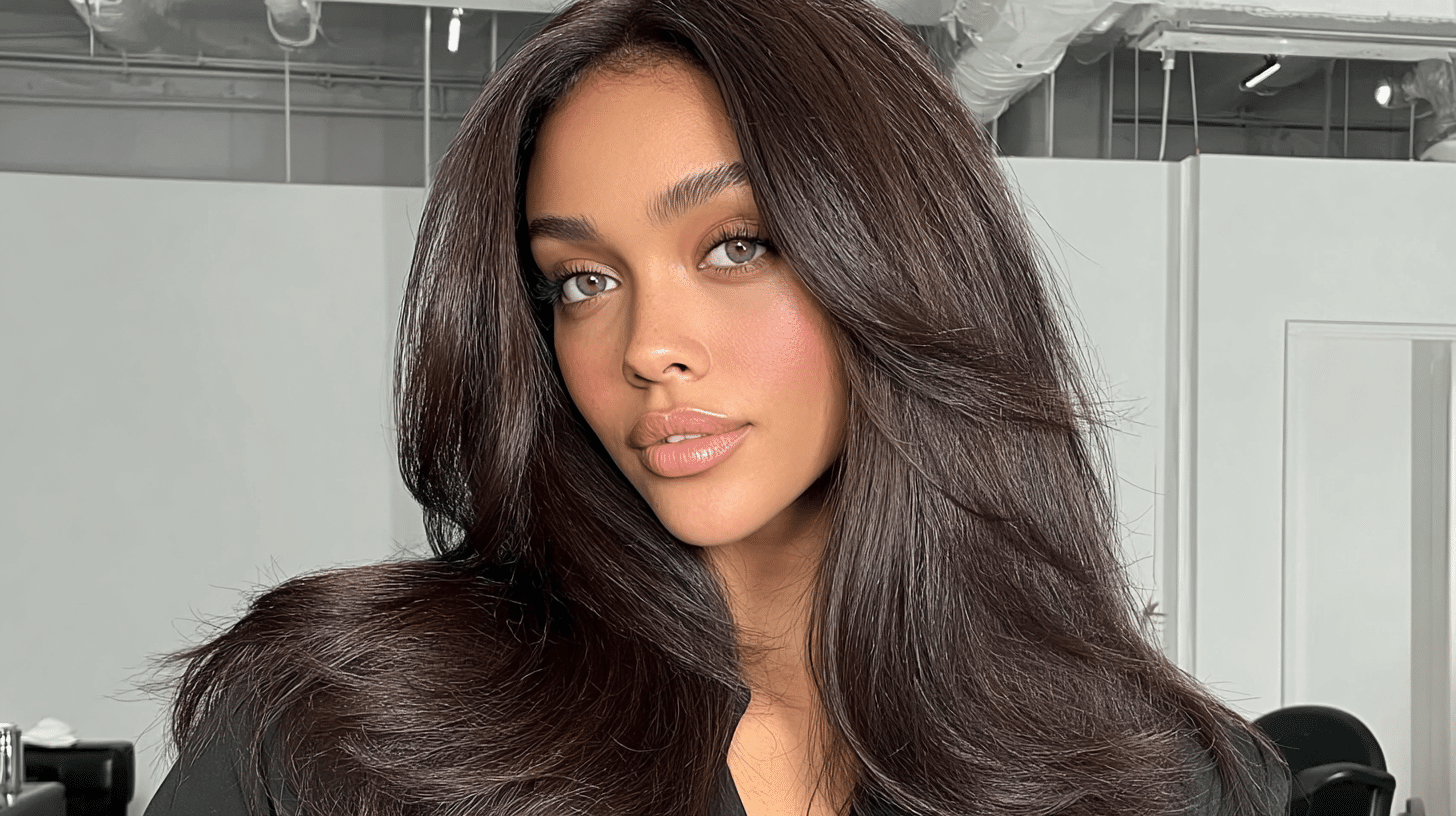
This is the most common blowout hairstyle. It gives your hair smoothness, shine, and soft volume. The ends are gently curled under for a neat and clean finish. It works great for both everyday wear and special occasions.
Best for: Straight or slightly wavy hair.
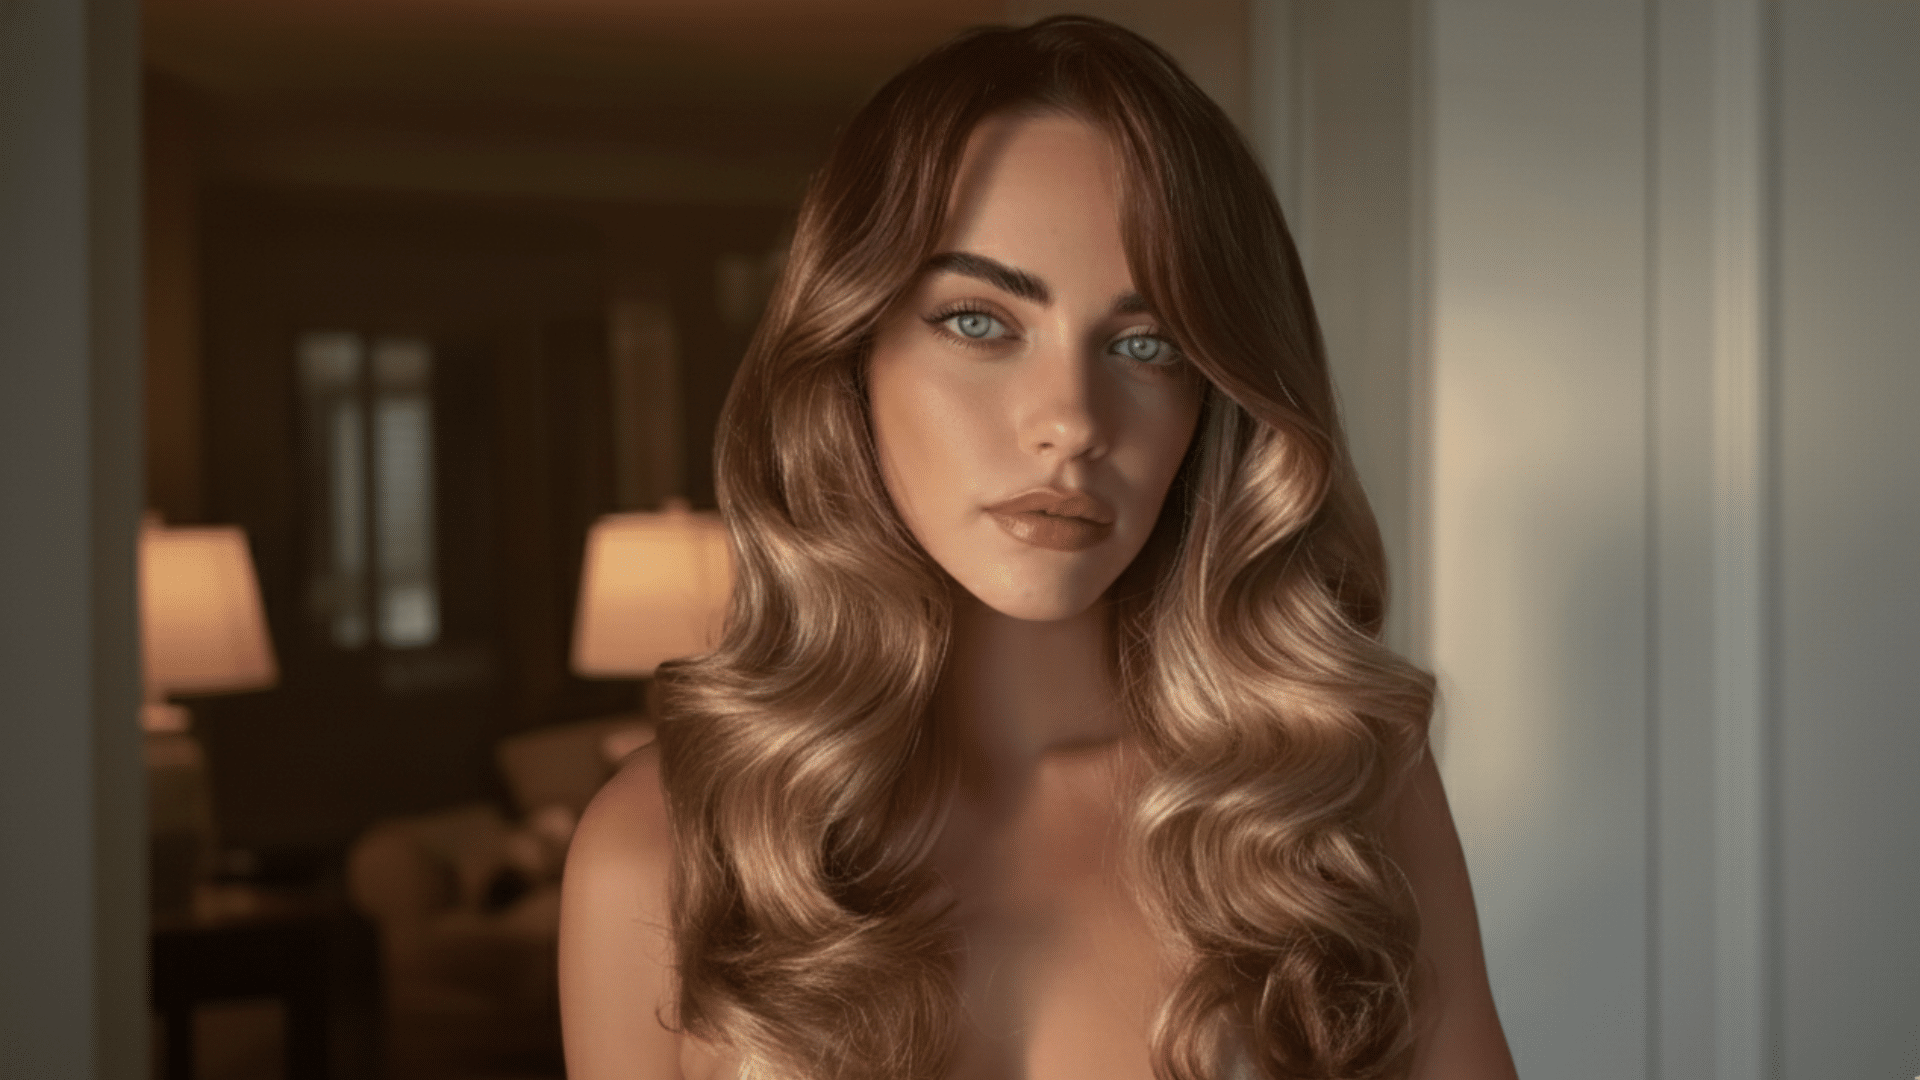
2. 1990s-Inspired Blowout
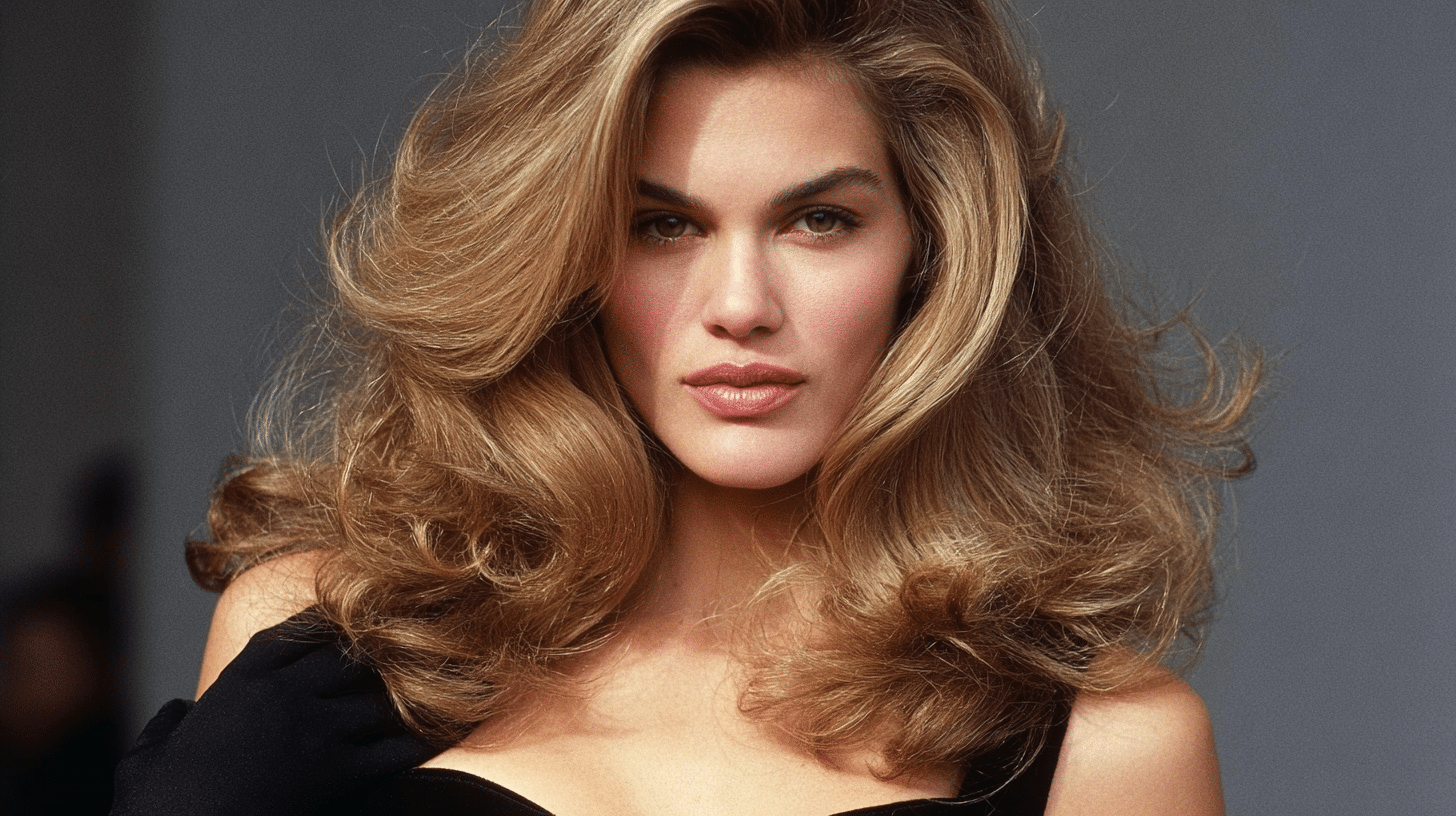
This style is full, bouncy, and has lots of body. It’s often called the “supermodel blowout” because it looks soft and fluffy with curled ends that flip away from the face.
Best for: Medium to thick hair.
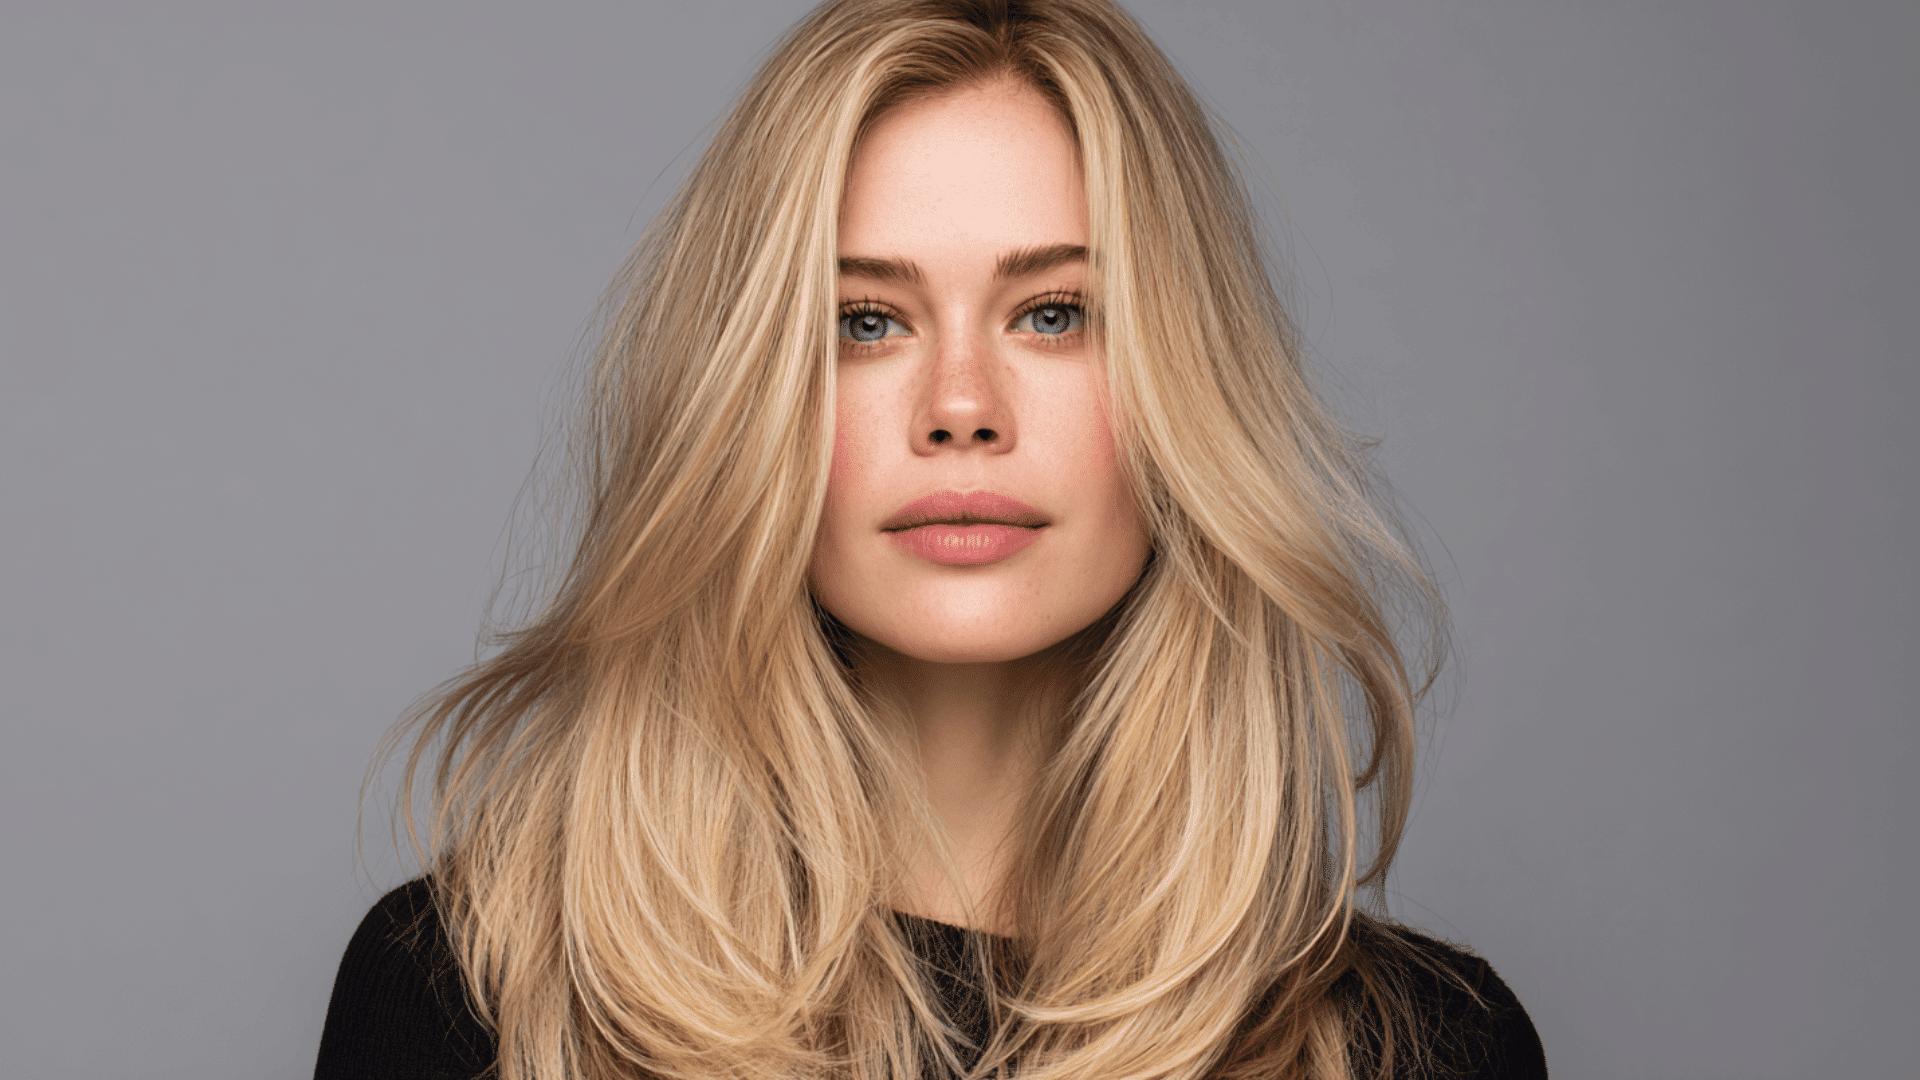
3. Sleek and Straight Blowout
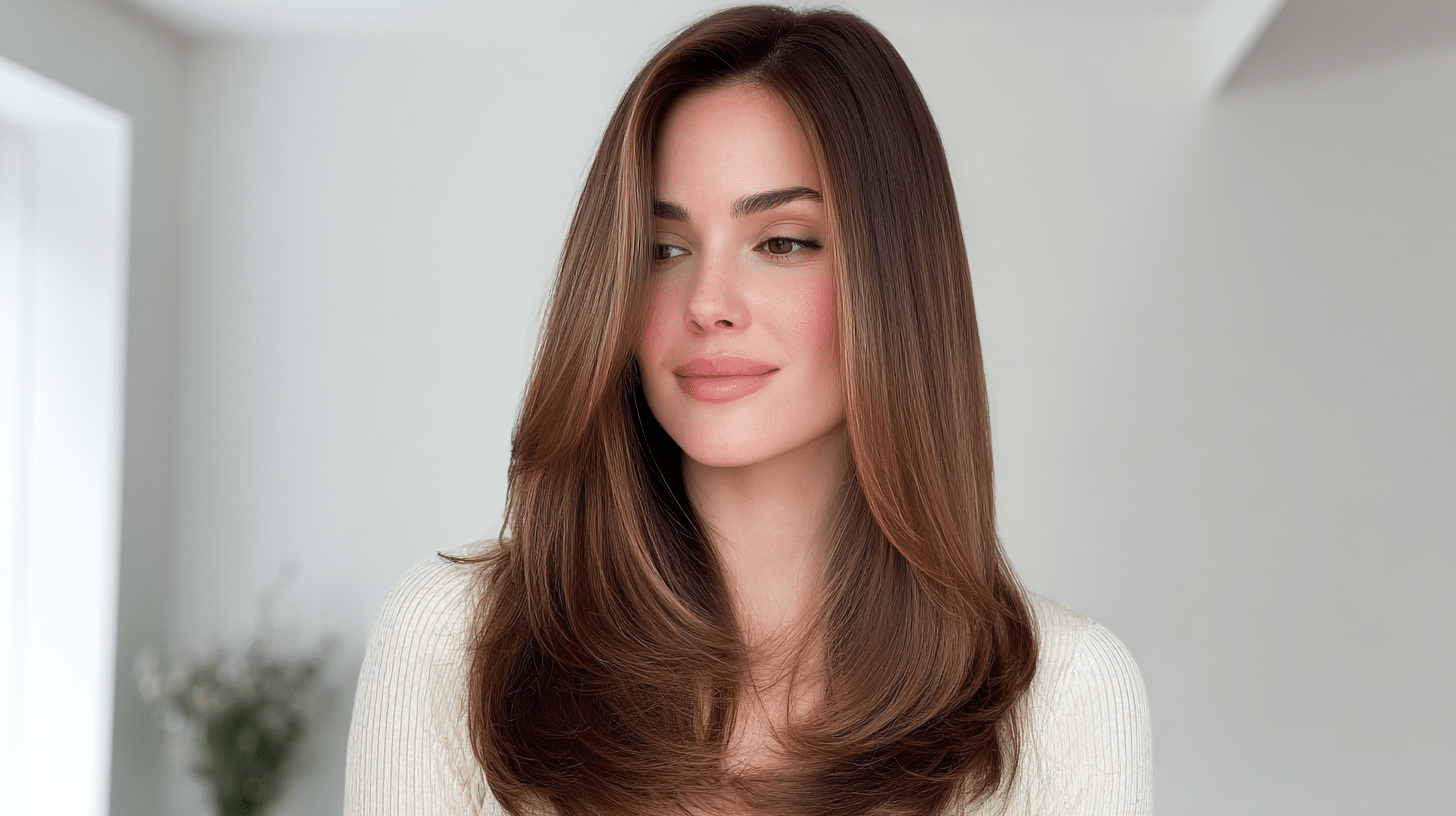
This version focuses on shine and smoothness instead of volume. The hair is straight but not flat, giving it a polished and clean finish.
Best for: Straight or fine hair.
4. Curly or Wavy Blowout
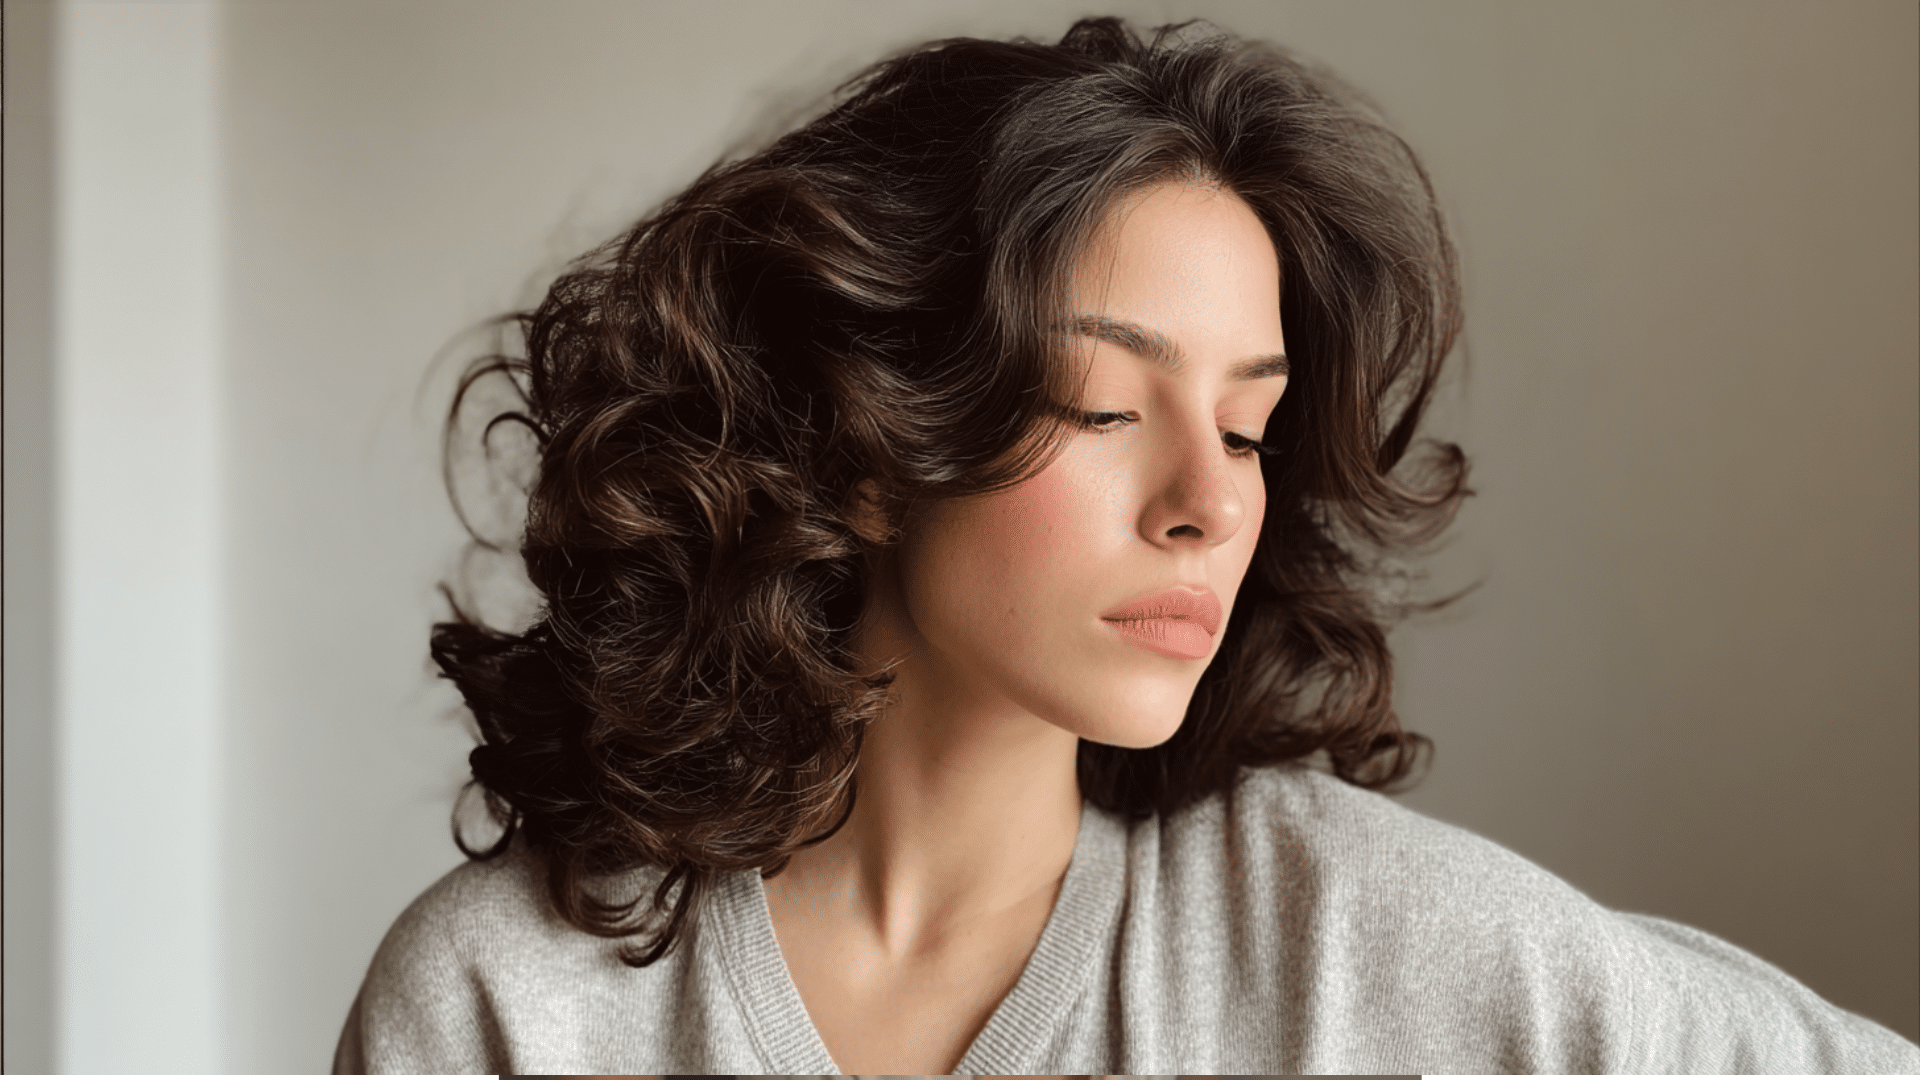
This style keeps your natural curls or waves but makes them smoother and more defined. It gives your hair shape and bounce without removing texture.
Best for: Naturally curly or wavy hair.
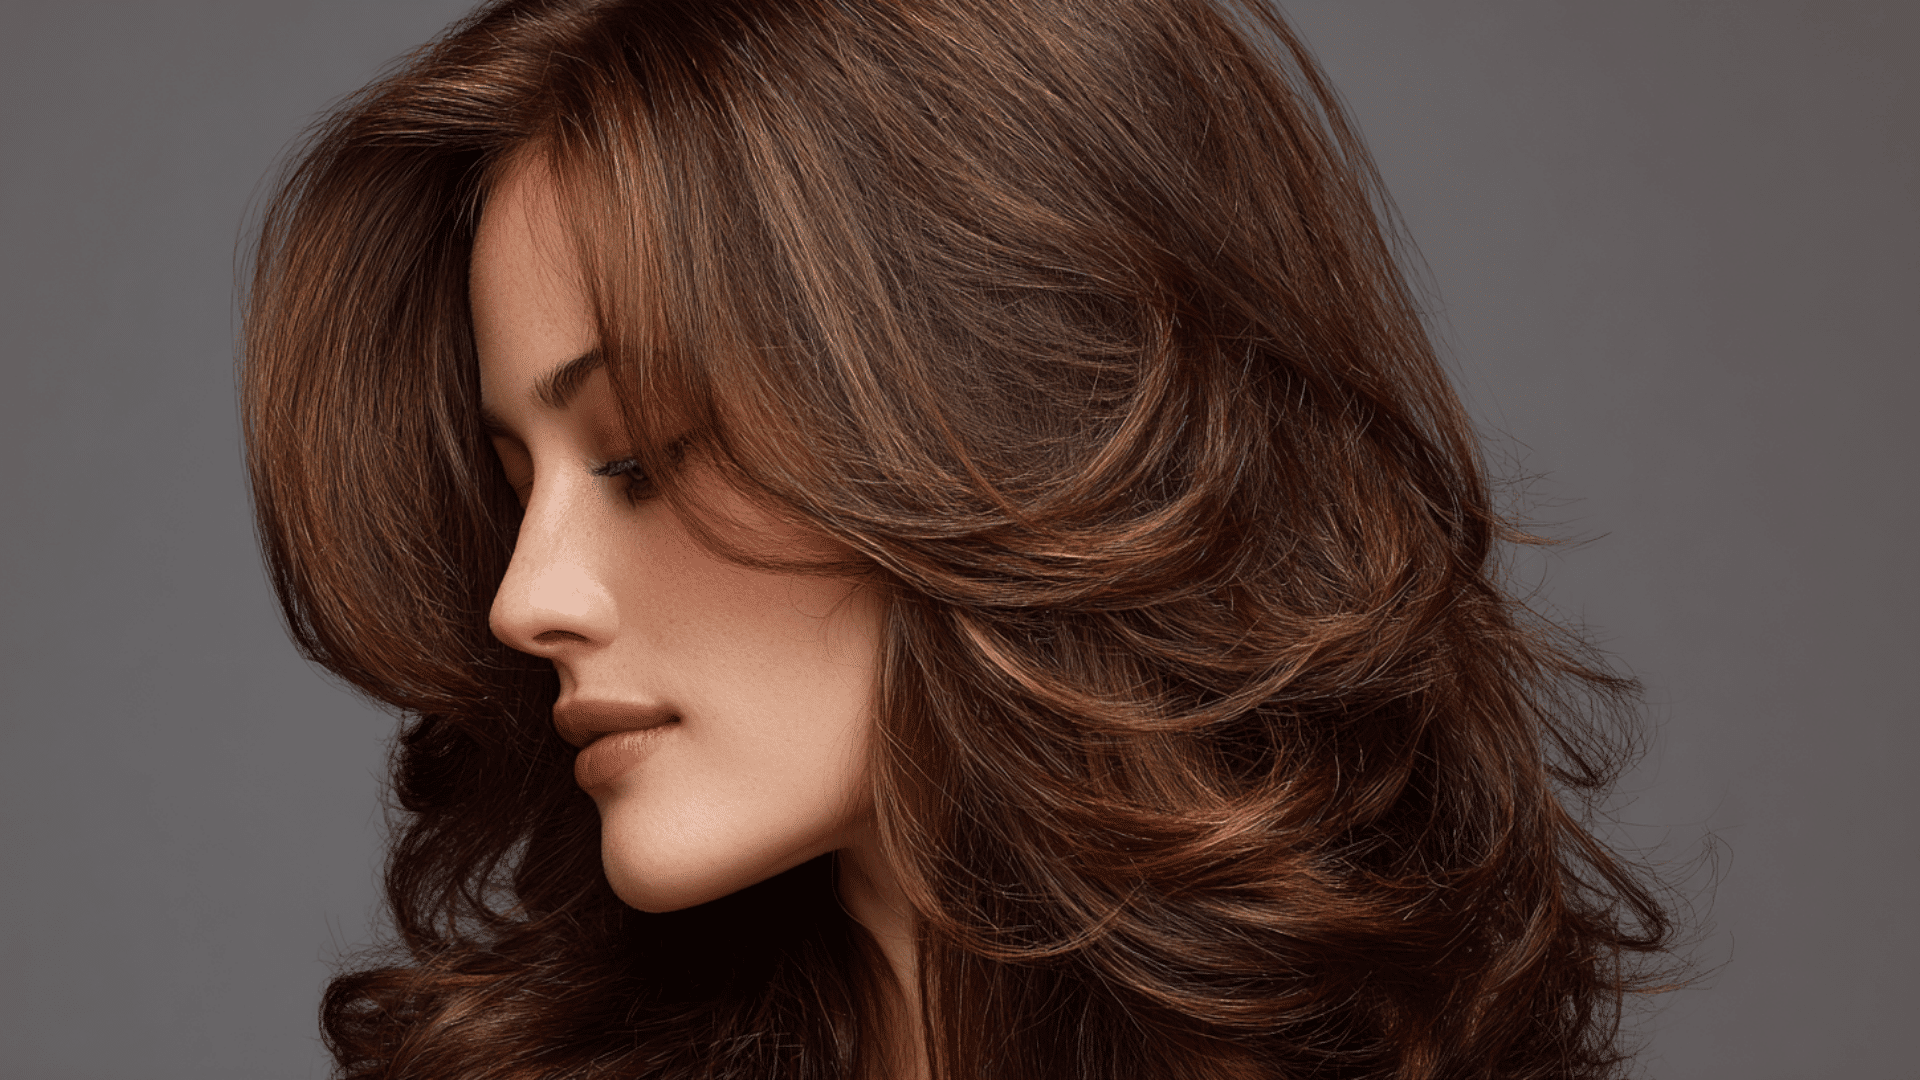
5. Voluminous Blowout
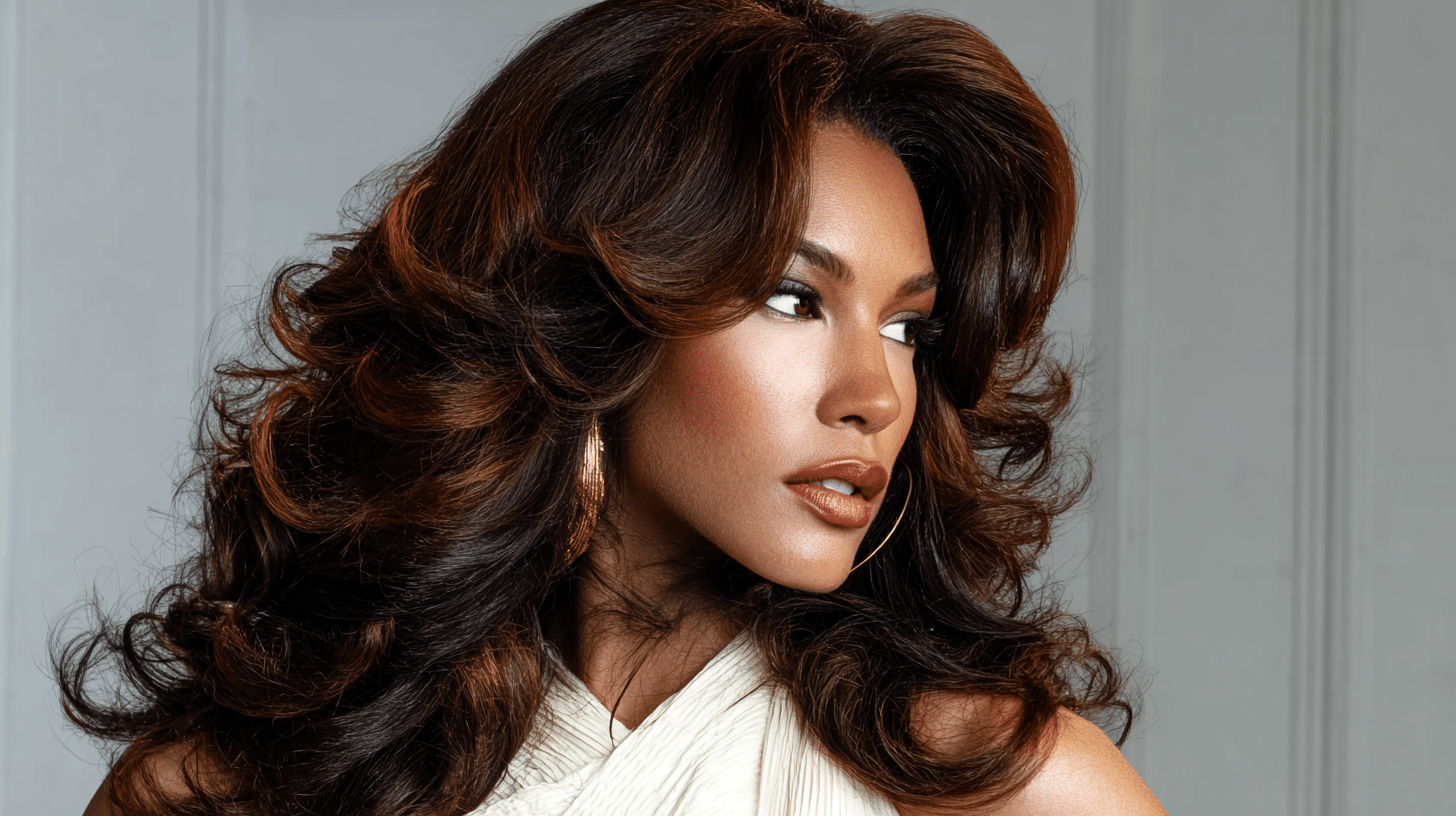
If you love big, lifted hair, this is for you. The roots are lifted, and the mid-lengths and ends are curled to give a full, lively shape.
Best for: Thick or coarse hair.
6. Flipped-Out Blowout
In this style, the ends of the hair curl out instead of in. It’s playful and gives a fun, retro look that was very popular in the early 2000s.
Best for: Medium-length hair.
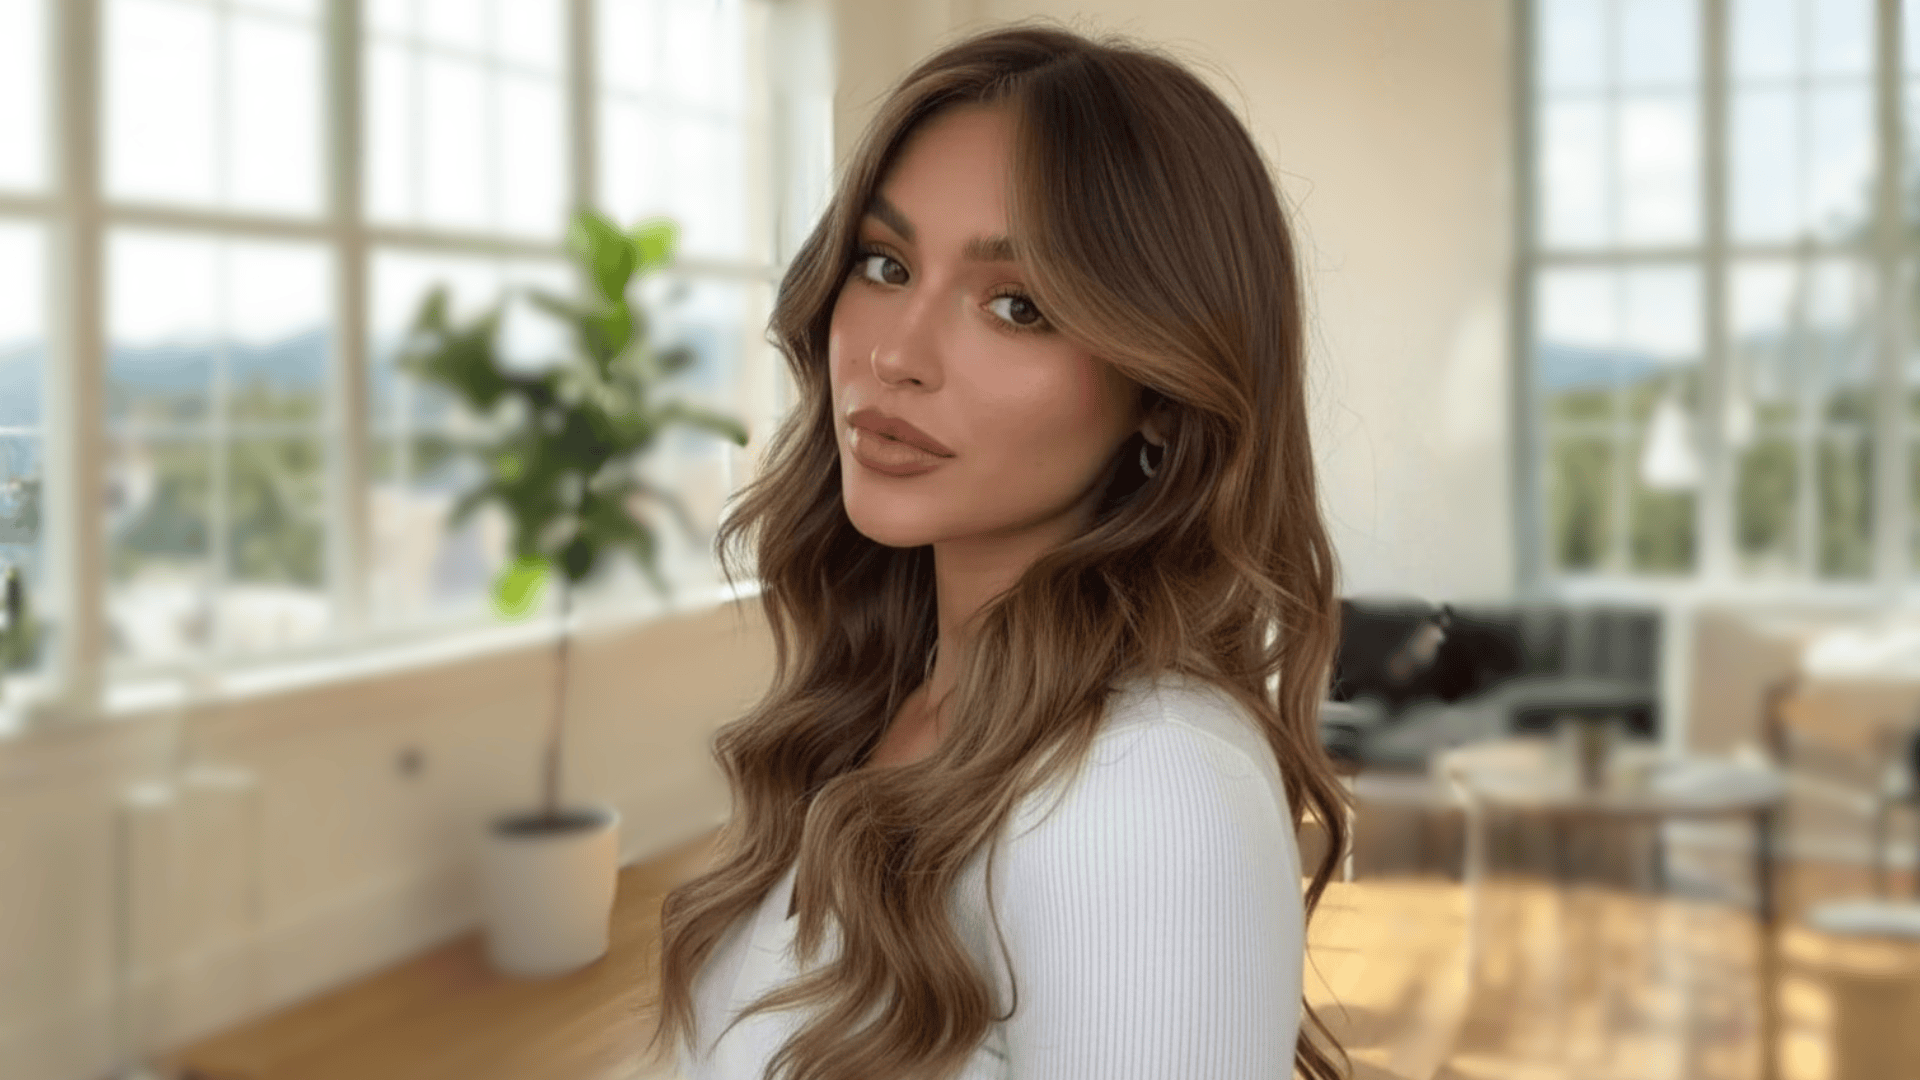
7. Hollywood Blowout
This one has smooth waves that start around the cheeks and flow down in a shiny “S” shape. It looks fancy and works great for formal events.
Best for: Long or thick hair.
8. Curtain Bang Blowout
This blowout focuses on framing your face with soft, rounded bangs that fall like “curtains.” It’s stylish and adds a nice touch to any haircut.
Best for: Medium to long hair with face-framing layers
9. Beachy Waves Blowout
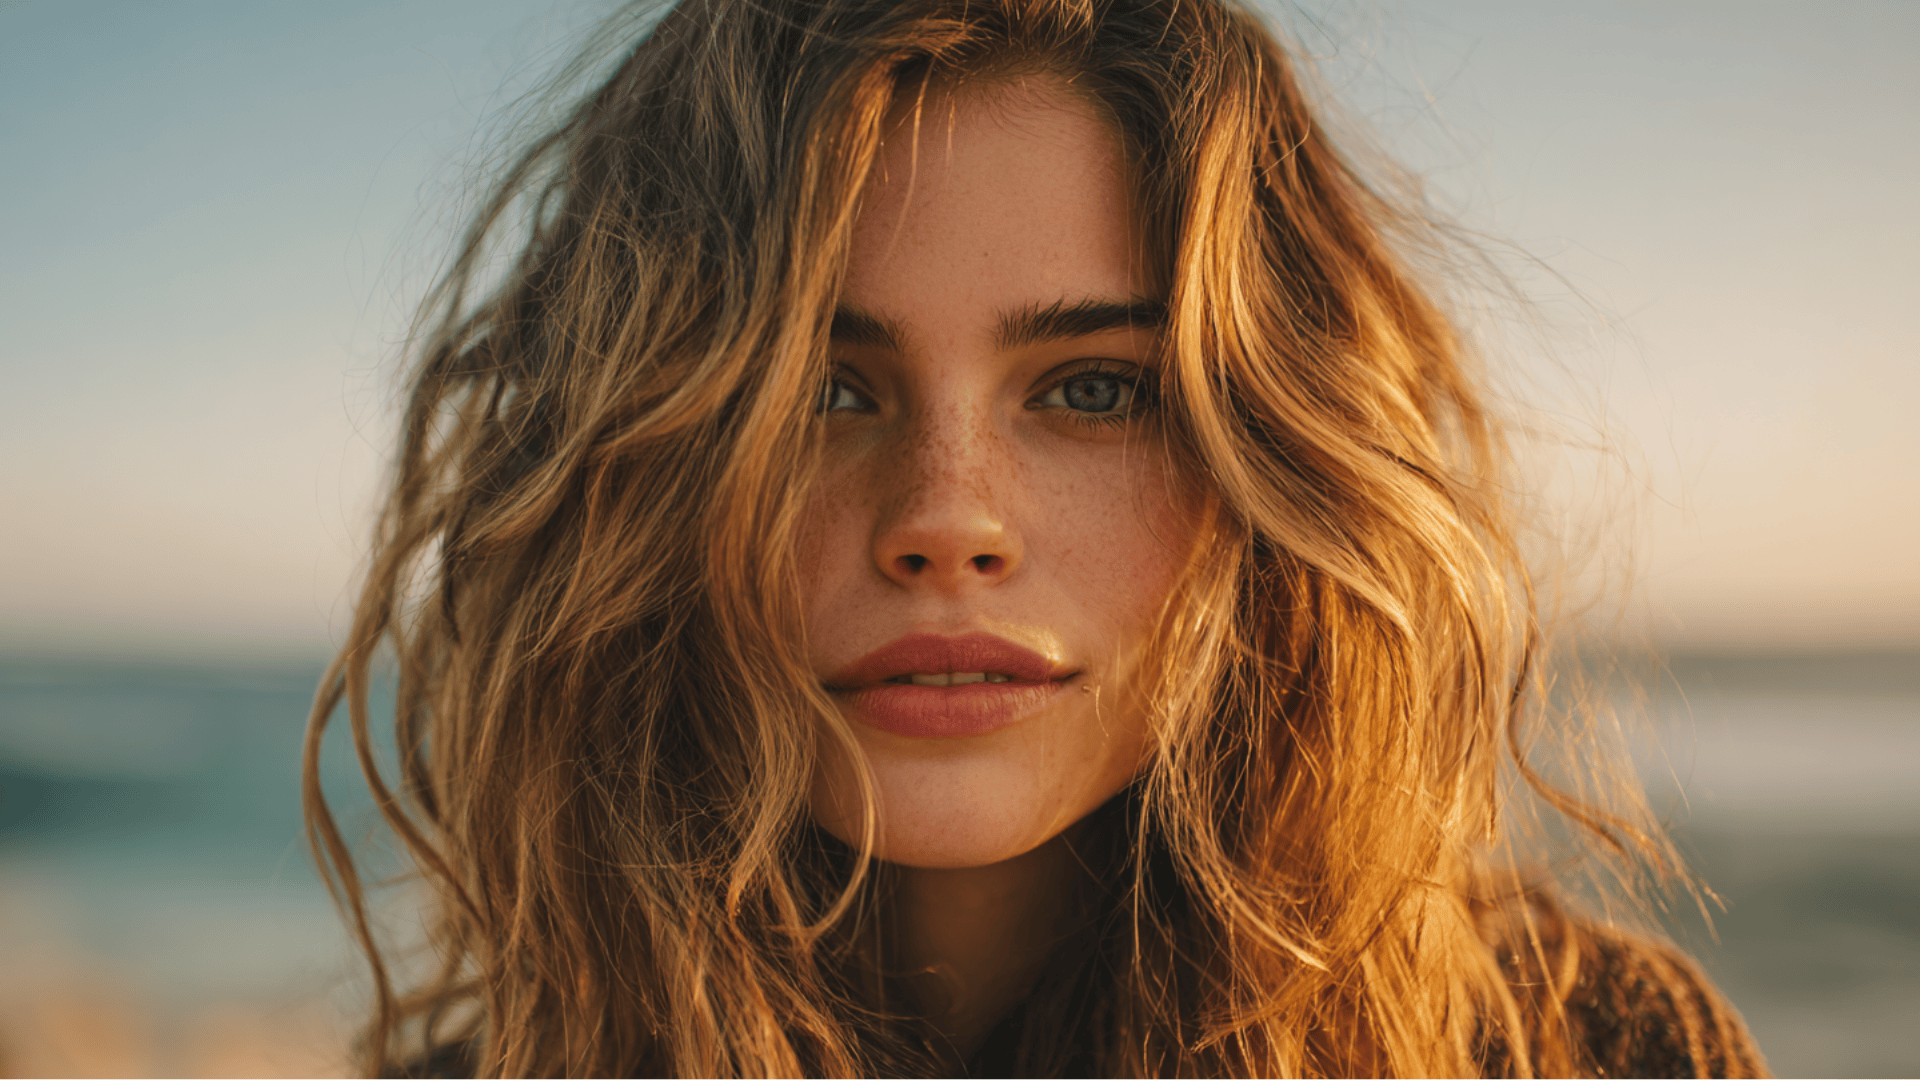
This style creates relaxed, tousled waves that look natural and effortless. It gives your hair texture and movement without being too formal or structured.
Best for: Medium to long hair with some natural texture
10. Root Lift Blowout
This blowout focuses on adding volume at the roots while keeping the rest of the hair smooth and sleek. It’s perfect for those with fine or flat hair who want more lift without excessive curls.
Best for: Fine or thin hair.
11. Half-Up Blowout
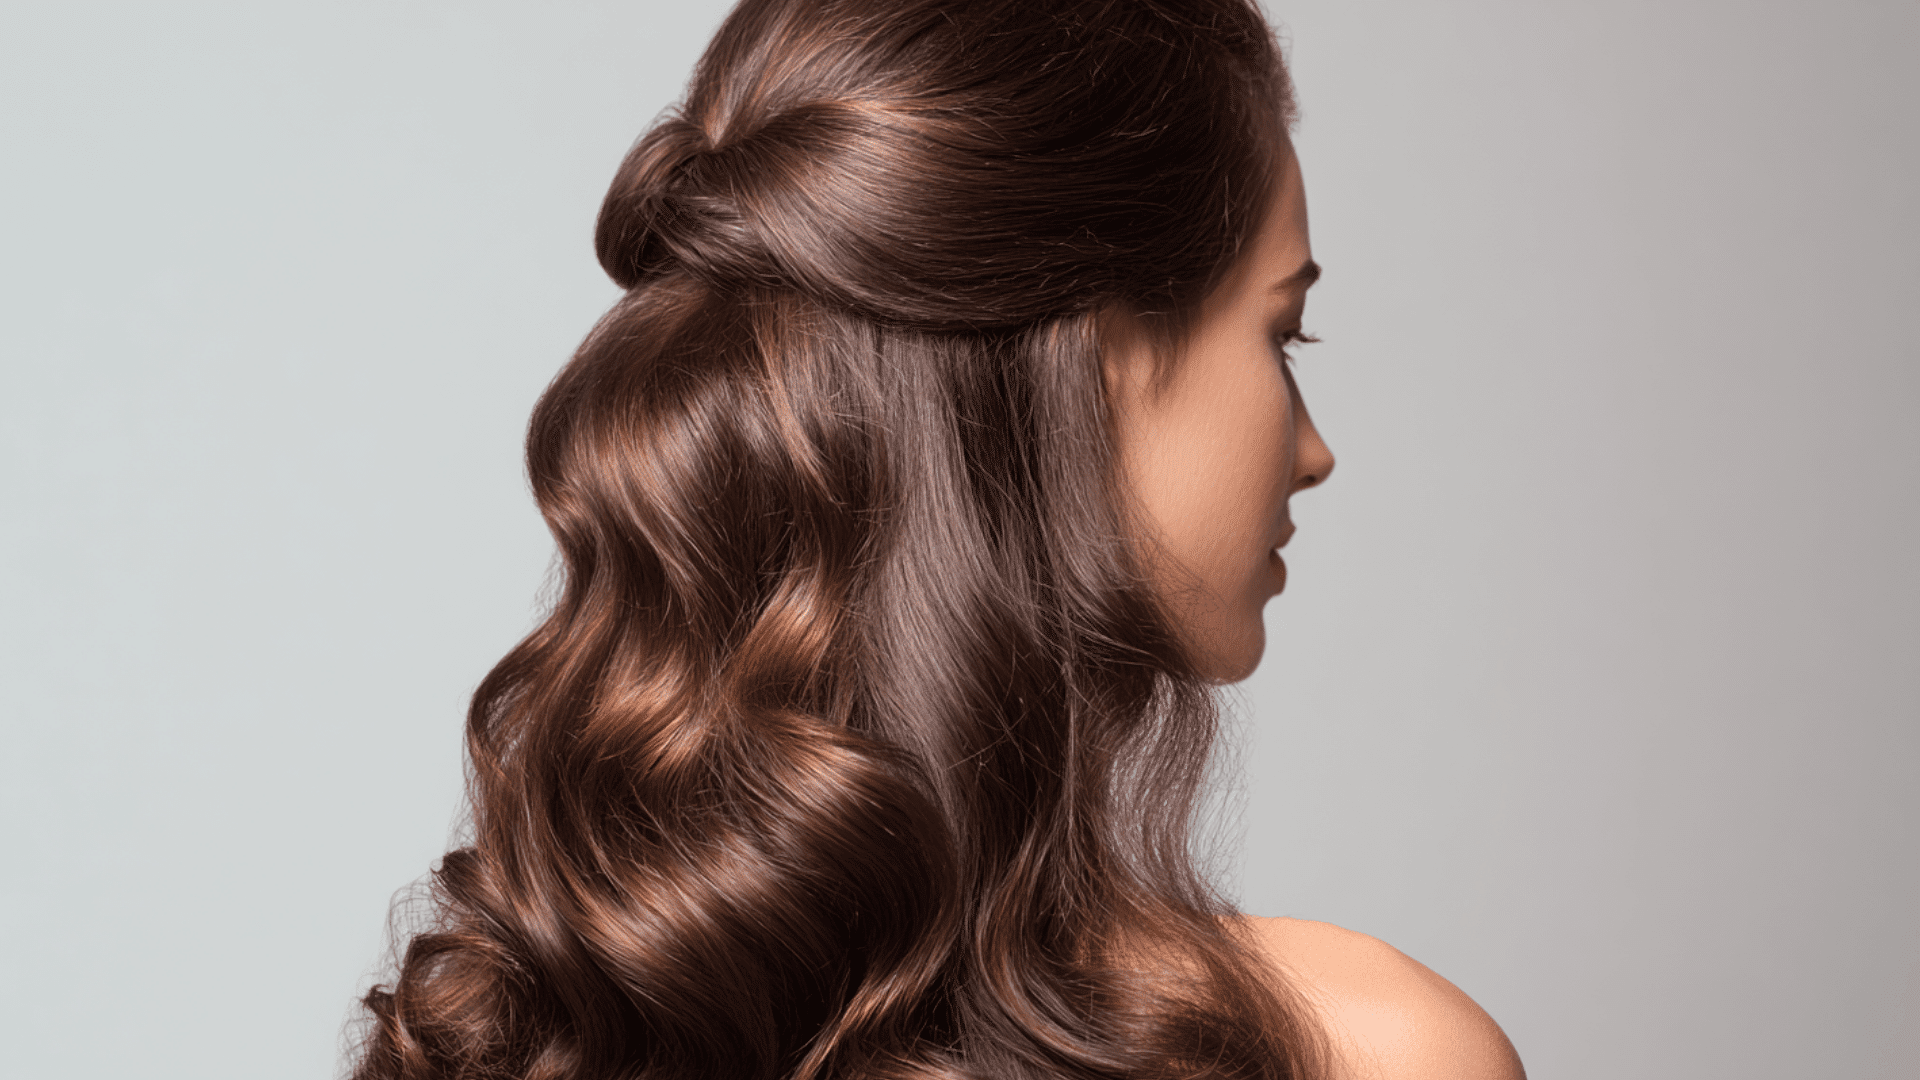
This style combines a polished blowout with hair pulled back from the crown, leaving the rest down. It keeps hair off your face while still showing off your smooth, bouncy blowout.
Best for: All hair types and lengths.
12. Textured Layered Blowout
This blowout emphasizes layers by creating movement and dimension throughout the hair. Each layer is curled slightly at different angles to create a fuller, more dynamic look.
Best for: Layered haircuts of any length.
Tips and Tricks for a Perfect Blowout Hairstyle
To achieve a long-lasting, professional blowout, follow these essential techniques for smooth, shiny, salon-quality results.
- Start with clean, damp hair: Wash your hair and let it air dry until it’s about 70–80% dry before blow-drying. This helps prevent damage and saves time.
- Always use heat protectant: Spray a heat protectant evenly through your hair to protect it from high heat and keep it shiny.
- Work in small sections: Divide your hair into smaller parts so each section dries evenly and looks smooth.
- Point the dryer downward: Keep the nozzle facing down to seal the hair cuticle and reduce frizz.
- Use the right brush: Choose a large round brush for volume or a smaller one for short hair and bangs.
- Let your hair cool before styling: Cooling helps your hair hold its shape and stay smooth longer.
- Add a few drops of hair oil: Finish your blowout with a small amount of oil on your ends for shine and softness.
Follow these tips, and you’ll be able to create beautiful, bouncy hair that lasts. With a little practice, you’ll master the technique and enjoy professional results at home!
Final Thoughts
Now that you know how to do blowout hairstyles at home, you can make your hair look soft, shiny, and full without going to a salon.
With the right tools, a little practice, and care, your blowout can last for days and look fresh the whole time. Try different styles like the classic, beachy, or 1990s-inspired blowout to see which one fits you best.
Remember to use heat protectant, work in small sections, and let your hair cool before styling. Small steps like these make a big difference.
A good blowout is more than just a hairstyle; it’s a boost of confidence. So grab your brush, turn on your dryer, and enjoy your new, smooth, and bouncy look.
Frequently Asked Questions
How Long Does a Blowout Typically Last?
A blowout can last 3 to 5 days with proper care. Using a silk or satin cap at night and avoiding moisture helps extend its lifespan.
Is a Blowout Damaging? How often Is Safe?
Blowouts can cause heat damage if done incorrectly. Using heat protectant and limiting blowouts to once or twice a week keeps your hair healthy and safe.
Can I Do a Blowout on Curly or Coily Hair?
Yes, you can. Use extra heat protectant, apply gentle tension with your brush, and adjust the heat settings to protect your hair from damage while styling.
What’s the Difference Between a Blowout and A Brazilian Blowout?
A blowout is a temporary styling technique that uses a blow dryer and a brush. A Brazilian blowout is a semi-permanent chemical treatment that smooths hair for months.