


There’s a weird little moment a lot of us have: you stop calling it “bad hair” and realize it’s naturally wavy hair that’s been treated like it’s supposed to behave straight.
Maybe you spent years blow-drying, flat-ironing, brushing it out, and still ending up with that “something’s off” look; poofy in some spots, flat in others, frizzy no matter what. You probably thought, I must be doing something wrong… or that your hair is just hard to manage.
You’re not alone. Wavy hair often gets ignored between the straight-hair world and the curly-hair world. The result? Confusing advice, heavy products, and routines that don’t match your texture.
Here’s both: that “yep, same” community feeling and a practical wavy hair routine you can actually use.
The Wavy Hair Realization Story (We’ve All Been There)
The “ohhh” moment usually comes from humidity suddenly “showing” your texture, seeing wavy routines online, and thinking Wait… that looks like my hair, or a stylist pointing it out.
Then comes the frustrating trial-and-error phase: testing heavy products, air-drying with no plan, and dealing with undefined poof, wondering, Is this just how my hair is?
Breakthrough moments people talk about are the first time one right styler makes your waves show up, realizing you don’t need heat to look put-together, and figuring out your wave type and how your hair handles moisture. That relief: My hair finally makes sense.
You’ll hear this kind of community wisdom a lot: “I thought my hair was broken.” That detective-work phase? It’s completely normal.
Understanding Your Naturally Wavy Hair
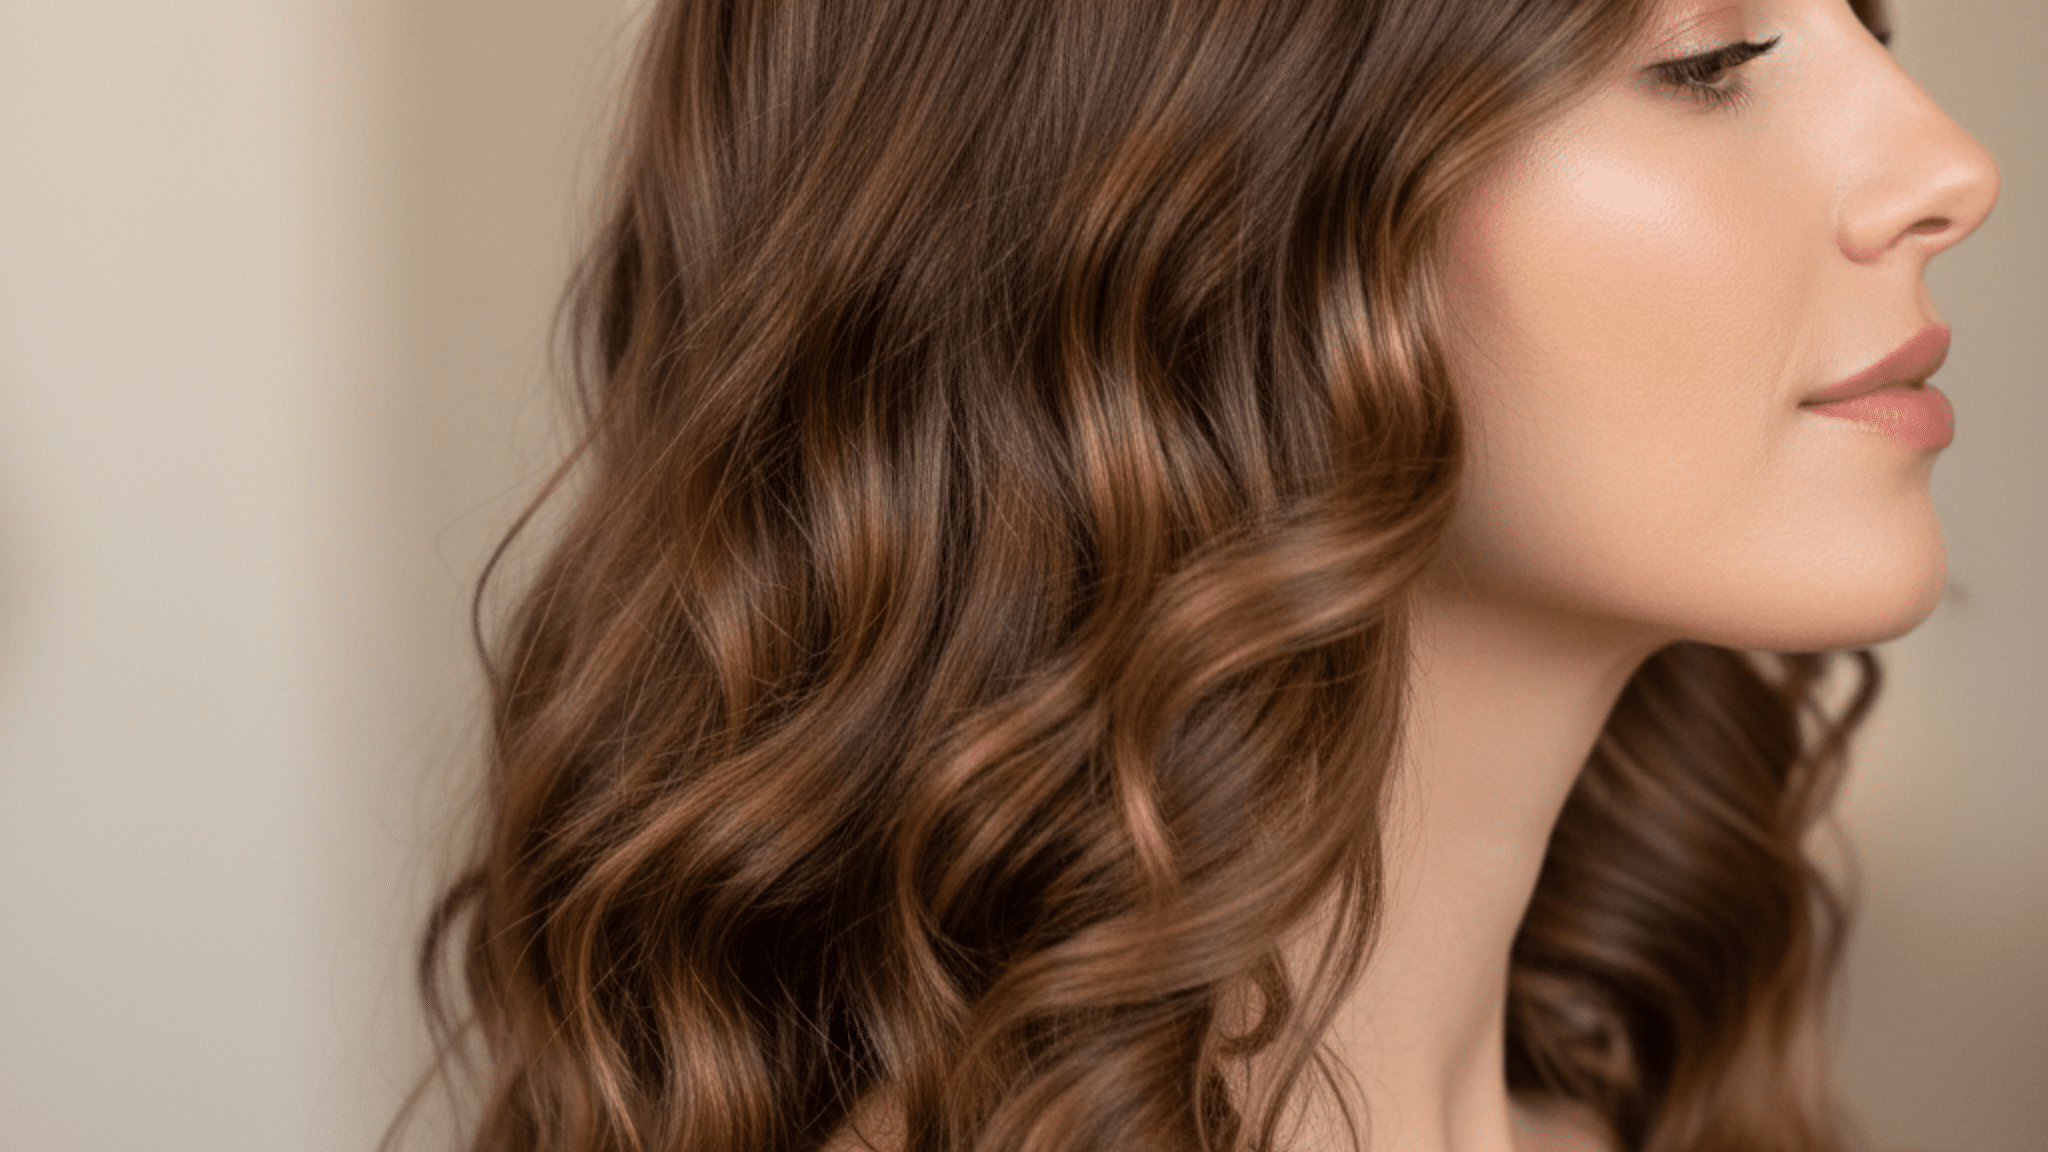
Naturally wavy hair (type 2) usually forms an S-shaped pattern and sits between straight and curly.
Because it’s not as tightly coiled as curly hair, wavy hair needs a balance of moisture for softness and hold for definition, without products that flatten the waves.
| Focus | What it means | Common signs | What helps most |
|---|---|---|---|
| Wavy hair basics | S-shaped bends can be fine-to-coarse and can flatten easily. | Flat roots + frizz + uneven definition | Lightweight moisture + a simple styler with hold |
| 2A | Fine texture, loose wave; often lacks root volume. | Gets weighed down fast | Mousse/foam, light conditioner, small product amount |
| 2B | Defined S-waves, often flatter at the crown; thicker than 2A. | Frizz at the top, better definition mid-lengths | Texture mist or light styler + medium hold |
| 2C | Stronger S-bends, defined closer to roots; prone to frizz. | Bigger volume, more frizz, can border on curly | Gel (or layered light products), careful drying, and avoiding over-touching |
| Low porosity | Tight cuticles; resists absorbing water/products. | Takes longer to get wet; product “sits.” | Lighter layers, occasional clarifying, warmth/steam helps |
| Medium porosity | More balanced absorption + retention | More predictable hair days | Stick to a steady routine; moderate moisture/protein |
| High porosity | Absorbs fast but loses moisture fast. | Dries fast: frizz + dryness | Leave-in + richer conditioner; protect ends; reduce heat/chemical stress |
Quick porosity check: After removing buildup, drop a clean strand of hair into water. If it floats, it may indicate low porosity, while sinking suggests high porosity.
However, this test is not always definitive, as porosity can be influenced by other factors like moisture retention. It’s a good idea to observe how your hair absorbs moisture over time for a clearer picture.
Common Mistakes that Sabotage Your Waves
Most of us made the same mistakes early on: heavy products, wrong techniques, unrealistic expectations. The good news? These are easy to fix once you know what to watch for.
- Using heavy curl creams or layering too many products: Great for tighter curls, but they flatten waves and leave you with greasy roots and stringy lengths.
- Silicone buildup: Can make waves look “gone” until you clarify. Some silicones build up more than others and may need occasional stronger washing.
- Brushing dry hair or rubbing with a towel: Instant frizz cloud; classic mistakes that rough up hair and disrupt wave formation.
- Skipping stylers entirely: Hoping air-drying alone will work, then getting undefined frizz instead of waves.
- Comparing your waves to tight curls online: Your 2B waves won’t look like 3A curls; different textures need different approaches.
- Expecting perfect results too quickly or giving up after one bad day: The learning curve is real, and day-to-day variation is normal.
Building Your Perfect Wavy Hair Routine
This is a practical wavy hair routine you can adjust as you learn your hair.
Start simple, then tweak based on what your waves need: more moisture, more hold, or lighter products.
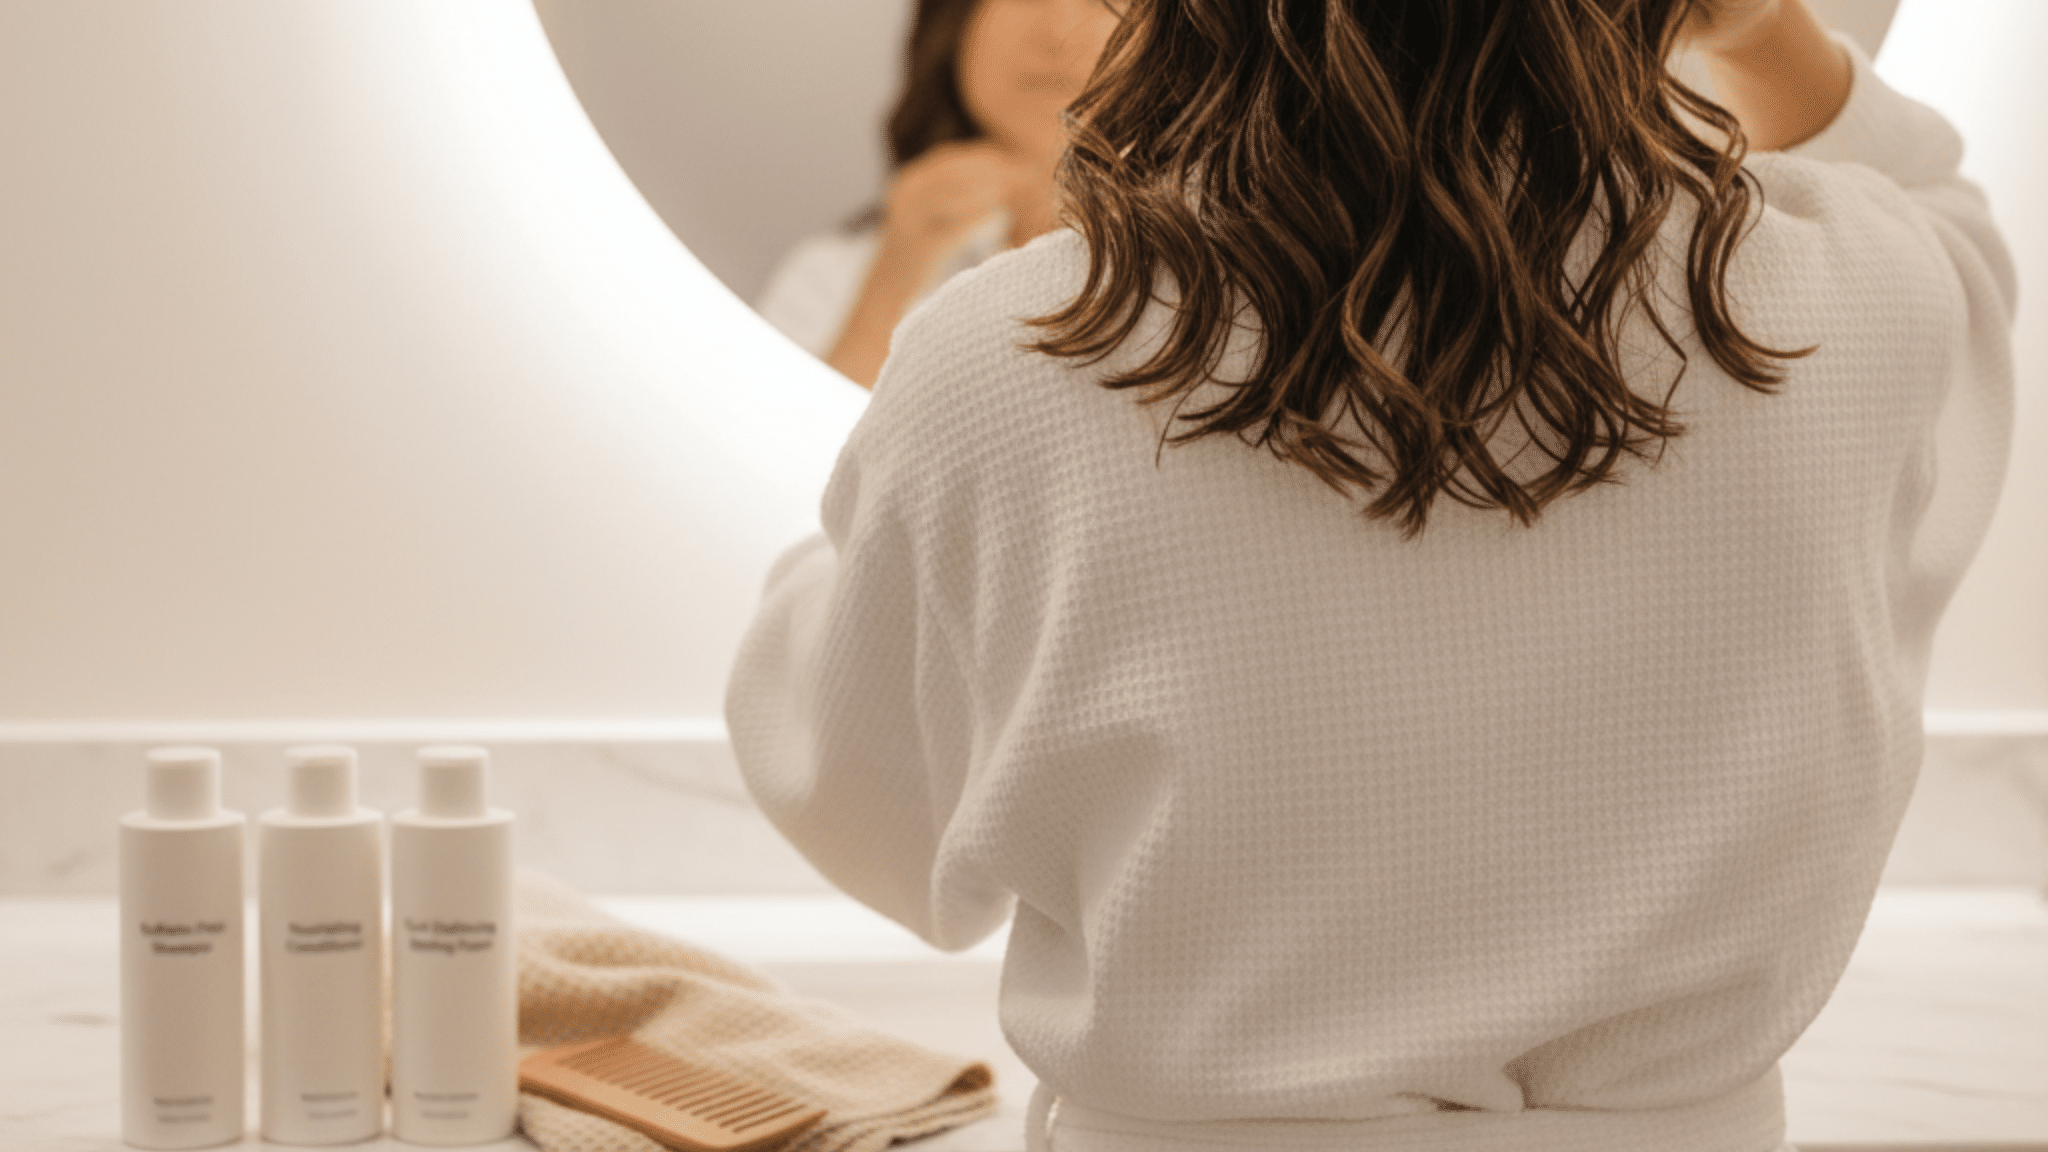
Step 1: Gentle Cleansing
Try a sulfate-free shampoo if your hair feels dry or your scalp is irritated. Dermatologists note sulfates can be irritating for some people, especially sensitive skin types.
Many wavies do well with 2–3 washes per week. Co-wash occasionally if your lengths are very dry, but keep it light. If your waves look limp or products stop working, a clarifying shampoo can help remove buildup.
However, use it sparingly, no more than once or twice a month, as it can strip hair of essential moisture when overused.
Step 2: Condition + Deep Treat
Condition mostly mid-lengths to ends. Try “squish to condish”: scrunch conditioner and water into soaking-wet hair to encourage clumps.
Weekly mask: 2A/2B types usually do better with lighter masks, while 2C can handle richer formulas. Leave masks on 5–10 minutes, then rinse thoroughly to avoid weighing down your waves.
Step 3: Leave-In (light Layer)
Waves benefit from a light leave-in for moisture and slip. Apply to soaking-wet hair to distribute evenly without clumping.
Use prayer hands (smooth down lengths), then scrunch upward to shape. Lightweight formulas work best; heavy leave-ins can flatten your wave pattern before you even start styling.
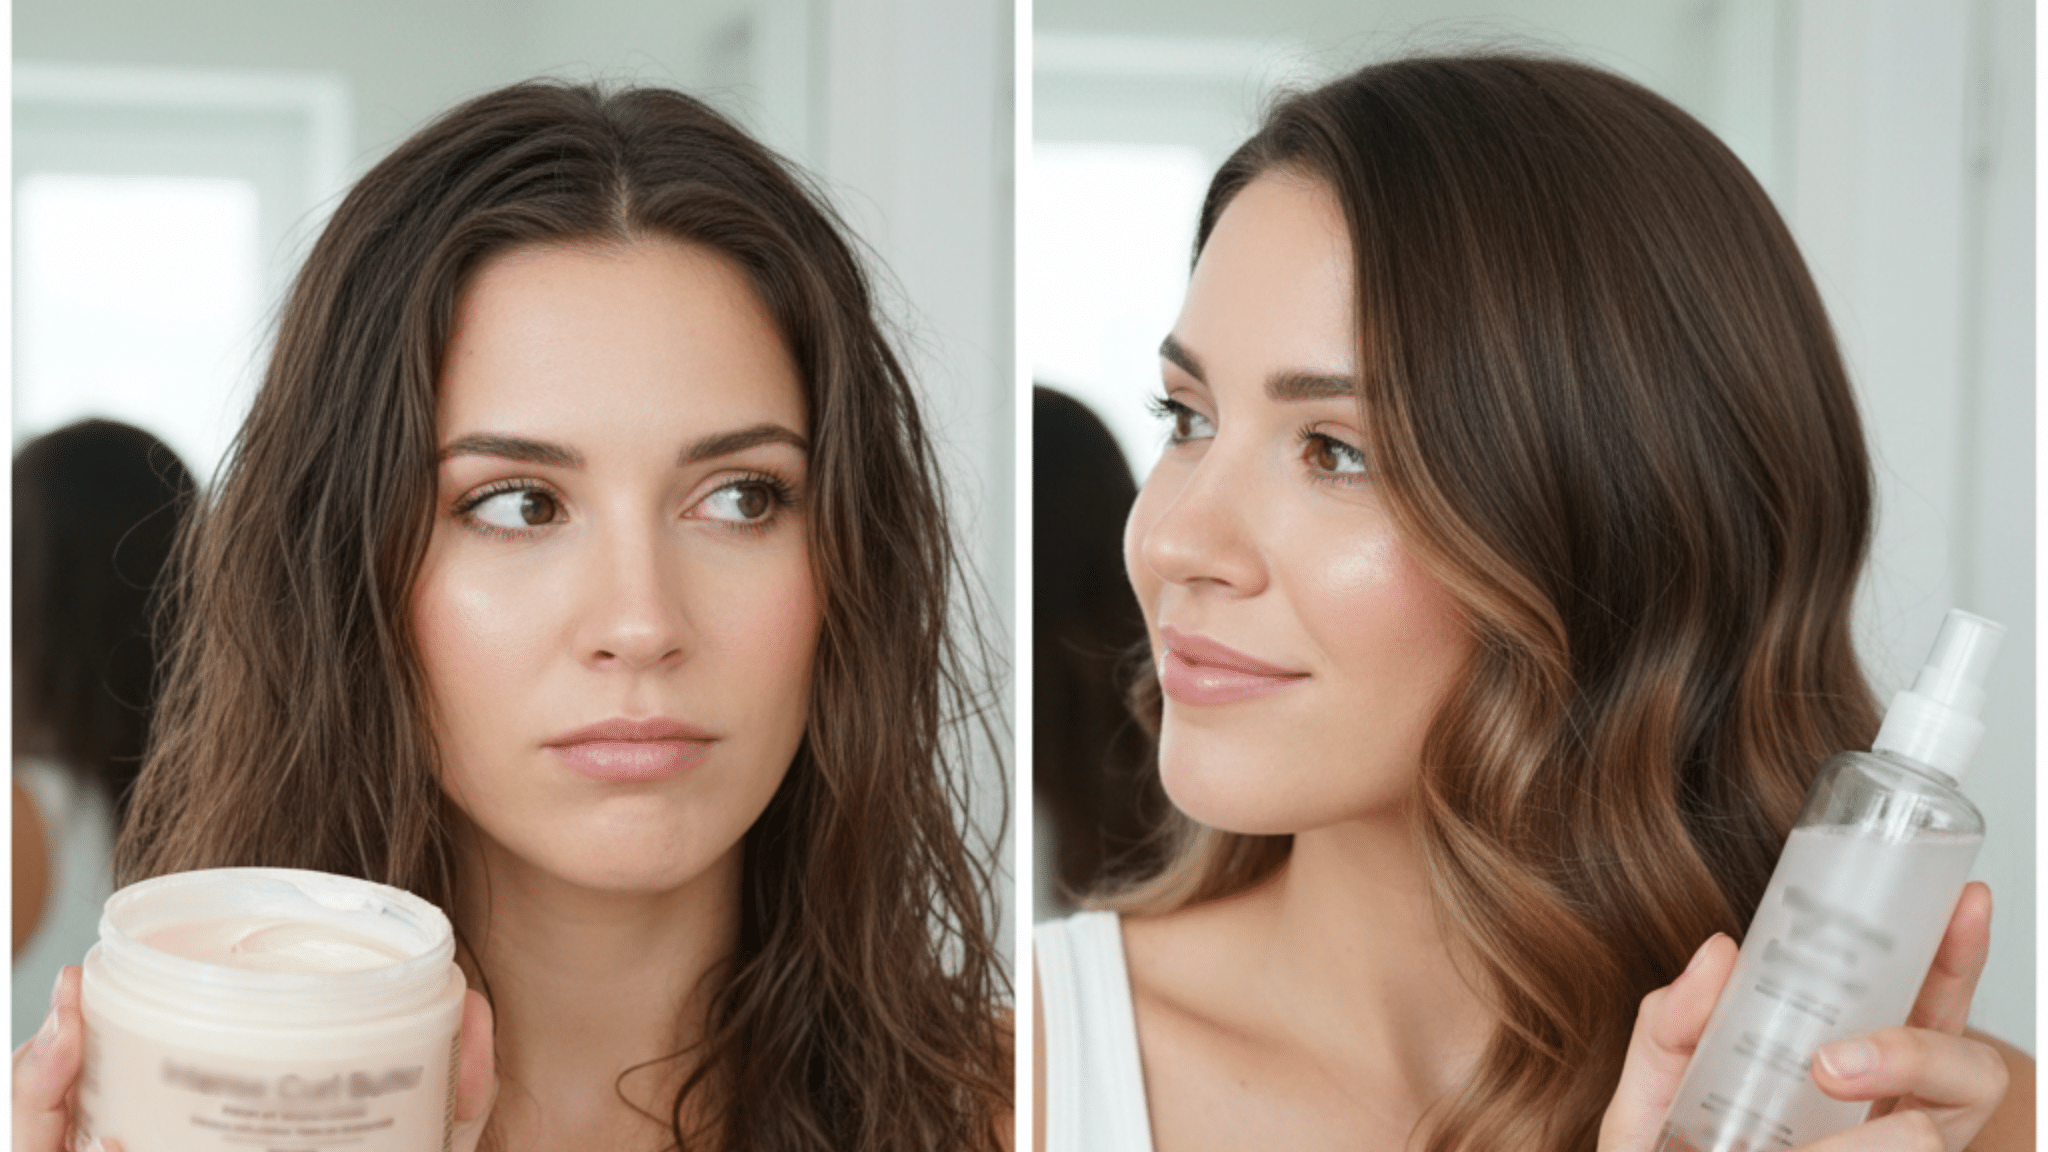
Step 4: One Main Styler
“Less is more” works for many wavies. 2A does well with mousse or foam for lift, 2B with light cream or medium-hold foam, and 2C with gel for definition and frizz control.
Apply by raking through, then scrunch upward. Plop (optional): wrap hair in a T-shirt or microfiber towel for 10–20 minutes to help set the pattern.
Step 5: Drying
Air-dry means less heat damage and embraces your natural pattern. Diffusing can boost definition and reduce frizz by dispersing airflow; use low heat only.
Don’t touch while drying (touching causes frizz). When fully dry, scrunch out the crunch if you used gel, and it feels stiff or crunchy.
Real Talk: What Actually Works Day-To-Day

The wavy hair community has learned what makes life easier through trial and error. Here’s what people actually stick with once the novelty wears off.
- Satin/silk pillowcase and “pineapple” method: Reduce friction and morning frizz by sleeping on smooth fabric with a loose, high ponytail.
- Accepting days 2 and 3 won’t match wash day: Your waves will shift, and that’s completely normal, not a failure.
- Easy refresh between washes: Mist with water, use half the product you think you need, scrunch to re-form waves.
- Weather changes everything: Humidity can boost volume, and dry air can boost frizz. Your hair will react differently throughout the year.
- Progress photos help: Changes can be slow and easy to miss day-to-day. Photos show you what’s actually working.
- A consistent “good enough” routine beats constant switching: Find what works reasonably well and stick with it instead of chasing perfection.
- Night-before washing and plopping: Saves morning time. Strategic parting while drying prevents flat roots without extra effort.
- Some days call for a bun: Also valid. Not every day needs to be a hair day.
How to Refresh Wavy Hair (Day 2 & Day 3)

Wash day waves are great, but real life is Day 2 and Day 3. The goal isn’t to make your hair look exactly like Day 1; it’s to bring your shape back, calm frizz, and add bounce without restarting your whole routine.
The #1 rule: add water before adding product. Most wavies refresh better with moisture first, not more styler right away.
1. Quick Refresh (5 Minutes)
Mist hair lightly with water, focusing on the mids and ends to add moisture back. Scrunch gently to reactivate the wave pattern and bring back definition.
Add a tiny amount of styler only where needed; use about half of what you used on wash day to avoid buildup. Air-dry naturally or diffuse for 2–3 minutes on low heat and low airflow.
2. Full Refresh (when Your Waves Need Help)
Re-wet the top layer more thoroughly; damp enough to reshape the pattern. Smooth with prayer hands to distribute moisture evenly, then scrunch to re-form wave clumps.
Apply a small amount of styler to frizzy or undefined areas only; don’t coat everything. Don’t touch while drying, as touching creates frizz and disrupts the pattern you just reformed.
Day 2 vs Day 3 tip: Day 2 usually needs reshaping and light hold. Day 3 often needs more moisture and a bigger reset, which is normal.
Product Philosophy for Wavy Hair
You don’t need 10 products. Start with the core four: shampoo, conditioner, leave-in, and one styler. If your hair is on the drier side or prone to frizz, consider adding a lightweight serum or oil to lock in moisture and add shine.
Heavy butters and oils can weigh waves down fast. Silicones aren’t automatically “bad,” but some types can build up and may need occasional clarifying.
Sulfates can be too harsh for some people, especially sensitive scalps, so gentler cleansers can help. Let your results decide. If your hair feels good and your waves show up, you’re doing it right.
What works for others might not work for you, and that’s completely normal.
Final Takeaway
Your naturally wavy hair is valid, and your learning curve is normal. The community is full of people testing, tweaking, and laughing about the same mistakes.
Start with the basics, keep your routine simple, and adjust slowly. The real win is treating your texture like it belongs, not like something that needs to be fixed or forced into a different pattern.
Some days your waves will cooperate beautifully, other days they won’t, and that’s okay. Progress takes time, but small changes add up.
Ready to start? Pick one thing from the routine above and try it for a week. See what your hair tells you.
Frequently Asked Questions
Can Naturally Wavy Hair Change Over Time?
Yes, puberty, pregnancy, postpartum, and thyroid shifts can change texture; reassess your routine when pattern changes.
How Do I Know if Hard Water Is Affecting My Waves?
Hard water can cause dullness and buildup; use a chelating shampoo monthly or add a shower filter.
Do Wavies Need Protein Treatments?
Only if hair feels overly soft or stretchy, try a light protein; stop if it turns stiff.
What Haircut Works Best for Wavy Hair?
Long layers add movement and prevent the triangle shape; avoid heavy, blunt cuts if your hair puffs.
How Do I Protect Wavy Hair when Swimming?
Wet hair first, smooth on conditioner, and wear a cap; rinse ASAP and clarify later if needed.