Inner ear piercing has become a popular way to express personal style through subtle yet noticeable ear details.
Unlike basic lobe piercings, these piercings sit within the curves and folds of the ear, creating a layered look that feels modern and thoughtful.
An inner ear piercing can be simple with a small stud or more detailed with rings and clusters.
Many people like how these piercings frame the ear without feeling overdone. Since the inner ear has more cartilage, it needs extra care and patience during healing.
Understanding placement, pain level, and aftercare helps you enjoy your piercing safely and comfortably.
What Is an Inner Ear Piercing?
An inner ear piercing refers to any piercing placed in the inner cartilage areas of the ear rather than the soft earlobe. These piercings sit along the curved ridges and flat spaces inside the ear.
Common inner ear areas include the helix, conch, daith, rook, and tragus. Because these spots are made of cartilage, they feel firmer than the lobe and heal more slowly.
Inner ear piercing styles are often chosen for their neat look and ability to hold small jewelry pieces. They allow for creative arrangements while still keeping a clean and balanced appearance. Many people choose them to add subtle detail without wearing large or heavy earrings.
How to Get an Inner Ear Piercing Safely
Getting an inner ear piercing is a process that needs care, patience, and the right setup. Since inner ear areas are made of cartilage, proper steps help lower discomfort and support smoother healing.
Knowing what happens during the piercing can help you feel more prepared and relaxed.
- Choose a licensed piercing studio that follows strict hygiene standards.
- Talk through placement and jewelry size before the procedure begins.
- The piercer cleans the ear and marks the exact spot.
- A sterile needle is used instead of a gun.
- Jewelry is inserted right after the piercing.
Tip: Always follow the aftercare steps given by your piercer to help the area heal properly and avoid irritation.
18 Popular Inner Ear Piercing Types and Placements
Inner ear piercing styles are placed in the cartilage areas of the ear and vary by position and shape. Each style looks different, feels different during piercing, and heals at its own pace depending on placement and care.
1. Standard Lobe Piercing
The standard lobe piercing is placed in the soft lower part of the ear and is usually the first piercing many people get. It offers a simple, classic look that suits all styles and ages.
This area heals faster than cartilage and works well for everyday jewelry. It also serves as a base for building stacked or layered ear looks.
- Suitable Jewelry: Studs, small hoops
- Pain Level: 2/10
- Healing Time: 6 to 8 weeks
Pro tip: Choose lightweight studs during healing to keep the lobe comfortable.
2. High Lobe Piercing
A high lobe piercing sits slightly above the standard lobe but below the cartilage. It adds extra detail without the longer healing time of cartilage piercings.
This placement works well for people who want a layered look while keeping comfort high. It pairs nicely with regular lobe piercings for balanced styling.
- Suitable Jewelry: Studs, small hoops
- Pain Level: 3/10
- Healing Time: 8 to 10 weeks
Pro tip: Keep spacing even to avoid crowding when styling multiple lobe piercings.
3. Stacked Lobe Piercing
Stacked lobe piercings involve placing two or more piercings closely together on the earlobe. This creates a modern, layered look using small jewelry pieces.
The soft tissue makes healing easier, but careful placement is important for balance. It allows creative styling without moving into cartilage areas.
- Suitable Jewelry: Tiny studs
- Pain Level: 3/10
- Healing Time: 8 to 10 weeks
Pro tip: Clean each piercing separately to prevent buildup between jewelry.
4. Transverse Lobe Piercing
A transverse lobe piercing passes horizontally through the earlobe instead of front to back. It creates a bold look using a barbell-style piece.
Because it travels through more tissue, healing takes longer than a standard lobe piercing. Proper aftercare is important to keep the area calm.
- Suitable Jewelry: Barbell
- Pain Level: 4/10
- Healing Time: 10 to 12 weeks
Pro tip: Avoid changing jewelry until healing is complete to reduce irritation.
5. Helix Piercing
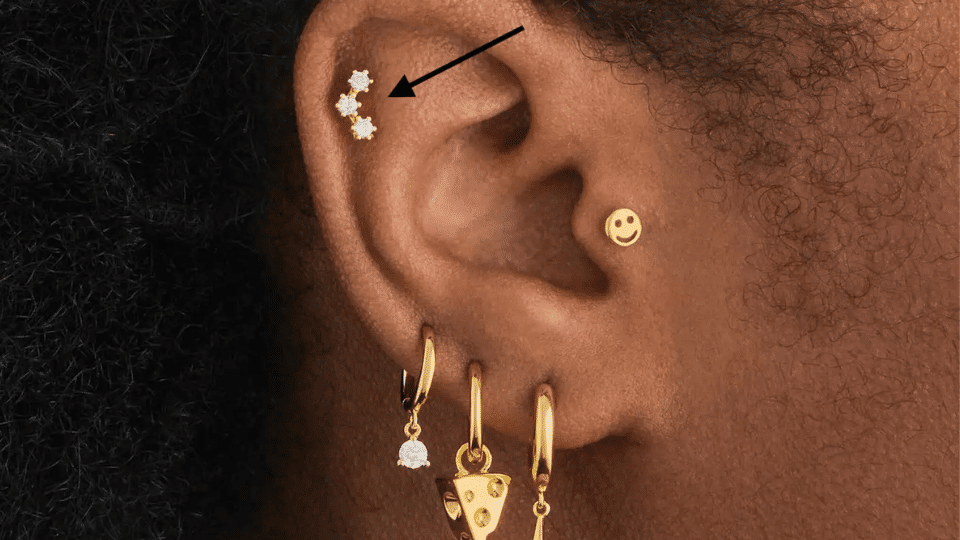
The helix piercing is placed along the outer rim of the upper ear and is one of the most common inner ear piercing styles.
It suits many ear shapes and works well as a single piercing or as part of a layered ear look. The area is cartilage, so healing takes time and needs gentle care.
- Suitable Jewelry: Studs, rings
- Pain Level: 5/10
- Healing Time: 9 to 12 months
Pro tip: Start with a small stud instead of a ring to reduce movement and irritation during the early healing phase.
6. Forward Helix Piercing
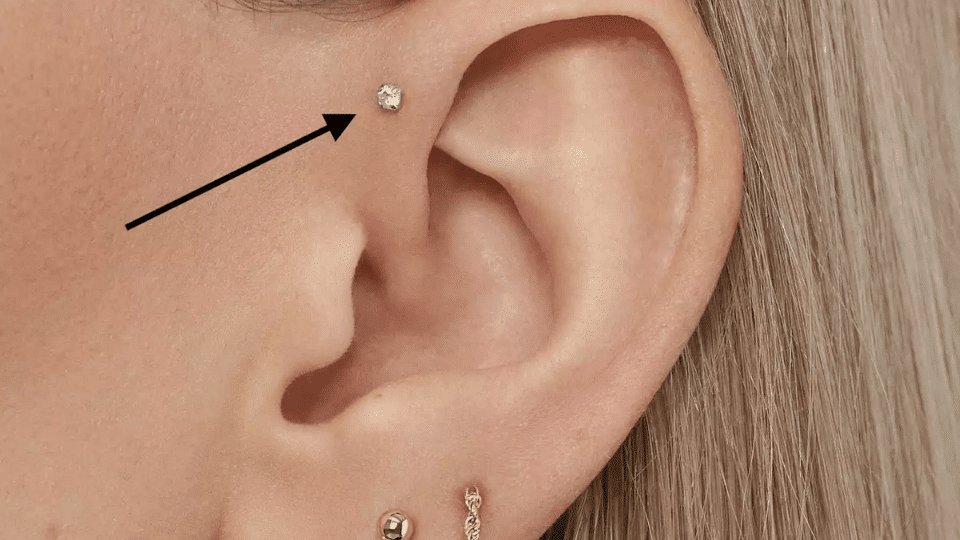
The forward helix sits at the front of the upper ear, close to where the ear connects to the face. It gives a neat and modern look and works well for small, simple jewelry.
This piercing is often chosen for stacked styles and looks balanced when paired with other cartilage piercings.
- Suitable Jewelry: Small studs
- Pain Level: 4/10
- Healing Time: 6 to 9 months
Pro tip: Choose flat-back studs to avoid pressure and rubbing while sleeping.
7. Mid Helix Piercing
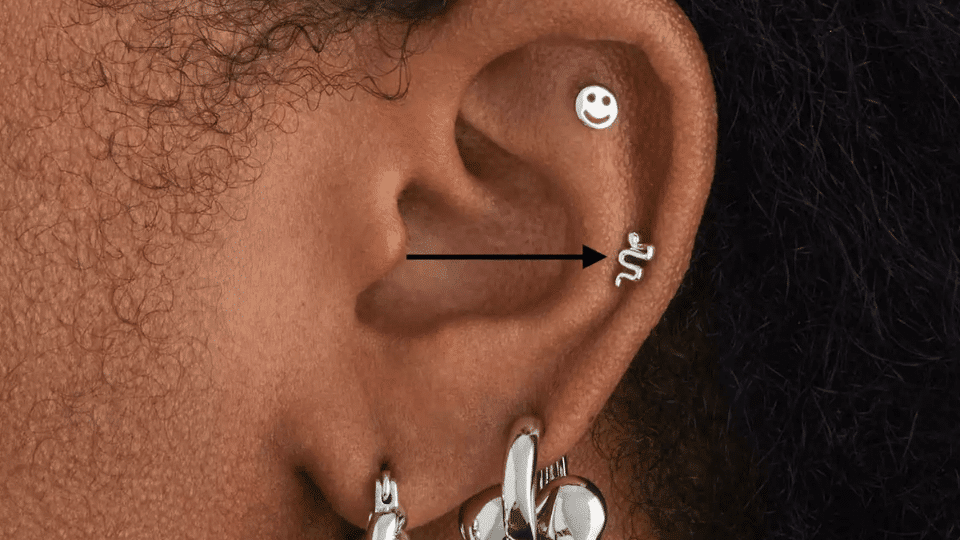
The mid helix piercing sits along the middle section of the ear’s outer cartilage, between the upper helix and the lower ear.
It offers a balanced look that stands out more than an inner helix but feels less exposed than a high helix. It suits people who want a visible yet clean cartilage piercing.
- Suitable Jewelry: Studs, small hoops
- Pain Level: 4/10
- Healing Time: 6 to 9 months
Pro tip: Choose lightweight jewelry to reduce pressure and keep the area comfortable during healing.
8. Flat Piercing
The flat piercing is placed on the flat area of cartilage between the upper ear rim and inner curves. It offers space for decorative studs and small designs.
This piercing allows creativity without crowding the ear and feels more comfortable than tighter cartilage areas during daily wear.
- Suitable Jewelry: Decorative studs
- Pain Level: 3/10
- Healing Time: 6 to 8 months
Pro tip: Pick lightweight jewelry to keep the area calm during healing.
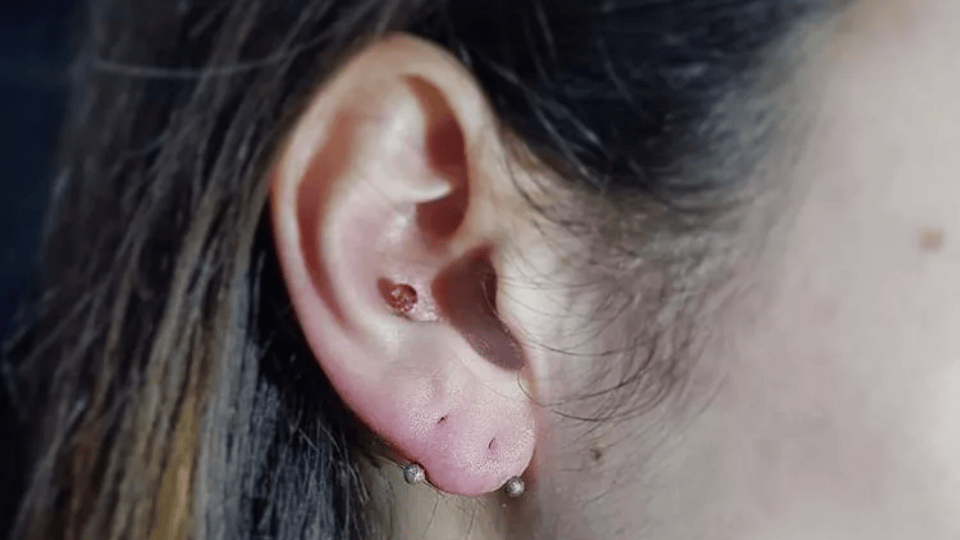
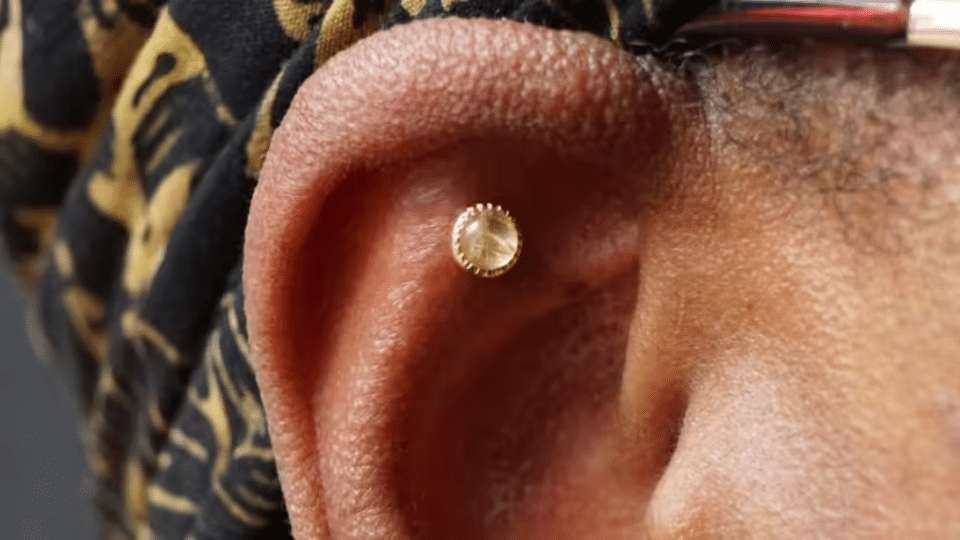
9. Conch Piercing
The conch piercing sits in the center bowl of the ear and stands out beautifully. It can hold studs or rings and works well for bold yet clean looks.
Because it is deeper cartilage, healing takes longer and requires steady aftercare to avoid irritation.
- Suitable Jewelry: Studs, rings
- Pain Level: 5/10
- Healing Time: 9 to 12 months
Pro tip: Start with a stud before switching to a ring after healing improves.
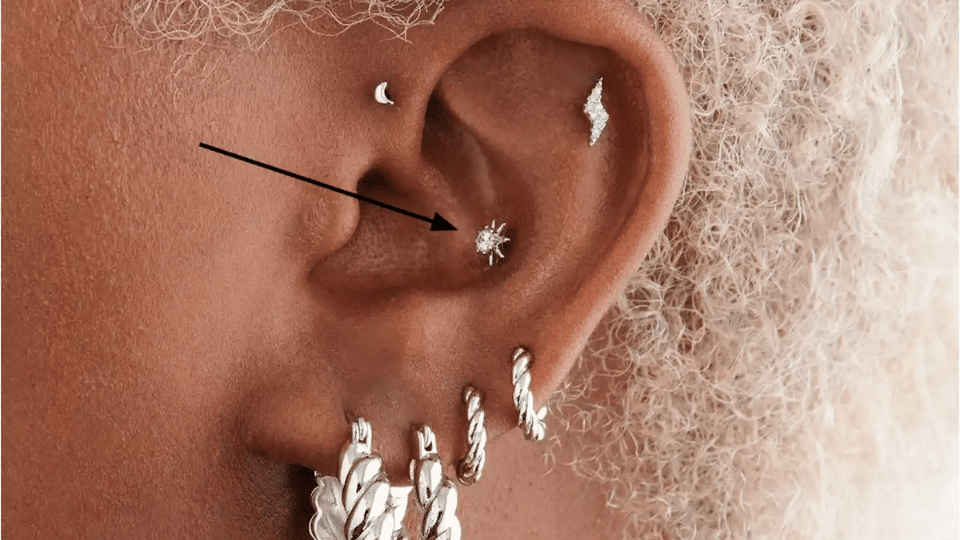
10. Inner Conch Piercing
The inner conch piercing sits in the center bowl of the ear and creates a soft circular outline. It draws attention without overpowering the ear’s natural shape.
This area can feel sensitive early on, especially with pressure or movement. Once healed, it offers a clean and balanced look that suits many styles.
- Suitable Jewelry: Hoop
- Pain Level: 5/10
- Healing Time: 9 to 12 months
Pro tip: Begin with a stud and change to a ring after swelling settles.
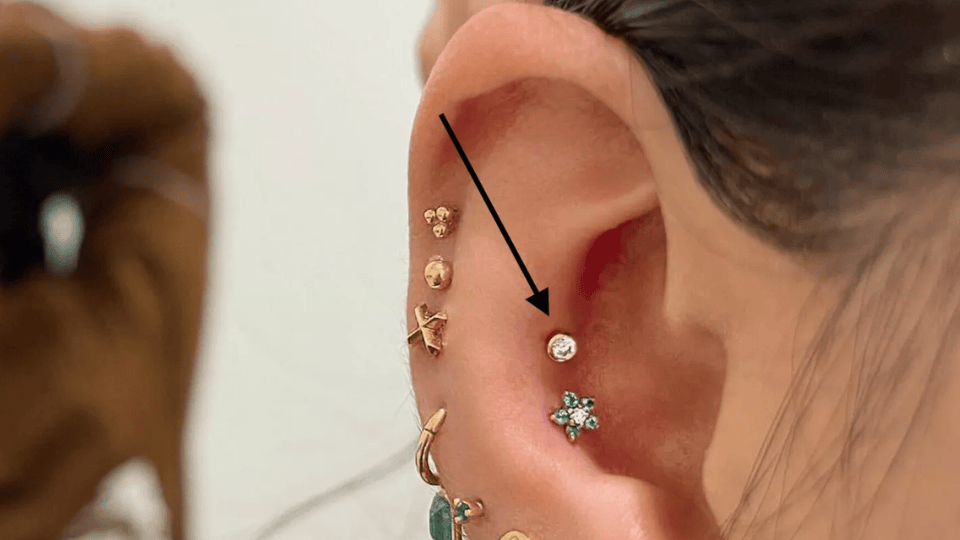
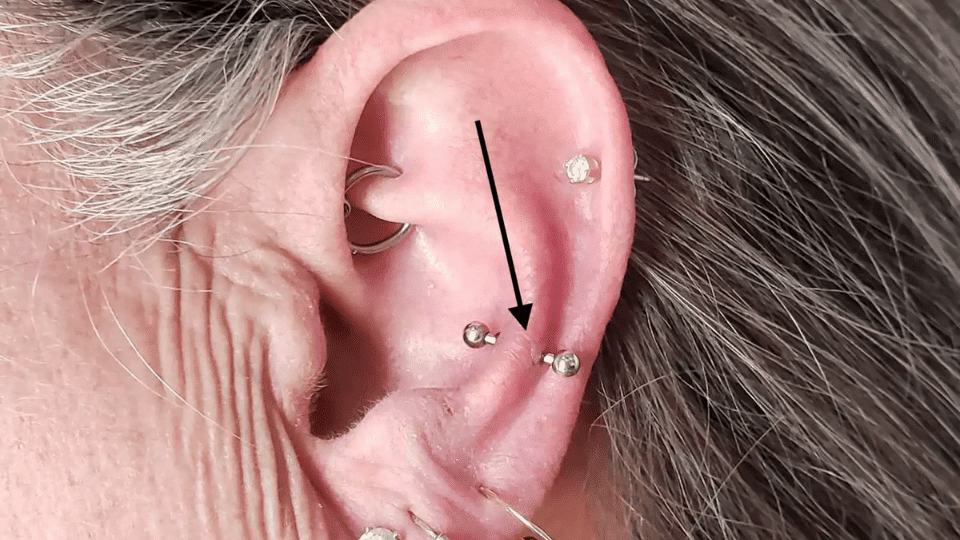
11. Outer Conch Piercing
The outer conch piercing is placed on the flat cartilage area just outside the ear’s central bowl. It offers a bold yet balanced look and gives more visibility than an inner conch piercing.
This placement works well with both studs and rings and blends nicely with other cartilage piercings. It suits people who want a noticeable style without going too close to the ear canal.
- Suitable Jewelry: Studs, rings
- Pain Level: 5/10
- Healing Time: 9 to 12 months
Pro tip: Start with a flat-back stud before switching to a ring to reduce pressure during early healing.
12. Daith Piercing
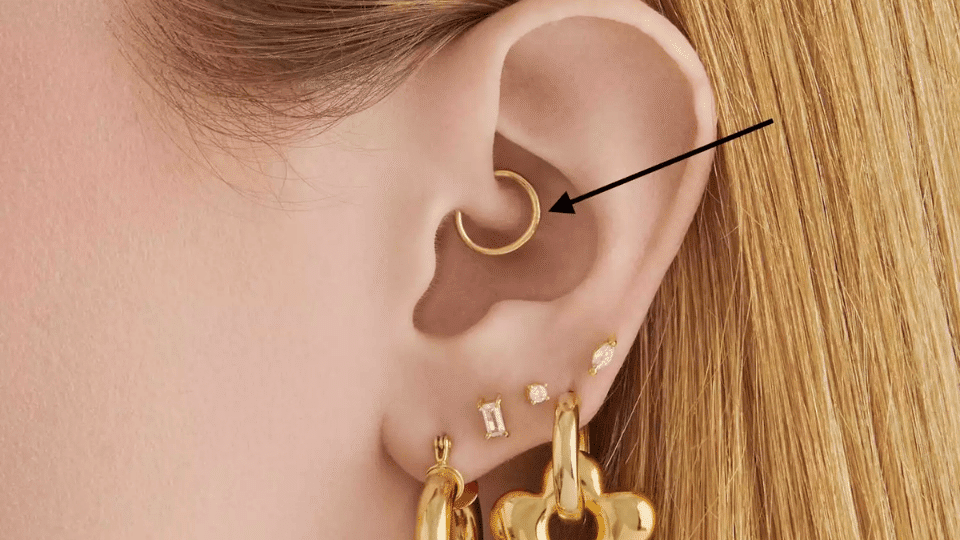
The daith piercing is placed in the inner fold of cartilage above the ear canal. It is known for its tucked-in appearance and unique placement. This piercing often holds rings and needs careful cleaning since airflow is limited in this area.
- Suitable Jewelry: Captive rings
- Pain Level: 5/10
- Healing Time: 9 to 12 months
Pro tip: Avoid touching or twisting the jewelry during healing to prevent swelling.
13. Rook Piercing
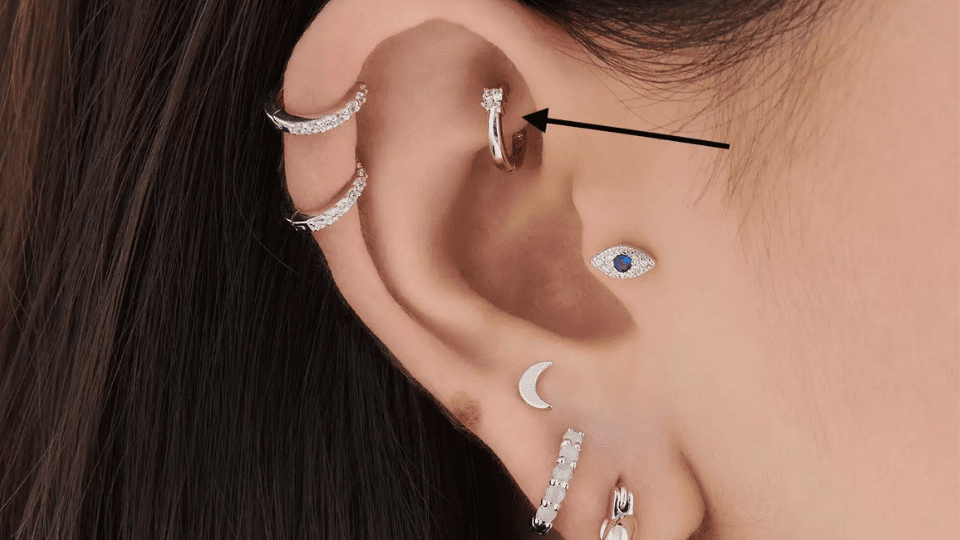
The rook piercing sits on the raised ridge between the inner and outer ear. It creates a strong visual detail and is often chosen for curved jewelry. Because the cartilage is thick here, the piercing may feel sore longer than others.
- Suitable Jewelry: Curved barbells
- Pain Level: 6/10
- Healing Time: 9 to 12 months
Pro tip: Sleep on the opposite side to reduce pressure during healing.
14. Tragus Piercing
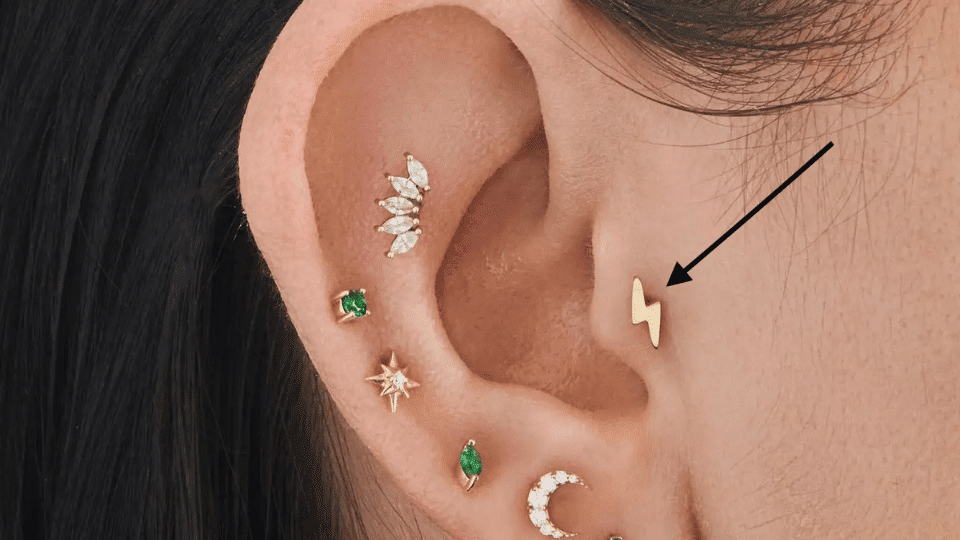
The tragus piercing is placed on the small flap of cartilage in front of the ear canal. It offers a subtle yet stylish look and pairs well with minimal jewelry. Since it sits near the ear opening, extra care is needed during cleaning routines.
- Suitable Jewelry: Flat-back studs
- Pain Level: 4/10
- Healing Time: 6 to 9 months
Pro tip: Be careful when using earbuds until healing is complete.
15. Anti-Tragus Piercing
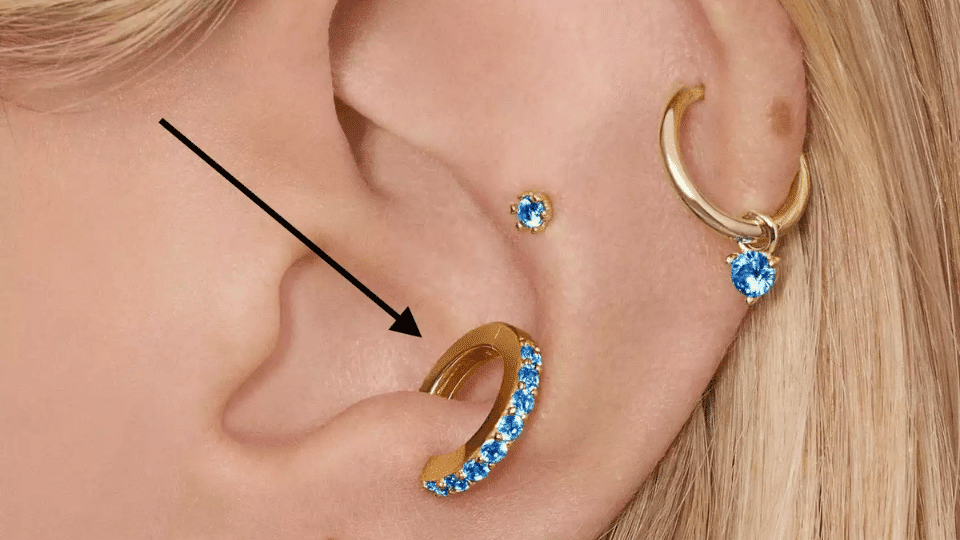
The anti-tragus piercing is located just above the earlobe, opposite the tragus. It gives a bold appearance and stands out more than many inner piercings. Due to its thicker cartilage, healing can be slow and may feel tender for several months.
- Suitable Jewelry: Small studs
- Pain Level: 6/10
- Healing Time: 9 to 12 months
Pro tip: Keep hair tied back to avoid pulling or snagging.
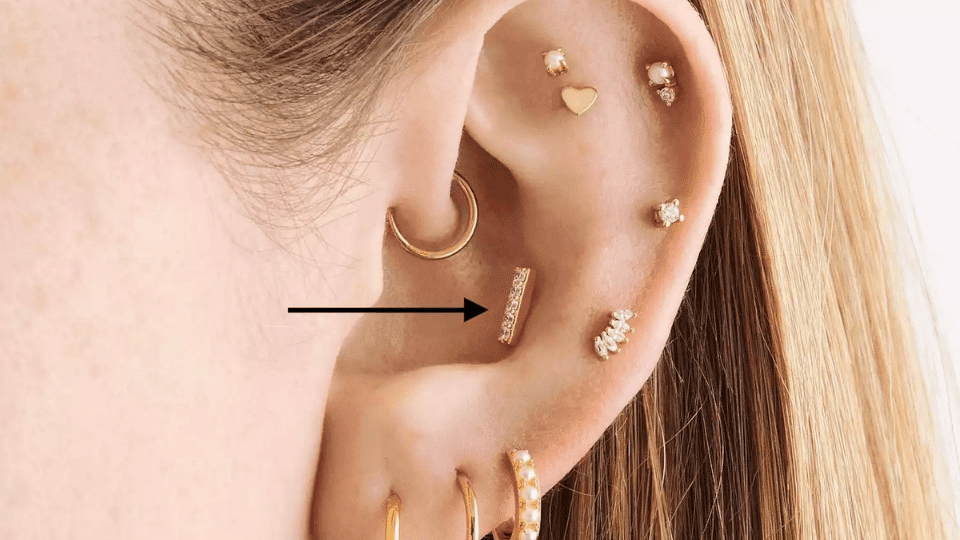
16. Snug Piercing
The snug piercing runs through the inner ridge of cartilage between the conch and outer rim. It creates a striking look but is known for a longer healing time due to limited airflow. This piercing needs consistent care to stay comfortable.
- Suitable Jewelry: Curved barbells
- Pain Level: 7/10
- Healing Time: 12 months
Pro tip: Clean gently and avoid pressure from headphones or hats.
17. Industrial Piercing
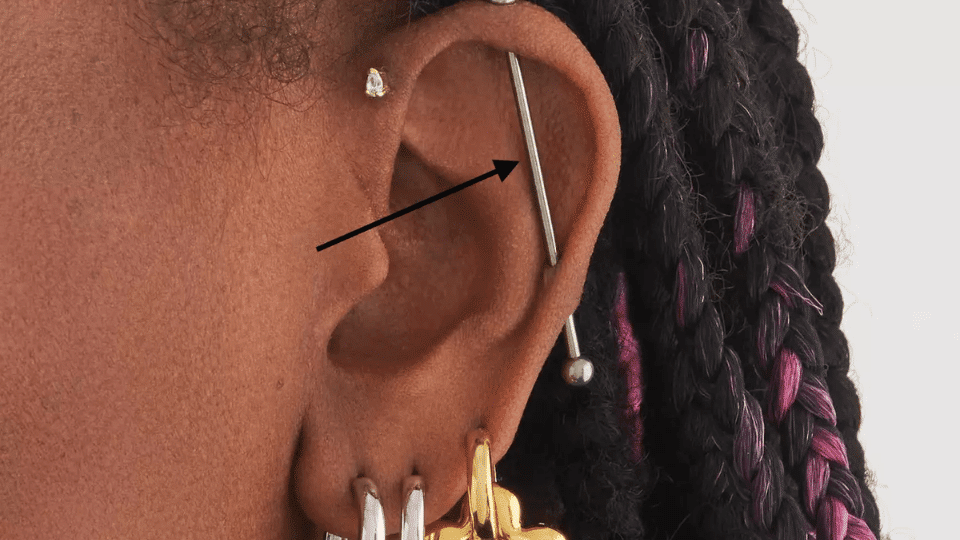
This piercing connects two inner cartilage points with a single bar. It creates a bold line across the ear and needs precise placement. Because it involves two piercing sites, healing requires patience and careful cleaning.
- Suitable Jewelry: Barbell
- Pain Level: 6/10
- Healing Time: 9 to 12 months
Pro tip: Do not change jewelry until both points feel fully settled.
18. Orbital Piercing

The orbital piercing uses a single ring passing through two inner cartilage holes. It creates a connected look and adds interest without needing multiple jewelry pieces. Precision placement helps reduce discomfort during healing.
- Suitable Jewelry: Ring
- Pain Level: 5/10
- Healing Time: 9 months
Pro tip: Keep jewelry still during healing to prevent uneven pressure.
Inner Ear Piercing Aftercare
Proper aftercare plays a big role in how well an inner ear piercing heals. Since cartilage areas heal more slowly than earlobes, gentle care and consistency help reduce irritation and support healthy healing over time.
Following simple daily steps can prevent common issues like swelling, redness, or discomfort.
| Aftercare Step | What to Do | Why It Helps |
|---|---|---|
| Cleaning routine | Clean the piercing twice daily with saline solution or piercing-safe cleanser | Removes bacteria and reduces infection risk |
| Hand hygiene | Wash your hands before touching the piercing | Prevents germs from transferring to the area |
| Jewelry handling | Avoid twisting, turning, or changing jewelry early | Allows the piercing to settle and heal properly |
| Sleeping position | Try not to sleep on the pierced ear | Reduces pressure and soreness |
| Hair care | Keep hair products away from the piercing | Prevents buildup and irritation |
| Water exposure | Avoid pools, hot tubs, and lakes during early healing | Lowers exposure to bacteria |
| Clothing and accessories | Keep headphones, hats, and scarves off the area | Reduces friction and snagging |
Consistent care helps the piercing heal evenly and stay comfortable throughout the healing period.
How to Remove an Inner Ear Piercing the Right Way
Removing an inner ear piercing should only be done once the area has fully healed. Cartilage piercings heal slowly, and early removal can cause pain or irritation.
Always wash your hands thoroughly before touching the jewelry. Gently unscrew or release the backing without pulling. If the jewelry feels stuck, swollen, or painful, stop and seek help from a professional piercer.
Never force the jewelry out, as cartilage can tear easily and lead to discomfort. After removal, clean the area with saline and keep it dry.
Give the skin time to adjust before leaving the piercing empty or changing jewelry.
Quick Tips to Clean an Inner Ear Piercing
Cleaning your inner ear piercing the right way helps prevent irritation and supports steady healing. A simple routine done daily is usually enough to keep the area comfortable and clear.
- Use sterile saline solution: Always clean with a sterile saline solution made for piercings. It helps remove dried fluid and supports healing without irritating sensitive cartilage.
- Clean gently with soaked gauze: Soak clean gauze in saline and gently press around the piercing. Avoid cotton balls, as loose fibers can stick to the jewelry.
- Do not twist the jewelry: Turning the jewelry can disturb healing tissue. Leave it still so the area can recover naturally.
- Pat dry with clean tissue: After cleaning, gently pat the area dry using a clean tissue or paper towel.
- Avoid harsh soaps or alcohol: Strong products can dry the skin and slow healing, so keep your routine simple and gentle.
Final Thoughts
Inner ear piercing adds a subtle yet expressive touch to your personal style while keeping the ear looking clean and well-arranged.
When done by a trained professional and cared for properly, it can heal smoothly and stay comfortable over time. Cartilage takes longer to heal than the earlobe, so patience and gentle care are important throughout the process.
Choosing the right jewelry, cleaning regularly, and avoiding unnecessary pressure all help support healing.
With thoughtful planning and steady aftercare, an inner ear piercing can be a long-lasting choice that blends style, comfort, and individuality in a simple way.
Frequently Asked Questions
What Is the Cost of Inner Ear Piercing?
Inner ear piercing usually costs between $40 and $100, depending on the studio, location, and jewelry choice.
What Is the Trend in Ear Piercings in 2025?
In 2025, curated ear styles with minimal inner ear piercings and small jewelry pieces are becoming more popular.
What Is the 3 2 Rule for Ear Piercings?
The 3 2 rule suggests getting no more than three piercings at once and waiting at least two months before adding more.